
This is a sponsored conversation written by me on behalf of Cricut. The opinions and text are all mine.
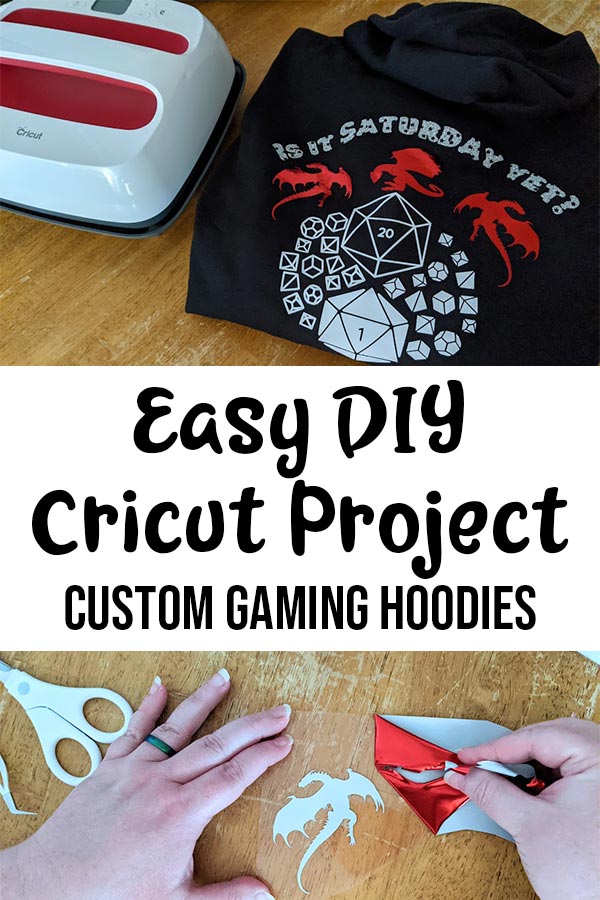
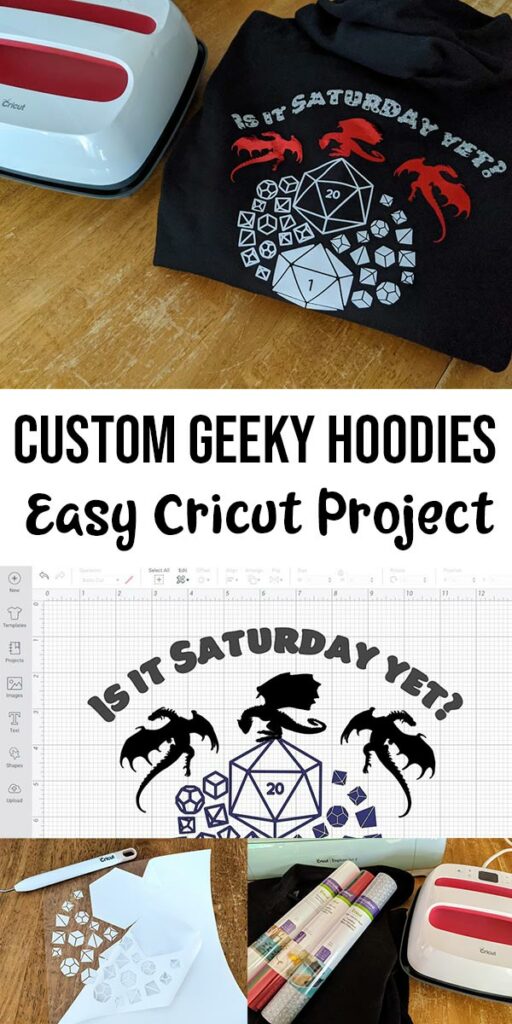
Making DIY custom hoodies is an excellent beginner Cricut project. I’m so excited these Dragons & Dice Custom Hoodies I’m working on for my gaming group.
We regularly get together to play an ongoing tabletop roleplaying game (TTRPG) on Saturdays. So, I wanted to make each of us a geeky themed hoodie featuring dragons and polyhedral dice.
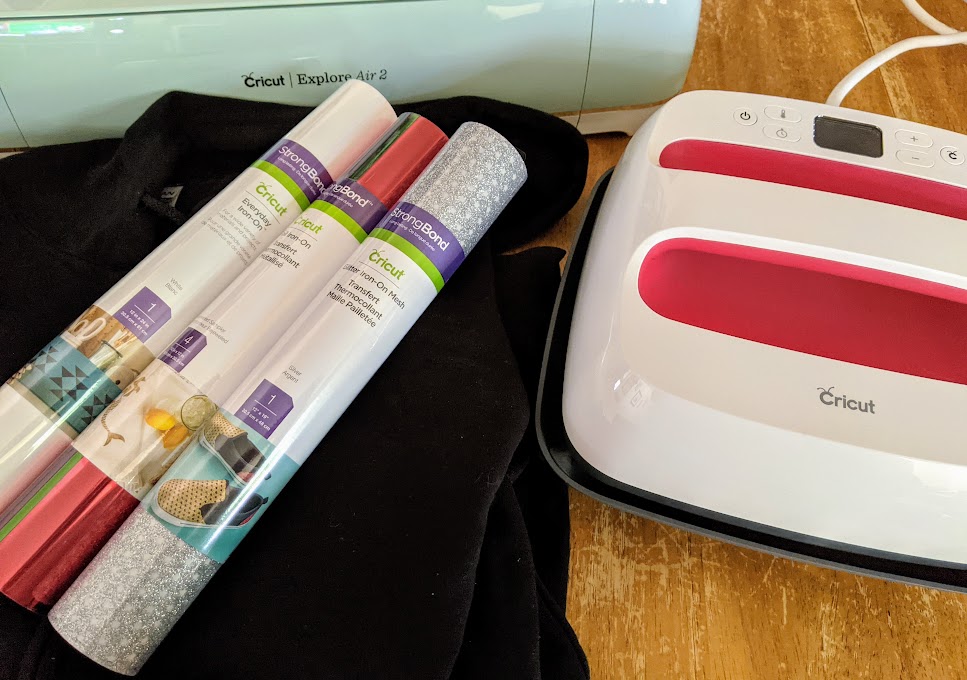
I am thrilled to continue working with Cricut to share different projects I’m creating with my Cricut Explore Air 2 and the EasyPress 2 (I have the 9×9 size), such as this Dice Bag of Holding Infusible Ink Cricut Project.

They definitely made it easy to create these hoodies! (If you don’t have an EasyPress 2, no worries! You can still apply this project with an iron.)
There are so many incredible things you can make with the Cricut. The time I’ve spent learning and creating has been well worth it!
More Cricut Projects
- DIY Dalmatian Halloween Costume
- DIY Headphone Station
- Weekends Are For Gaming Sign
- Cutout Birthday Cards
- Frog Paper Bag Puppet
- DIY I Love School custom teeshirt.
DIY Geeky Gaming Hoodie
I’ve been wanting to do something special for my gaming group for awhile and with fall right around the corner… making custom hoodies seemed like the perfect present.
We’re a tightknit little group and always look forward to the weekend for another TTRPG session.
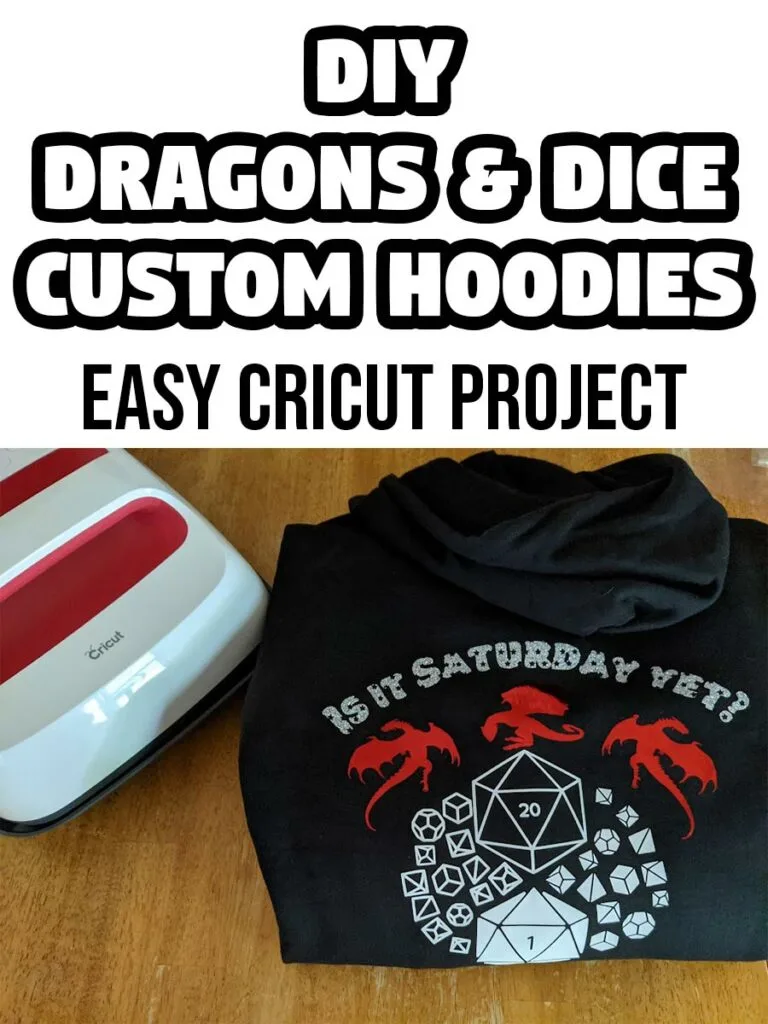
Sometimes during the week we’ll message each other asking, Is it Saturday yet?
That question inspired me to make the group geeky hoodies. I knew I wanted to incorporate polyhedral dice sets and dragons.
This post contains affiliate links. As an Amazon Associate and a participant in other affiliate programs, we earn a commission on qualifying purchases.
I searched through the available designs in Cricut Access and found several dragon silhouettes I could use as well as some D20 dice.
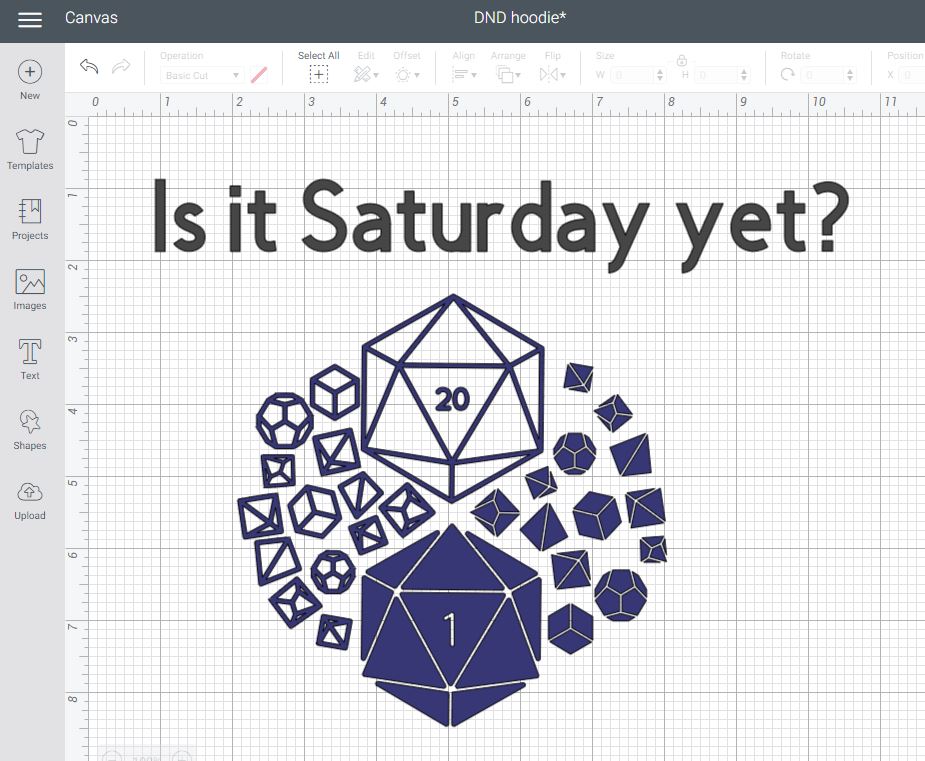
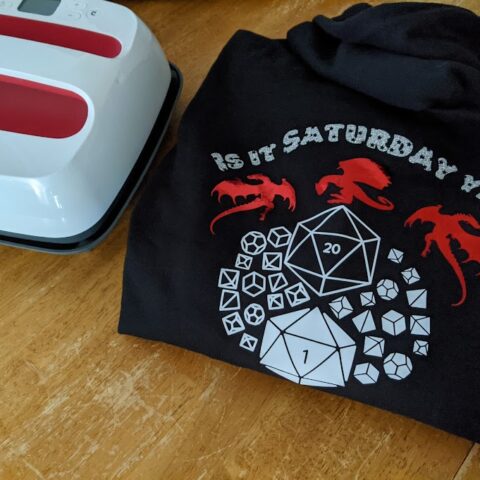
Then I selected the images I wanted to use, arranged them how I wanted in Design Space, and added the question Is it Saturday yet?
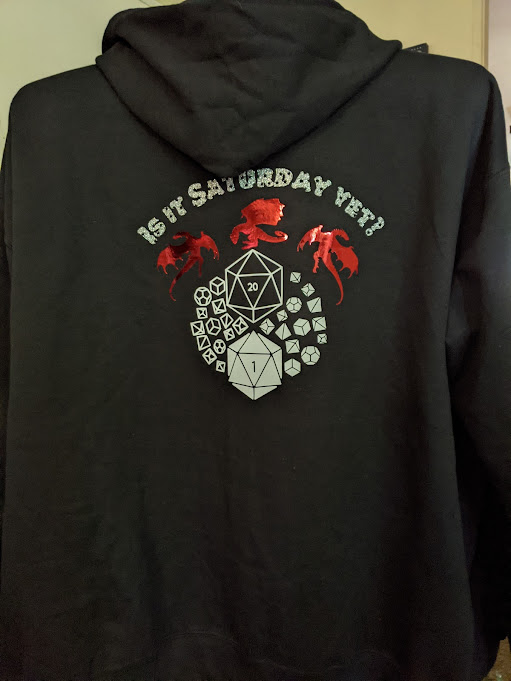
I love my Dragons & Dice hoodie design and cannot wait to give my friends theirs. You can use my design for your own gaming group and customize it to change the day of the week (or alter the text completely).

Dragons & Dice Custom Hoodie Supplies:
- Dragons & Dice hoodie design
- Cricut Machine (I used the Cricut Explore Air 2)
- Machine Mats
- Iron-On Vinyl (I used white Everyday Iron-On, silver Glitter Iron-On Mesh Stars, and red Foil Iron-On)
- Weeding tool
- Blank hoodie
- EasyPress 2 9×9
- EasyPress Mat

How to Make Dragons & Dice Custom Hoodies:
You can create your own design or use my Dragons & Dice hoodie design. Click customize to resize it and alter the text as needed.
I started with the dice sets design and added text: Is it Saturday yet? I chose a thicker font since I planned to use the glitter iron-on mesh stars.
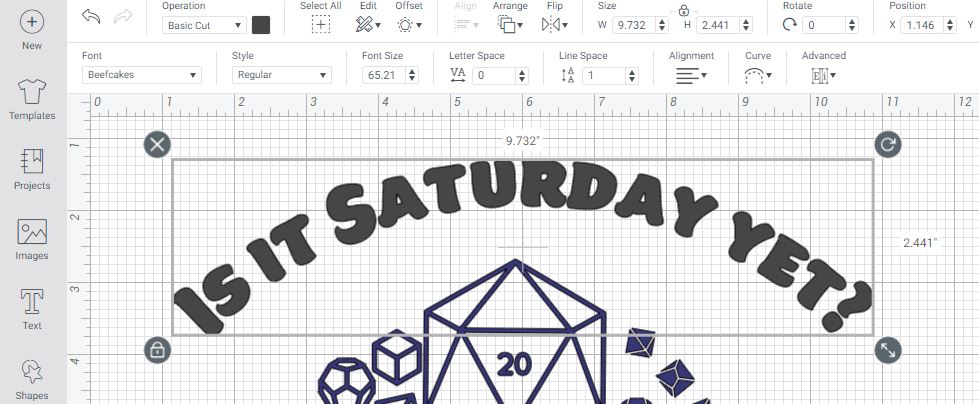
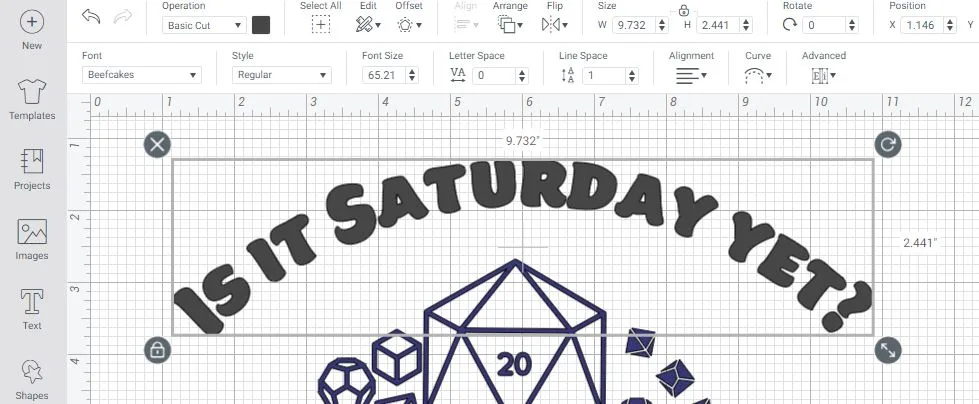
After finding a font I liked, I used the curve tool to have the text in an arch above the rest of the design.
Then I inserted a couple dragon silhouettes and moved them around until I liked how it looked. I wanted one dragon to look like it was landing on the natural 20 die.

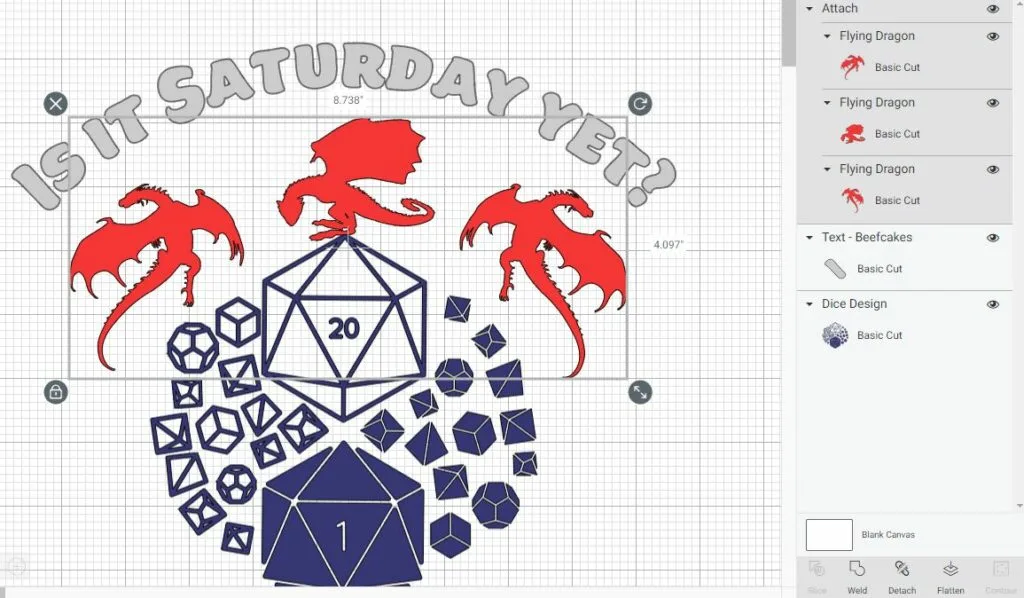
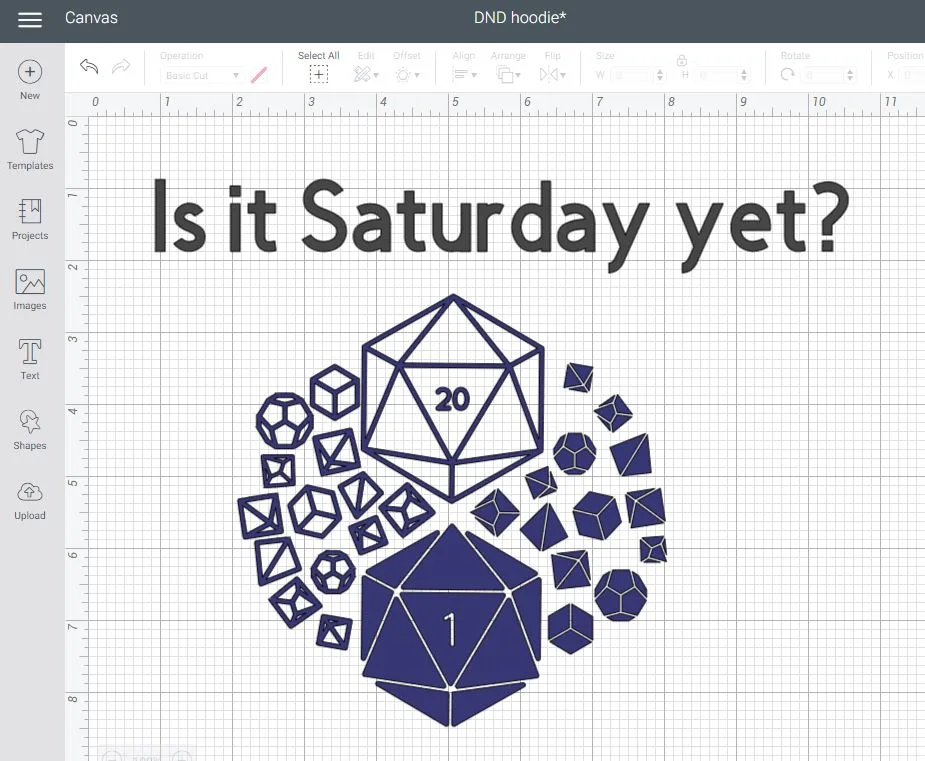
I selected all three dragons and clicked “attach” to ensure they would keep this placement when cutting.
Next I selected different colors for each section of the design that would be in a different material.
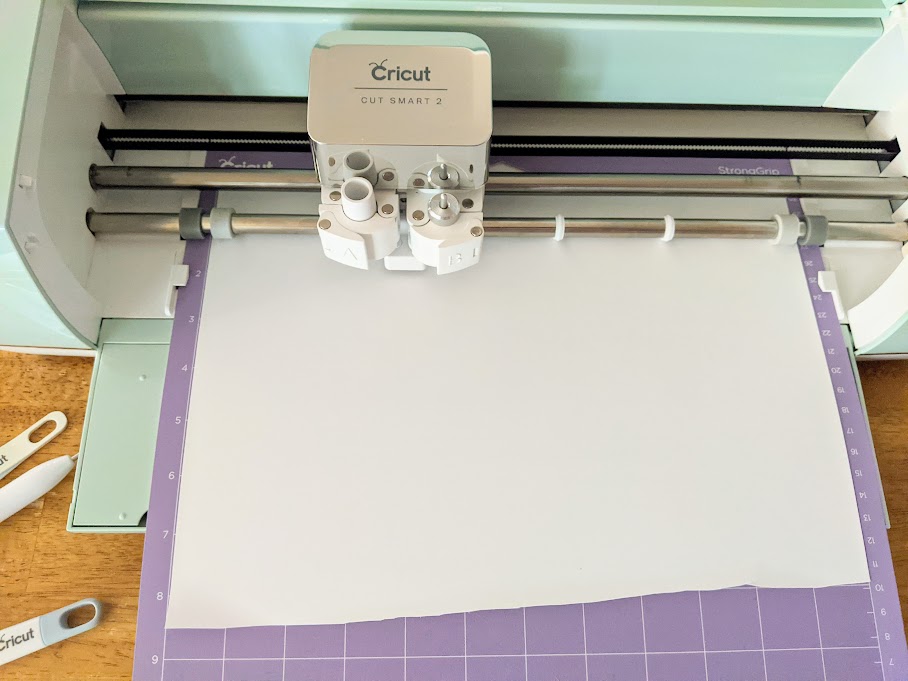
When you are ready to cut the design, click Make It. Then click to toggle Mirror ON since it is an iron-on project.
Place your choice of iron-on vinyl shiny side down on a machine mat. Follow the directions to load your mat and begin cutting the design.

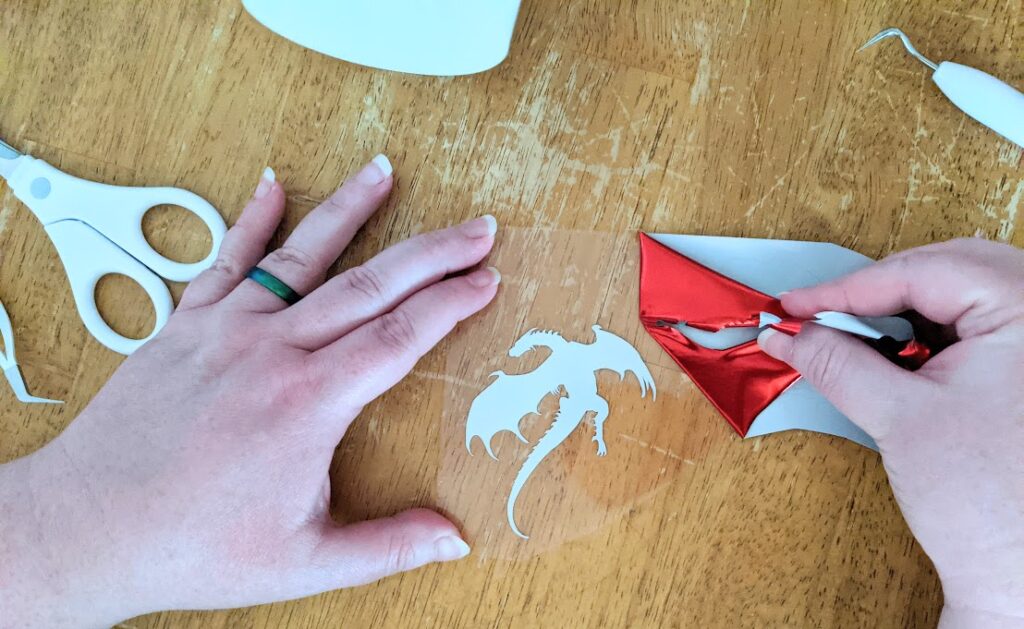
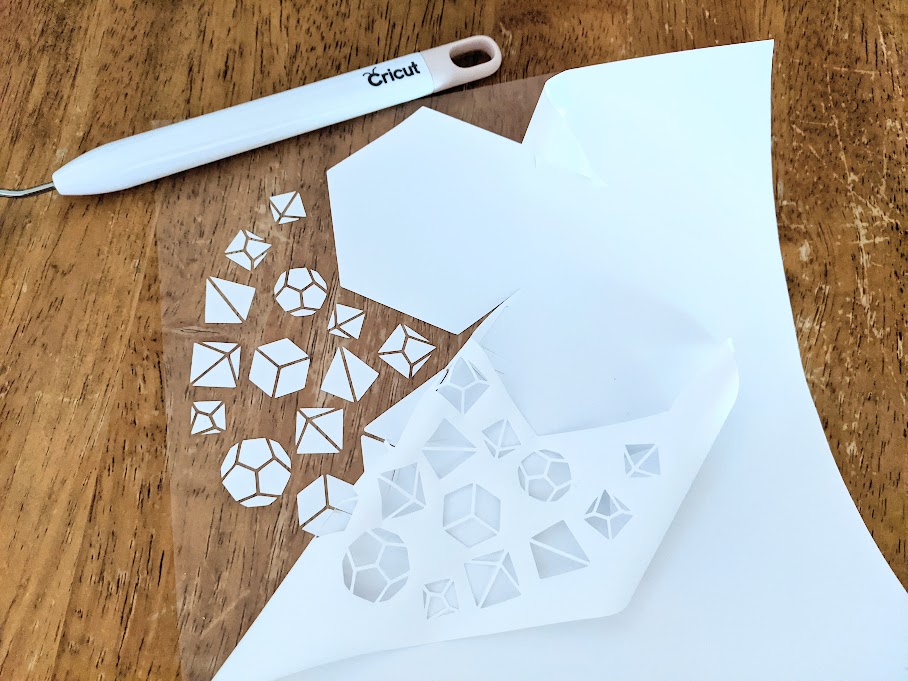
After unloading the mat, remove the excess iron-on from around the design. Start from the corner and gently pull it away from the liner at about a 45 degree angle. I kind of pull it back while also gently moving my hand side to side.

Then use your weeding tool to remove the small inner pieces in the text and the dice.

Unzip the hoodie, open it and lay it down on the EasyPress Mat. Trim the liner around the designs and arrange them on the back of the hoodie. Place them so the liners don’t overlap.
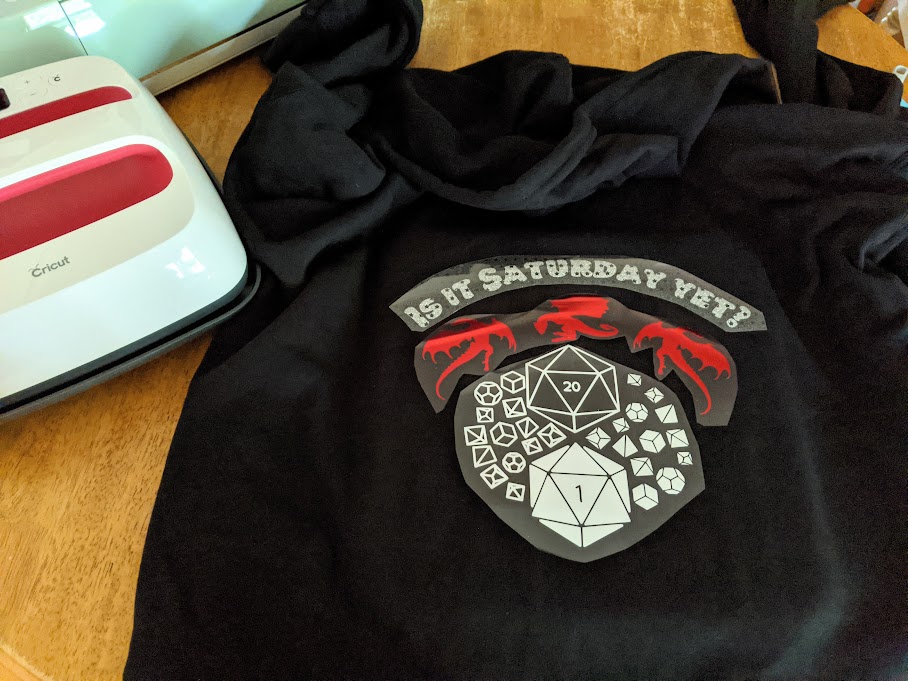
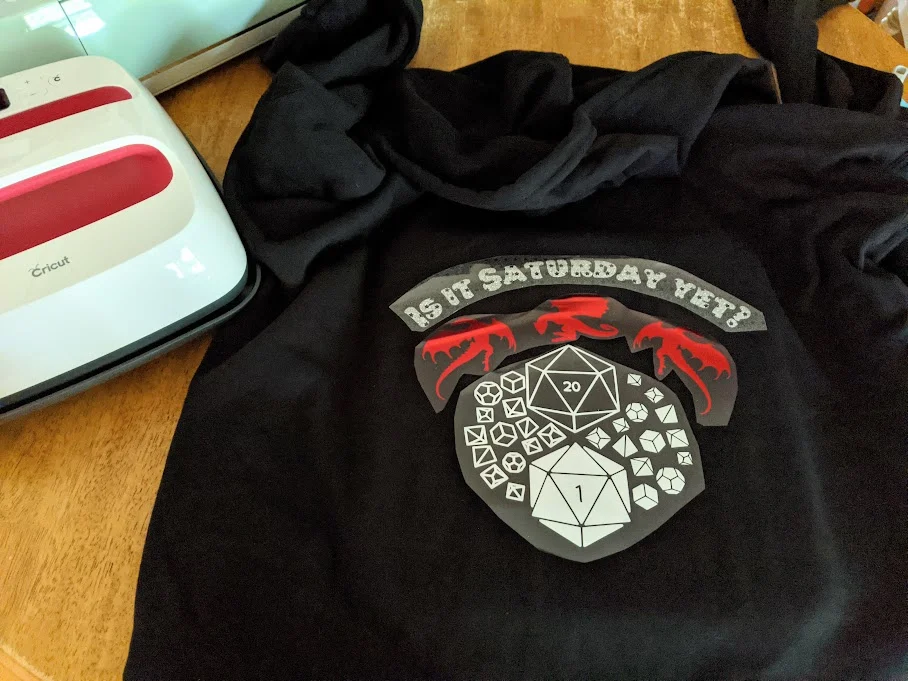
Use the Cricut Heat Guide to apply the iron on materials using the EasyPress 2.
Select the type of material you are using for your design, your base material, and whether you are using an EasyPress Mat or folded towel underneath your project.
It tells you what temperature to set the EasyPress 2, how long to preheat the base material, how long to set the press timer for, and if it needs to be warm or cool when peeling off the transfer liner. (I almost always cool peel.)
Since I used three different material types, I looked up all three for applying to a cotton polyblend hoodie with an EasyPress mat.
I heated the EasyPress 2 to 315 degrees then preheated the hoodie for 15 seconds. I placed the white Everyday Iron-On Vinyl dice sets then applied firm pressure with the EasyPress 2 for about 10 seconds.
Next I placed the red Foil Iron-On and silver Glitter Mesh Iron-On designs on the back of the hoodie. I set the EasyPress 2 to 295 degrees (the recommended heat setting for the Foil Iron-On) and applied firm pressure over all of the designs for 30 seconds.
The Glitter Mesh Iron-On had a heat setting of 330 degrees, so I carefully placed the EasyPress 2 to cover only that section for about another 10-15 seconds.
Then I flipped the hoodie over and pressed the other side for 15 seconds.
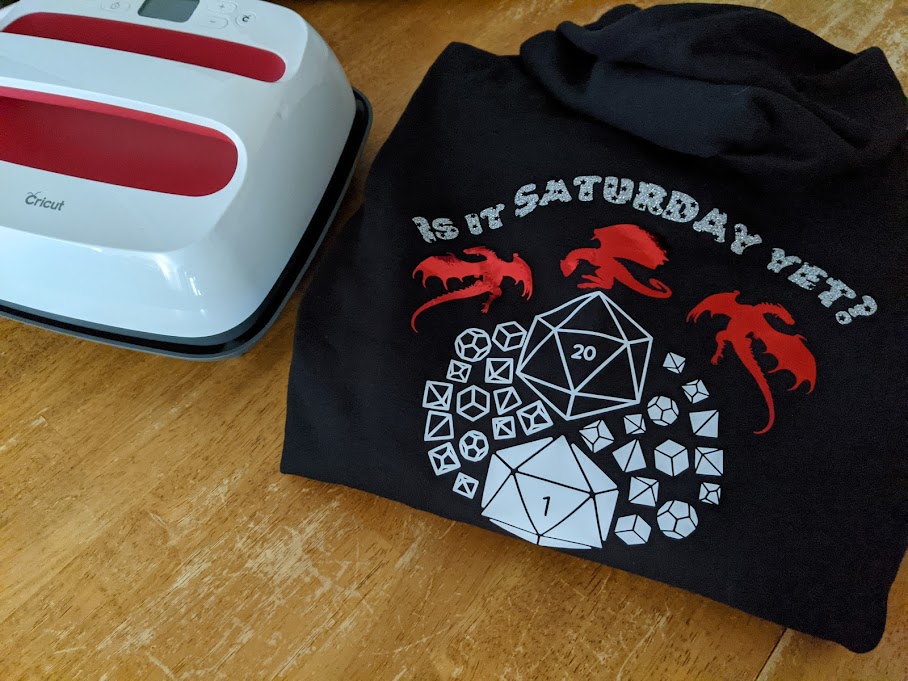

Once the liners cooled off, I carefully peeled them off.
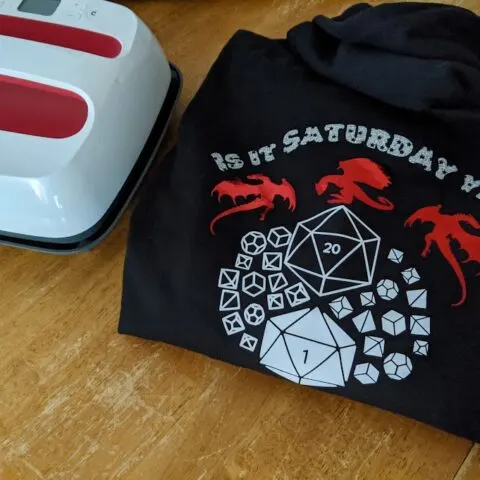
I think this first Dragons & Dice custom hoodie turned out great. Can’t wait until the weather cools off so I can wear it!

More Geeky Themed Posts You May Like:
- Geeky Dads Build Character Printable Card
- D20 Best Dad Ever Printable Card
- 101+ of the Best Family Board Games
Dragons & Dice Custom Hoodies Cricut Project
Make your own custom geeky hoodie and show your love for dice and dragons.
Materials
- Dragons & Dice hoodie design
- Blank hoodie
- Iron-On Vinyl in your choice of colors
Tools
- Cricut Machine
- Machine Mats
- Weeding tool
- EasyPress 2 9×9
- EasyPress Mat
Instructions
- You can create your own design or use my Dragons & Dice hoodie design. Click customize to resize it and alter the text as needed.
- When you are ready to cut the design, click Make It. Toggle Mirror ON since it is an iron-on project.
- Place your iron-on vinyl shiny side down on a machine mat. Follow the directions to load your mat and begin cutting the design.
- After unloading the mat, remove the excess iron-on from around the design. Then weed the project.
- Unzip the hoodie, open it and lay it down on the EasyPress Mat. Trim the liner around the designs and arrange them on the back of the hoodie. Make sure liners don't overlap.
- Use the Cricut Heat Guide to apply the iron on materials using the EasyPress 2.
- Then flip the hoodie over and press the other side for 15 seconds.
- Once the liners cooled off, carefully peel them off.
Recommended Products
As an Amazon Associate and member of other affiliate programs, I earn from qualifying purchases.


Darcy is the founder of “Life With Darcy and Brian,” where she combines her love for education, board games, and crafting to create engaging learning experiences for kids. Her creative projects and writing have been featured in outlets like The Toy Insider, CafeMom, Mom.com, Parents.com, Country Living, and The Pioneer Woman.