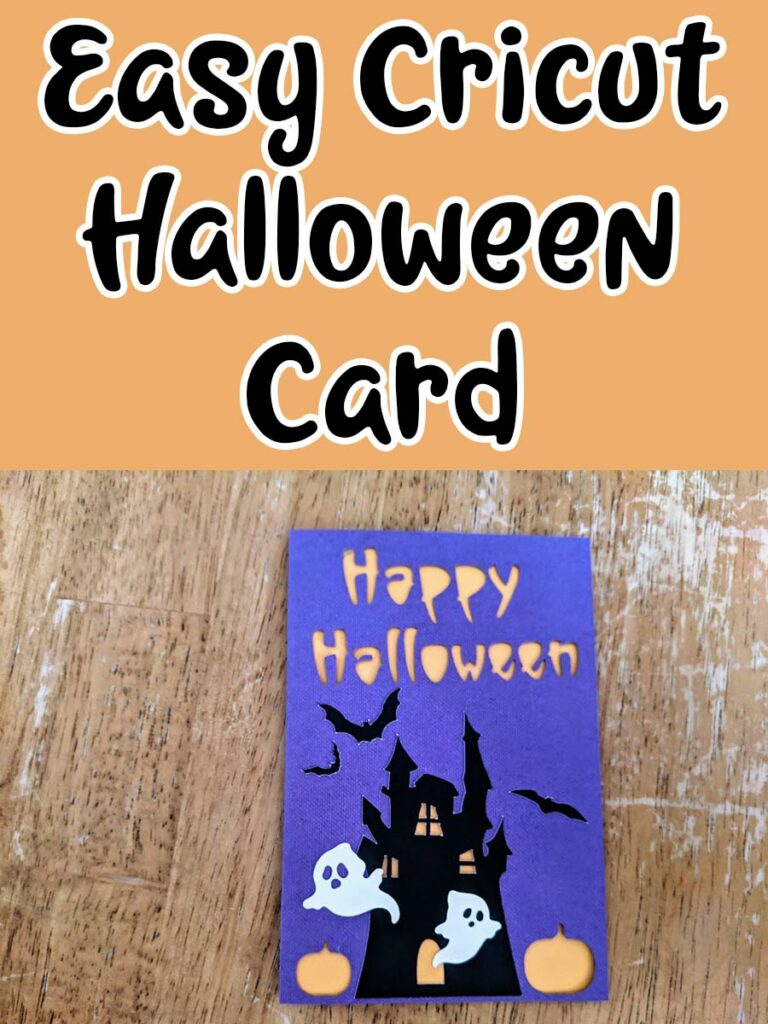
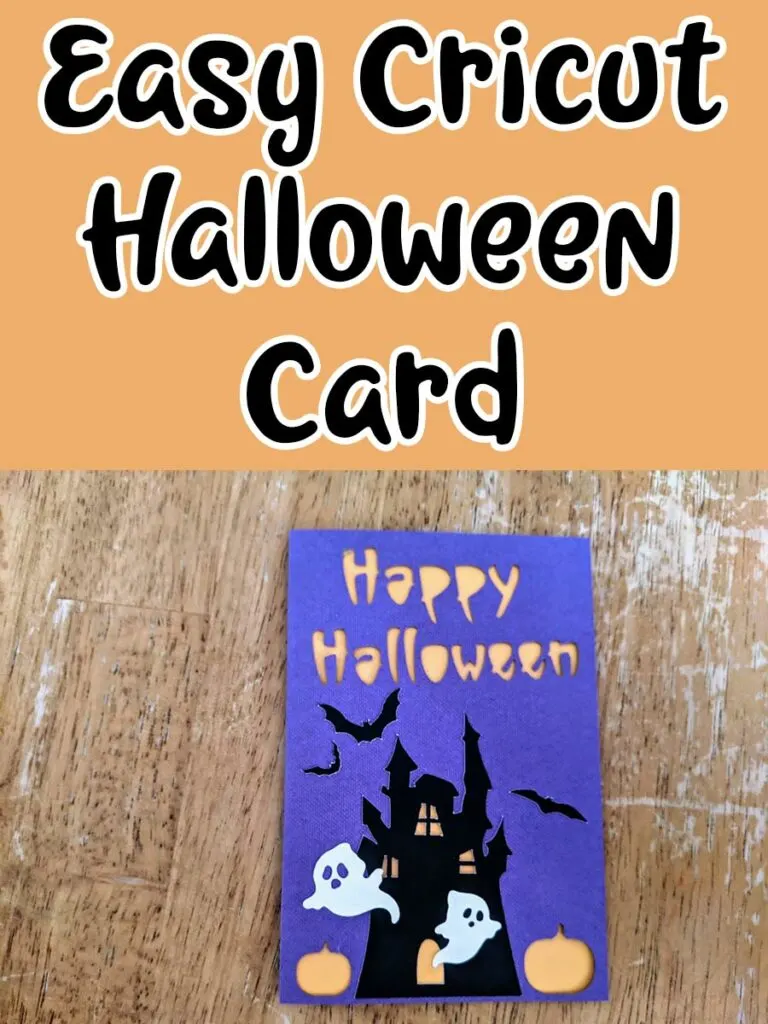
Make this cute haunted house Halloween card using a Cricut cutting machine! It’s a good beginner Cricut project because it is easy to make.
I received the new Cricut Maker 3 machine to review and some supplies to create this card for Halloween. I truly enjoy working with Cricut and getting creative with my projects. In this tutorial, I’m going to show you how to use the new smart materials sticker cardstock with the Cricut Maker 3.
You can still use my design to make this card with other Cricut machines and regular cardstock paper. (But the new sticker cardstock is pretty awesome!)
Looking for more Cricut card ideas? Check out this cutout birthday card.
More Holiday Card Ideas
Giving and receiving handmade cards is truly special. From card crafts to simple printable cards, we have a few different options you may like to use.
- Printable Pop Up Snowman Christmas Card for Kids
- Printable Fish Cupcake Liner Card Craft for Kids
- Joy and Peace Free Printable Holiday Cards
- Printable Mother’s Day Card for Kids to Color
- Printable Geeky Dads Build Character Card
Easy Halloween Cut Out Card
Halloween is my favorite holiday so I wanted to make a fun card using my new Cricut Maker 3 machine.
This post contains affiliate links and we earn a commission on qualifying purchases.
I’ve had my Cricut Explore Air 2 machine for a couple years and have used it to make a variety of things. I use it the most to make cupcake toppers and birthday party decorations and tshirts.
As I read about the features of the new Cricut Maker 3, I got excited about the possibilities. I’m really loving the new smart materials that can be loaded without a mat. Plus, I’ll be able to cut even more materials than before!
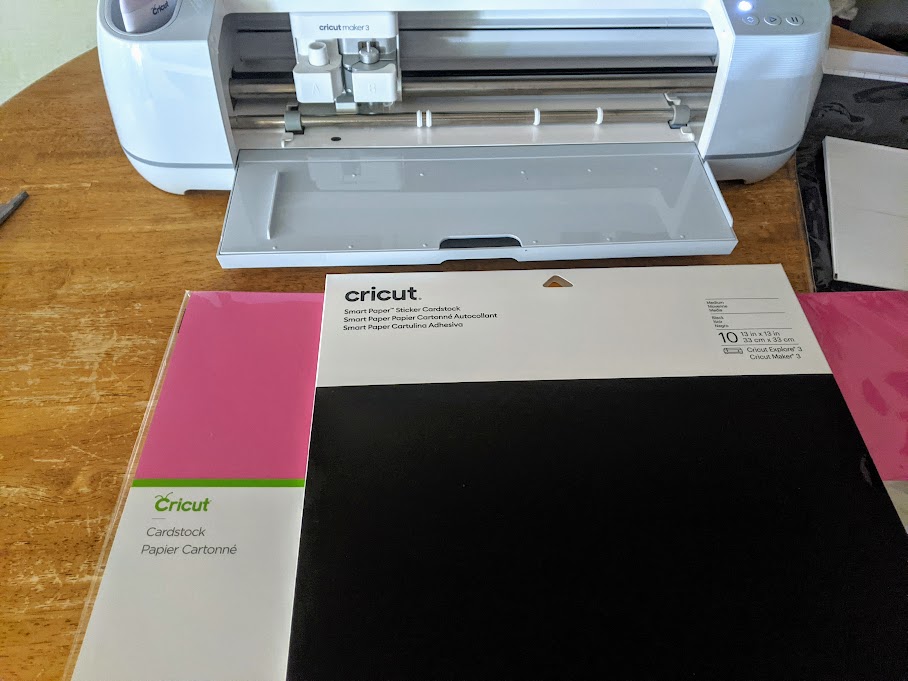
One of the new smart materials from Cricut is sticker cardstock. Now there’s a great way to cut elements for decorating cards etc without needing glue!
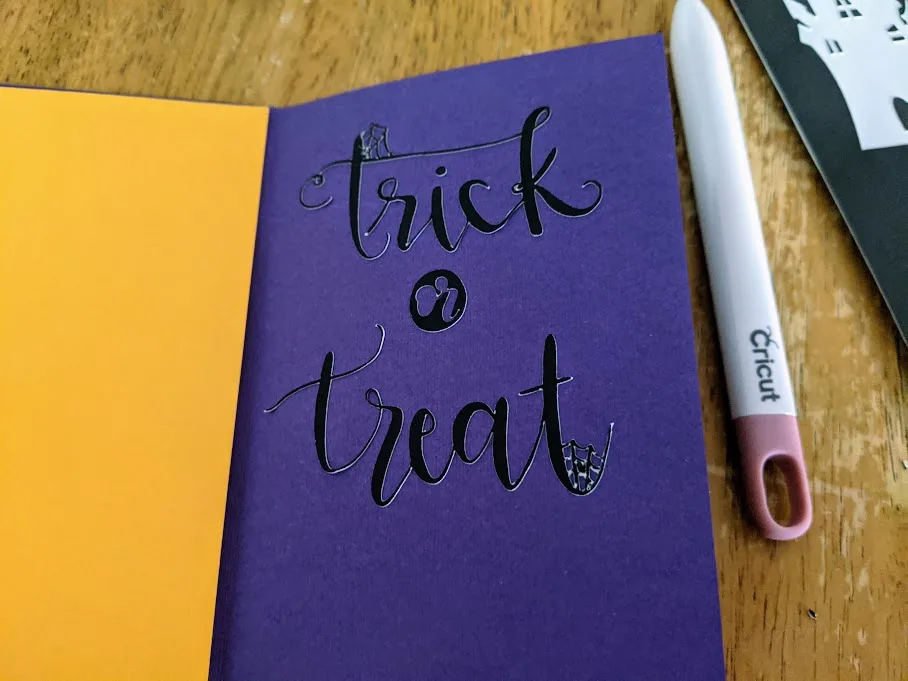
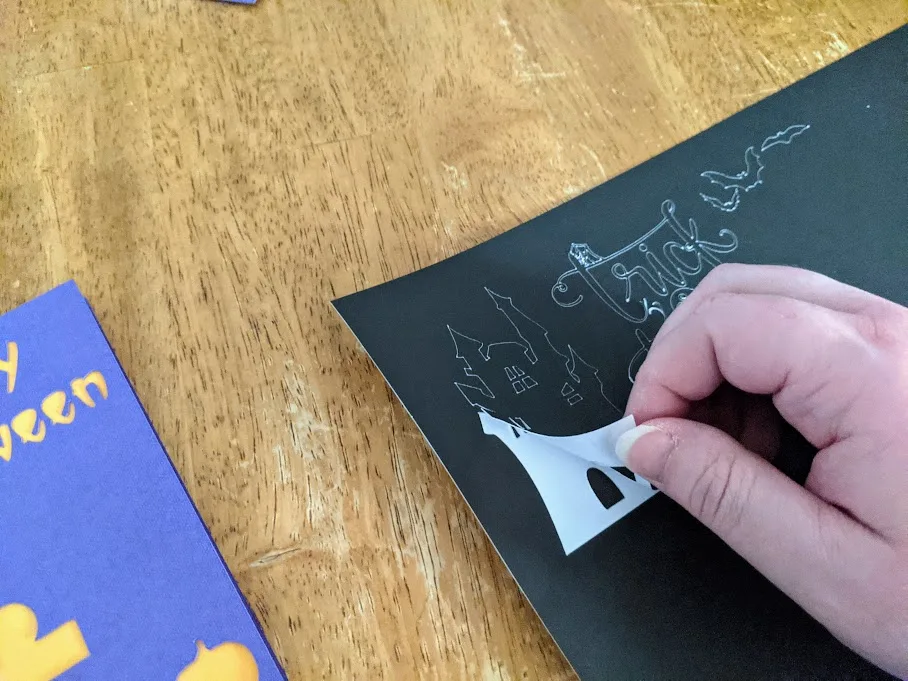
There was a Cricut Access “trick or treat” design with spiderwebs that I loved and wanted to put inside my Halloween card.
However, I found that overly intricate designs and skinny fonts did not cut as neatly as I hoped. It was very fragile. Using a Cricut pen to have it drawn onto the card probably would have been a better idea.

It is up to you if you’d like to keep that element when making your card or not.
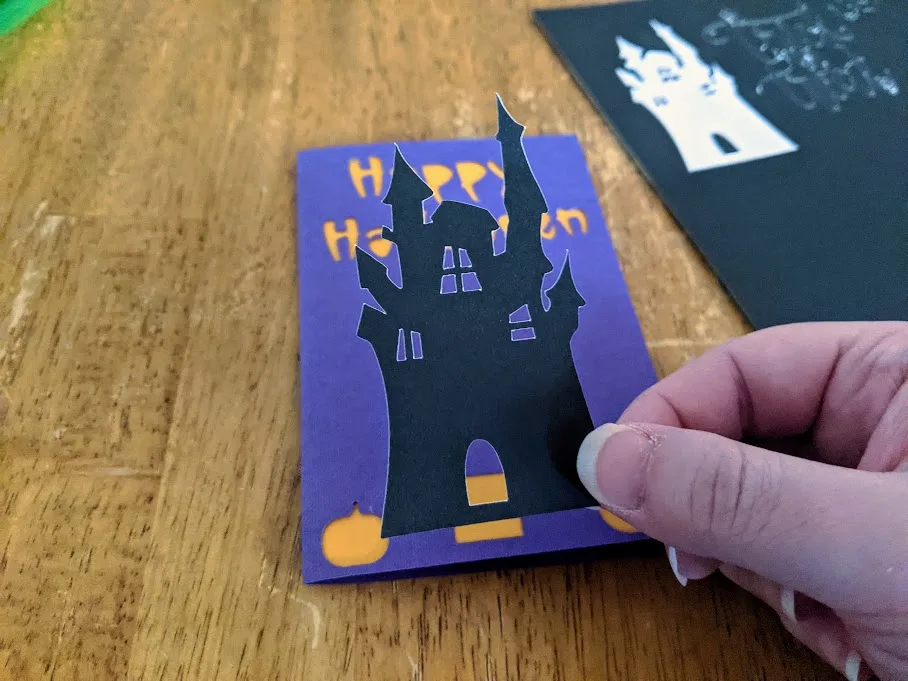
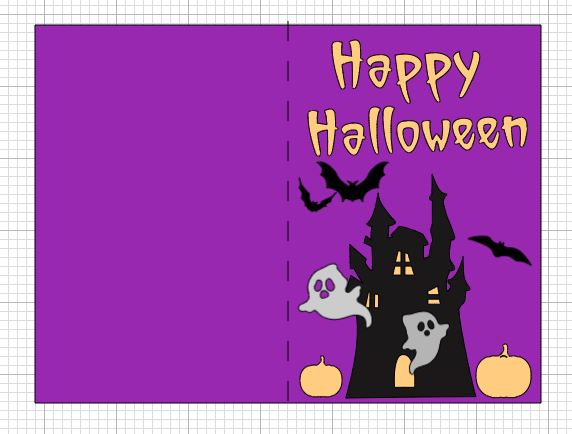
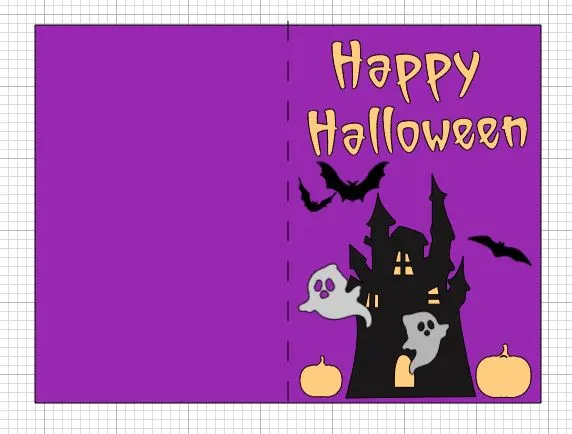
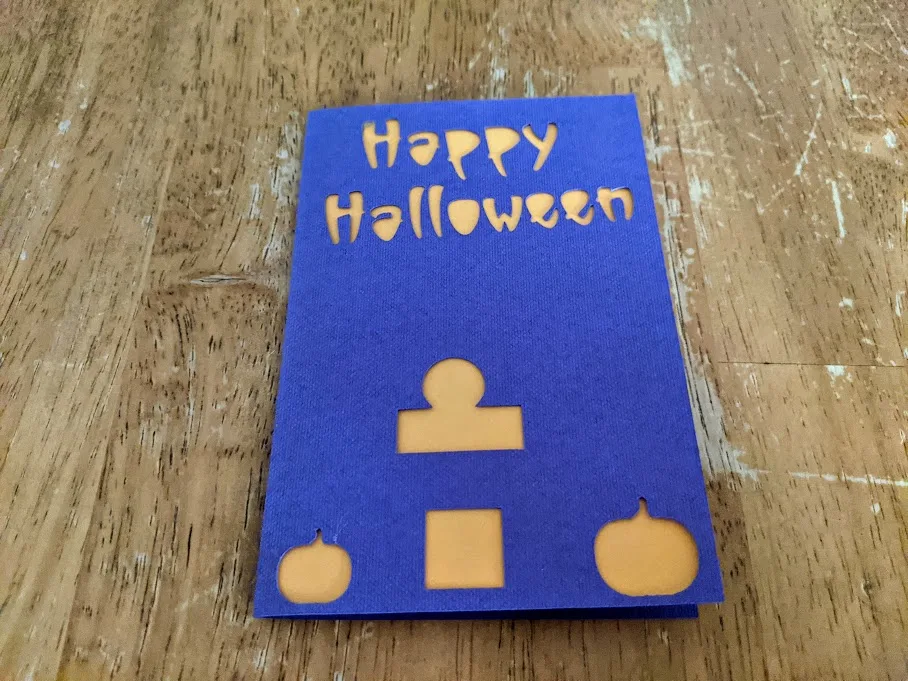
So back to the new sticker cardstock. I decided I wanted to have the words “Happy Halloween” done in a cutout style, but wanted to add a haunted house to the front of the card.
I decided to use the sticker cardstock for this so I didn’t have to worry about what adhesive to use and if it would warp the front of the card or not.

Plus, then I could easily knock out the cardstock behind the windows to be a different color too. The sticker cardstock is super easy to use with the Cricut Maker 3 because it doesn’t need a mat to load and cut.
If you have an older cutting machine, you will need a machine mat to load the sticker cardstock.
Haunted House Halloween Card Supplies:
- Halloween Card With Haunted House Design
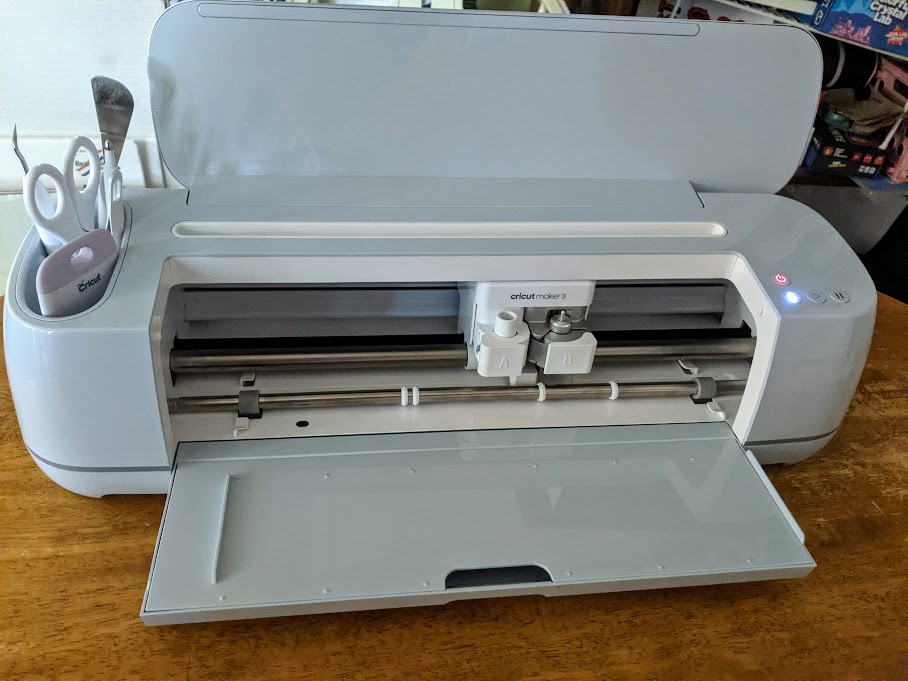
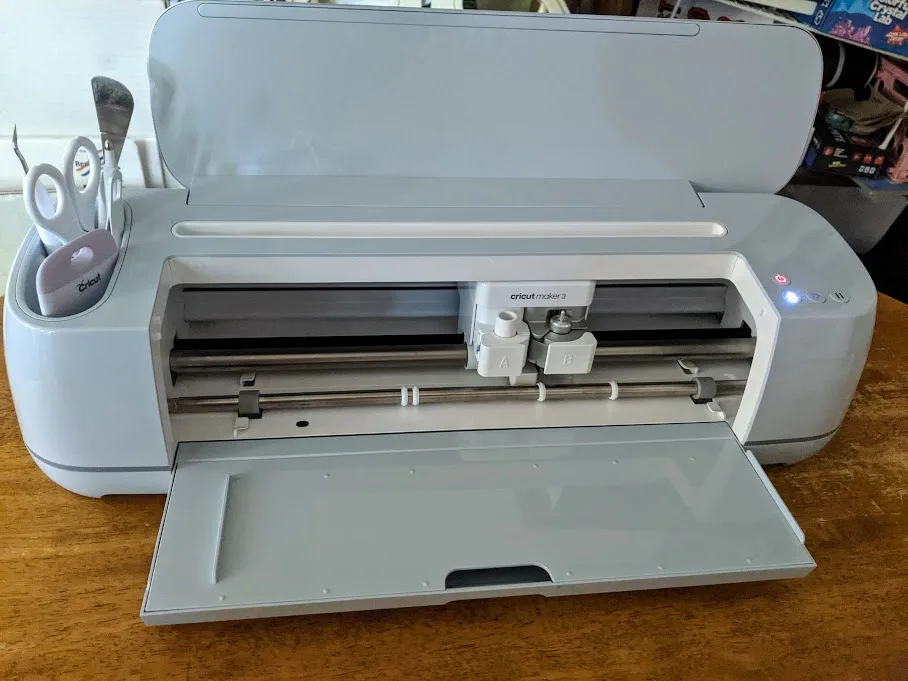
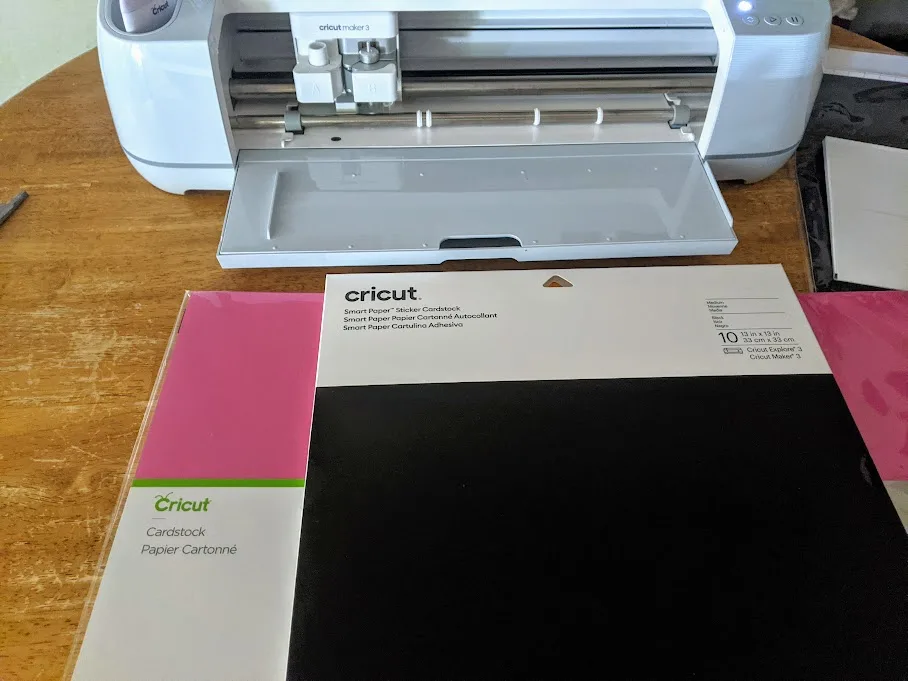
- Cricut Maker 3
- Cardstock (I used purple and orange)
- Black Sticker Cardstock
- White Sticker Cardstock
- Glue Dots
- LightGrip Machine Mats
- Weeding tool
- Scoring tool (scoring stylus or scoring wheel)
How to Make a Haunted House Halloween Card with Cricut:
You can create your own design or use my Halloween Card With Haunted House Design. Click customize to alter the size if you want to make the card larger (my final card was about 3.5″x5″ so it was fairly small).
Ensure the color sync of your elements is correct then click make it.
If you have a Cricut Maker 3 connected, it will ask if all of the materials are being loaded by mat, are smart materials, or if there is a mix.

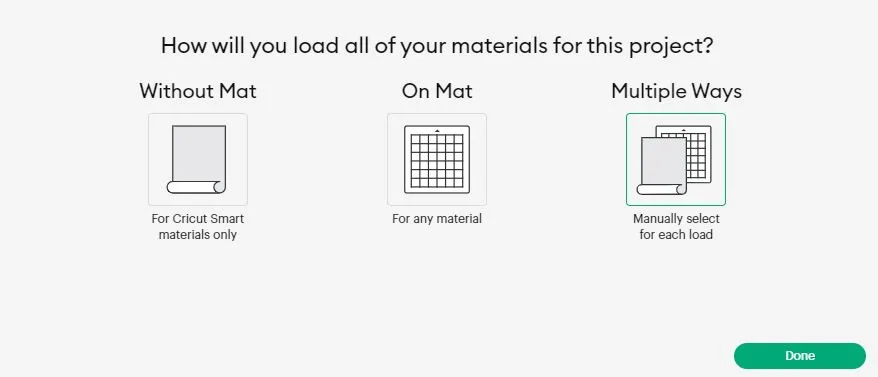
I selected mix and specified for each if it was on a mat or was smart materials.
The purple and orange cardstock were loaded on mats.

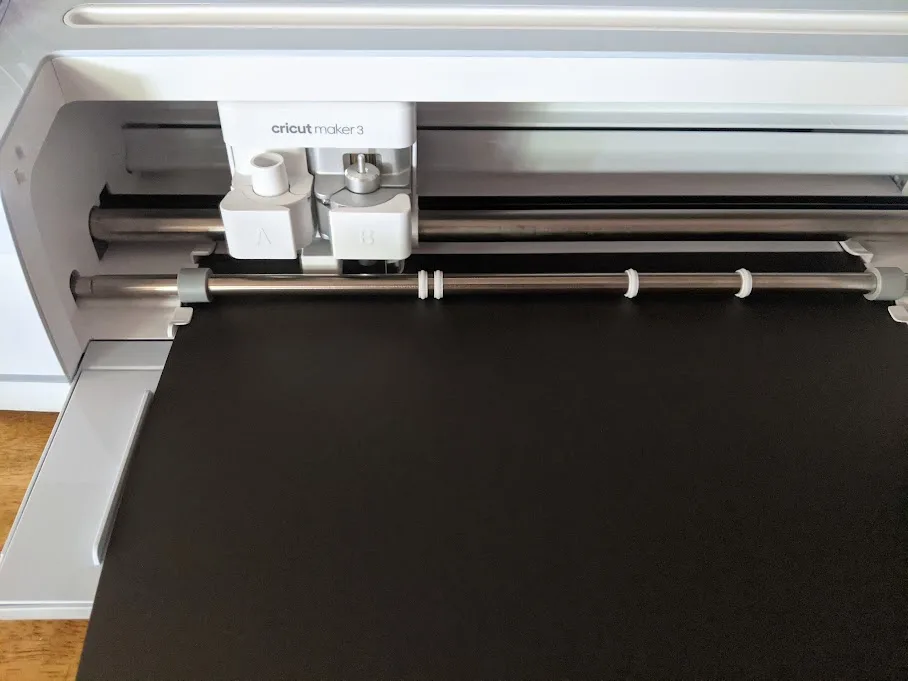
The black and white sticker cardstock were smart materials loaded without mats.
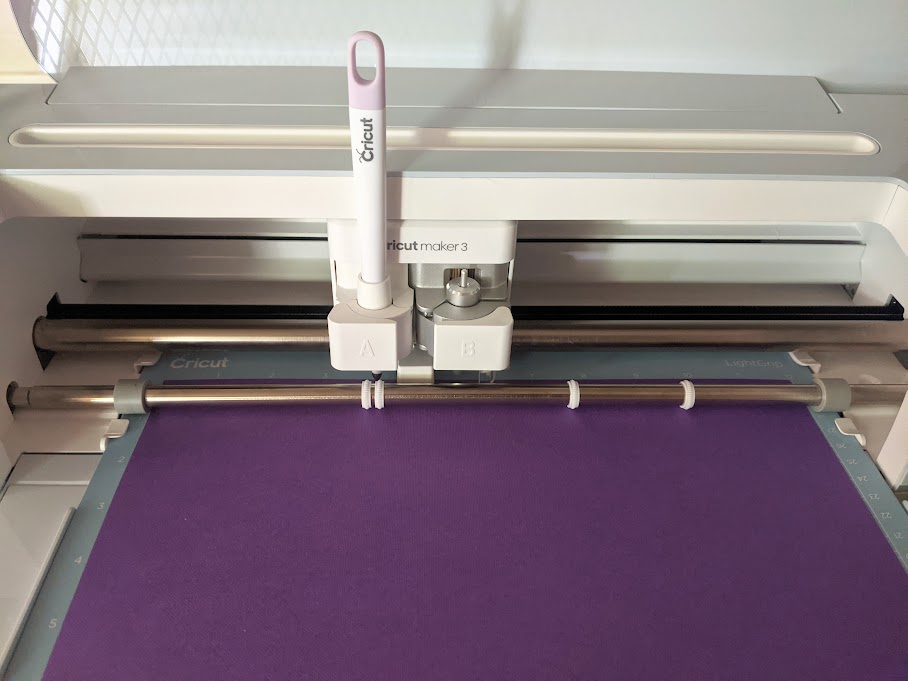
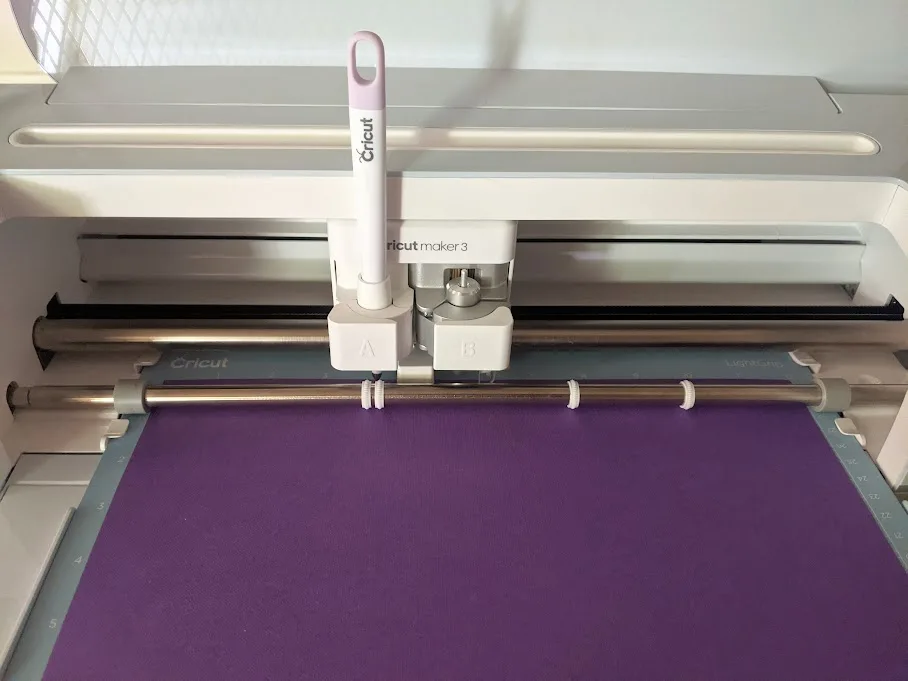
When loading the purple cardstock, also load your scoring tool. This will make it easier to fold the card with a nice straight crease.
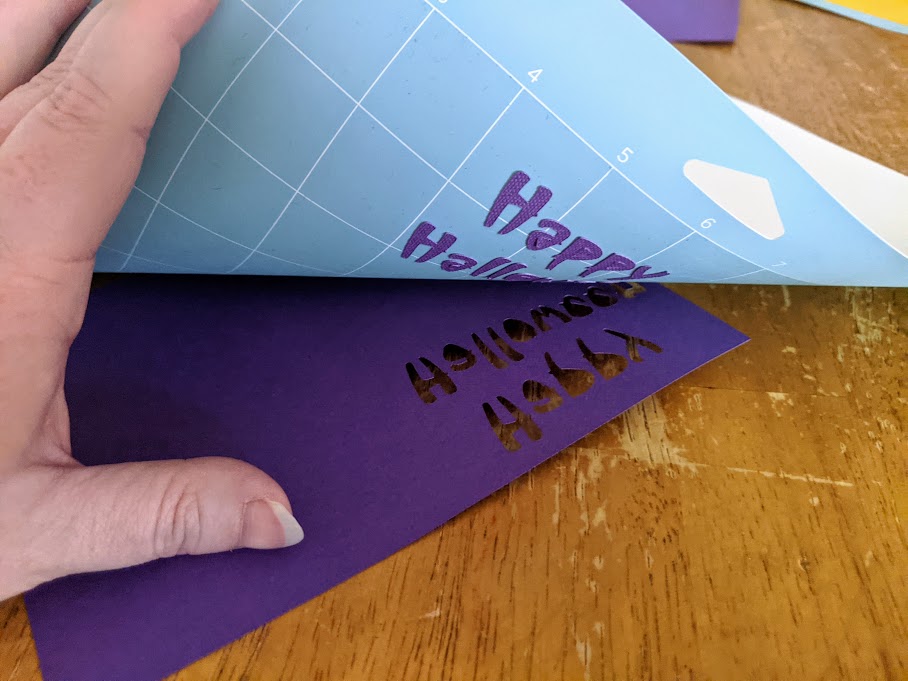

After everything is finished cutting, weed the letters, windows, door, and pumpkins out of the purple cardstock by flipping the mat upside down and carefully peeling it away from the cardstock.
When peeling the ghosts from the sticker cardstock liner, the eyes and mouth should stay behind without being weeded.
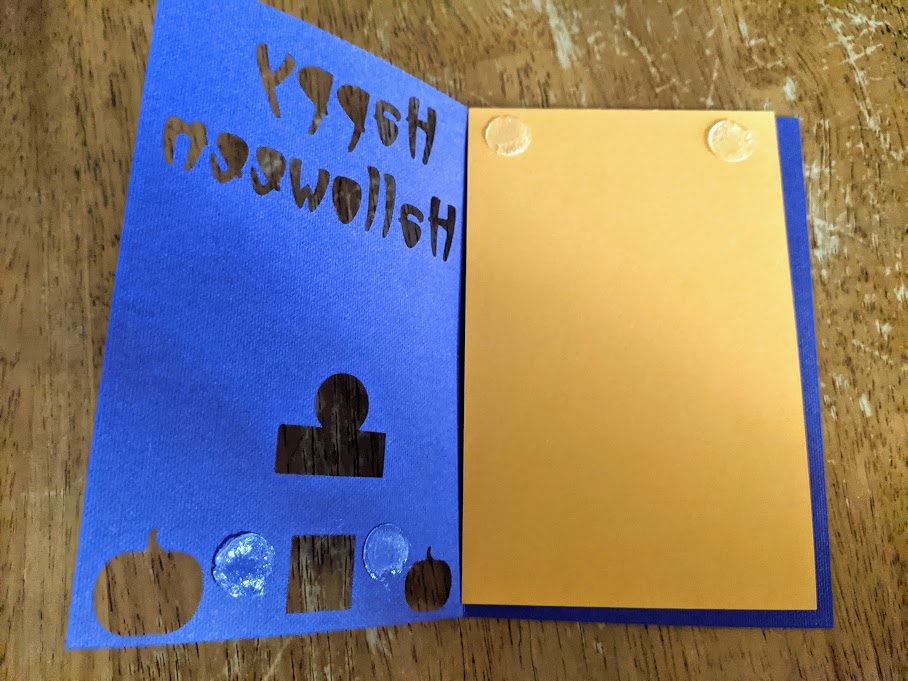

Using glue dots, I attached the orange cardstock insert to the purple cardstock. I only added it to the one side but you could make the insert larger for the entire inside of the card.

Be careful not to apply the glue dots where they will go through cut out openings. (You can also use a different paper adhesive for this part.)
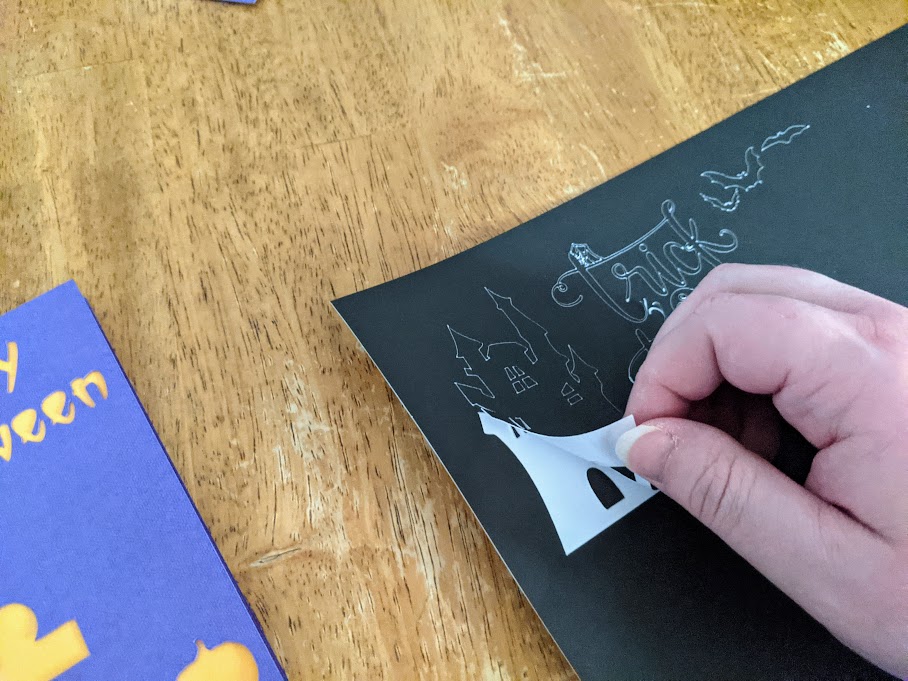
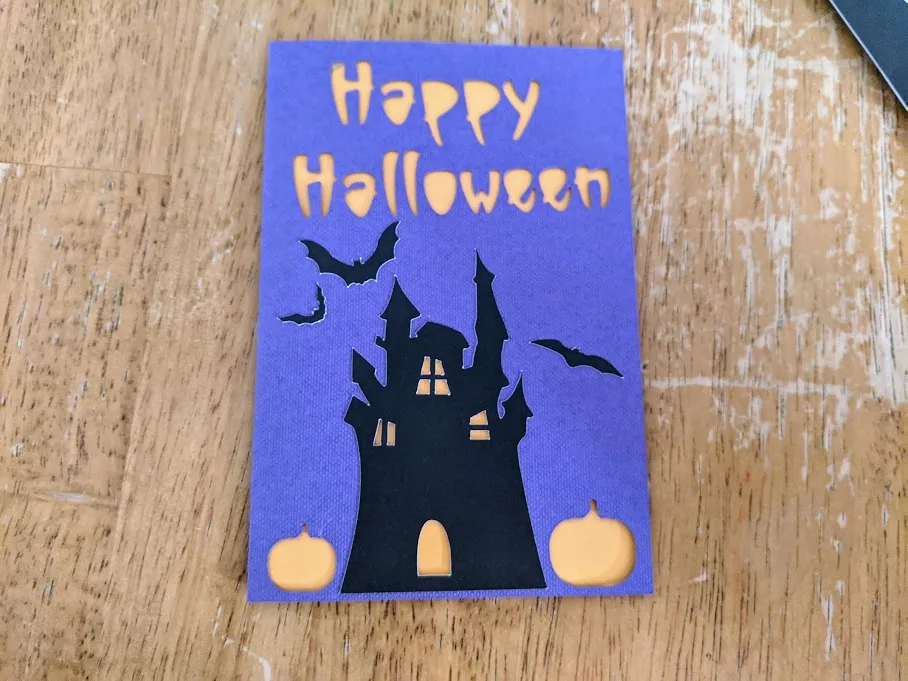
Next, peel the haunted house from the black sticker cardstock. The openings in the windows and door should stay on the liner. If they don’t, weed them if needed.
Place the haunted house on the front of the card lining up with the cut outs to show light in the windows and open door. Press it down onto the card.

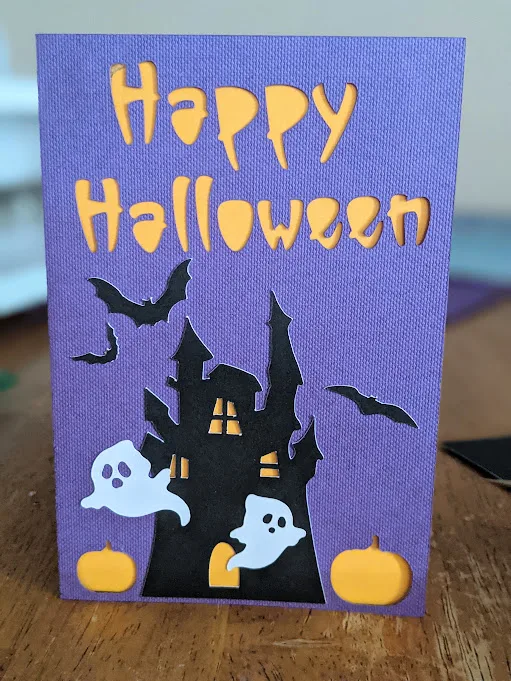
Then peel and apply the flying bats.


Now peel the ghosts from the sticker cardstock and apply them to the front of the card. I placed one to look like it was coming out of the haunted house’s front door and the other flying off higher on the left side. Press them down to stick to the paper.
Finally, write something inside or attach a different design if you wish! I carefully peeled, weeded, and applied the webbed trick or treat design.

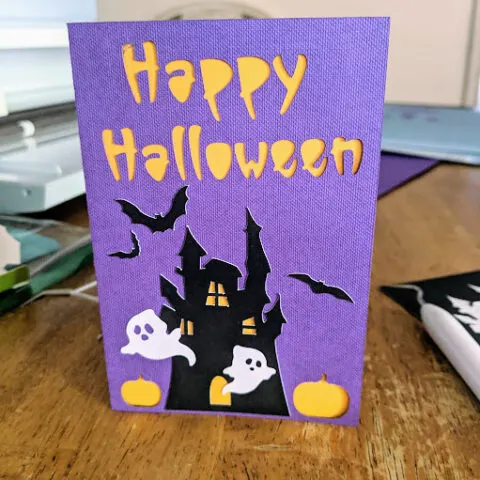
This makes a cute little Halloween card to give to your kids, friends, and family!
More Cricut Projects:
- DIY Dalmatian Halloween Costume
- Dice Bag of Holding
- Weekends Are For Gaming Sign
- Dragons & Dice Gaming Hoodie
More Halloween Crafts:
- Coffee Filter Bats
- Bat Suncatcher
- Kawaii Halloween Clay Pots
- DIY Spellbook Decoration
- Tea Light Ghost

Cute Haunted House Halloween Card Cricut Project
Make this cute Haunted House Halloween card for an easy Cricut project.
Materials
- Halloween Card With Haunted House Design
- Cardstock (I used purple and orange)
- Black Sticker Cardstock
- White Sticker Cardstock
- Glue Dots
Tools
- Cricut Maker 3
- LightGrip Machine Mats
- Weeding tool
- Scoring tool (scoring stylus or scoring wheel)
Instructions
- Open my Halloween Card With Haunted House Design. Click customize to alter the size if you want to make the card larger.
- Ensure the color sync of your elements is correct then click make it.
- If you have a Cricut Maker 3 connected, it will ask if all of the materials are being loaded by mat, are smart materials, or if there is a mix. Make the appropriate selection.
- When loading the purple cardstock, also load your scoring tool.
- After everything is finished cutting, weed the letters, windows, door, and pumpkins out of the purple cardstock.
- Use glue dots to attach orange cardstock insert to purple cardstock.
- Next, peel the haunted house from the black sticker cardstock. The openings in the windows and door should stay on the liner. If they don't, weed them if needed.
- Place the haunted house on the front of the card lining up with the cut outs to show light in the windows and open door. Press it down onto the card.
- Peel and apply the flying bats.
- Now peel the ghosts from the sticker cardstock and apply them to the front of the card.
- Finally, write something inside or attach a different design if you wish!
Notes
Smart materials can only be used in compatible machines. All of this can be created with regular cardstock cut with any Cricut cutting machine and applied with adhesive.
Recommended Products
As an Amazon Associate and member of other affiliate programs, I earn from qualifying purchases.
-
 Cricut Smart Paper Sticker Cardstock - 10 Sheets - 13in x 13in - Adhesive Paper for Stickers - Compatible with Cricut Explore 3/Maker 3 - Bright Bow
 -
 Cricut Smart Paper Sticker Cardstock - 10 Sheets - 13in x 13in - Adhesive Paper for Stickers - Compatible with Cricut Explore 3/Maker 3 - Black
 -
 Cricut Maker 3 - Smart Cutting Machine


Darcy is the founder of “Life With Darcy and Brian,” where she combines her love for education, board games, and crafting to create engaging learning experiences for kids. Her creative projects and writing have been featured in outlets like The Toy Insider, CafeMom, Mom.com, Parents.com, Country Living, and The Pioneer Woman.