
Create your own spooky DIY spell book for a homemade Halloween decoration this year!
We’ll show you how to make a creepy book cover (or not so spooky – it’s up to you) by transforming an ordinary book into something worthy of a sorcerer.
So grab your supplies and get ready for some fun Halloween crafts for kids!
Not only is this great for creating Halloween book decor, it works wonderfully as a DIY spellbook prop for a costume. Or maybe it’s a simple potion book. Either way, this project can be done by adults and kids alike, as part of a costume or just for fun.

This spell book craft is not only a fun and creative Halloween project, but it’s also a fantastic way to breathe new life into old hardcover books.
Maybe you have some worn-out novels or outdated textbooks gathering dust on your shelves – why not give them a second life as spooky spell books?
You’ll be amazed at how this simple transformation can turn a forgotten book into an eye-catching Halloween decoration.
It’s an eco-friendly and innovative way to upcycle, adding a touch of magic to your indoor Halloween decorations while doing your part to reduce waste.
More Halloween Crafts
Don’t stop your Halloween crafting just yet! Below are more exciting and spooky DIY projects to keep the fun going and give your decorations a truly unique touch.
- Every witch and wizard needs their very own DIY wizard wand to go with their grimoire full of magic spells.
- Make a few coffee filter bats to have hanging around as well!
- Might we suggest keeping a watchful eye on your spell book with this easy DIY creepy monster eyeball tea light craft?
DIY Spell Book Cover Craft Supplies
With all the materials gathered, you’ll find that this enchanting project can be completed fairly quickly.
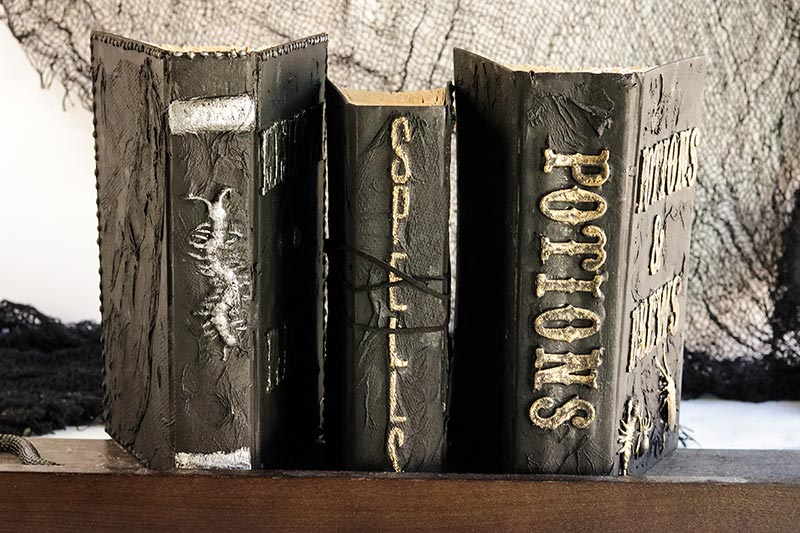
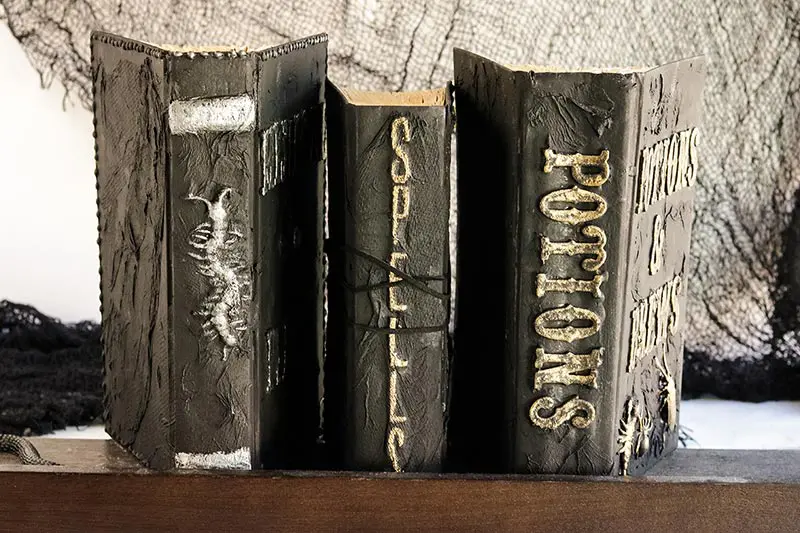
In fact, it’s perfectly feasible to create three spell books in about an hour, although drying times may vary.
This is a splendid project for both kids and adults to collaborate on. While younger children may require assistance with tasks involving the glue gun and hair dryer, they can participate easily in other parts of the project.
Should you choose not to use a hair dryer, keep in mind that the books will need to set overnight, substantially extending the completion time.
This post contains affiliate links. As an Amazon Associate and a participant in other affiliate programs, we earn a commission on qualifying purchases.
Here is everything you will need to craft your own unique spell book covers:
- 3 hardcover books
- Foam, puffy or 3D letter stickers
- Embellishments of choice (fake plastic bugs, gems, stickers)
- Mod Podge
- Paper Towel – separated into 1 ply and ripped into sections
- Black Paint
- Metallic Paint – gold and silver are great choices
- Distress Ink
- Ribbon or suede
- Hot Glue Gun with extra glue sticks
- Paint Brushes – small bristle brush and foam brush
- Hairdryer
Do I Have to Use a Glue Gun?
While the use of a glue gun is not strictly required for this project, it is highly recommended for its quick-drying properties and strong bonding capabilities, particularly when attaching embellishments.
If you’re crafting with young witches and wizards, we suggest opting for a low-temperature glue gun for safety reasons.
Alternatively, if a glue gun isn’t available, you can use tacky craft glue.
However, keep in mind that craft glue may not offer as strong of a bond, and it will require a longer drying time between steps, which could prolong the overall project time.

How to Make a Spell Book Cover
It is recommended to use a dabbing motion for all of the painting steps.
Start by selecting your three hardcover books. If you don’t want to part with any from your bookshelf, look for books on clearance or at a thrift store.
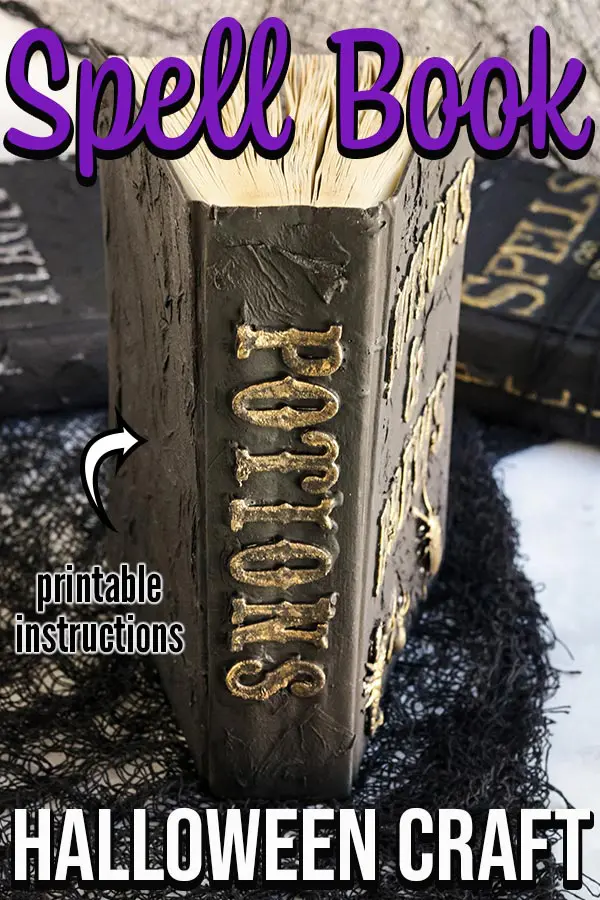
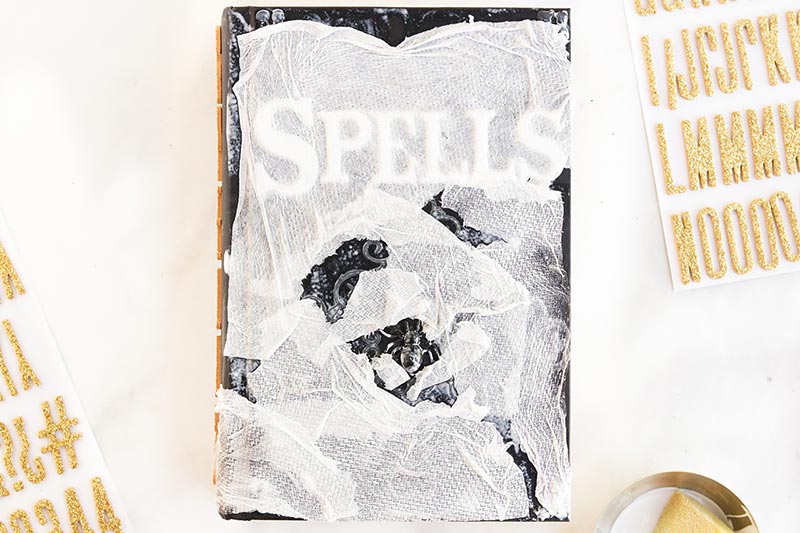
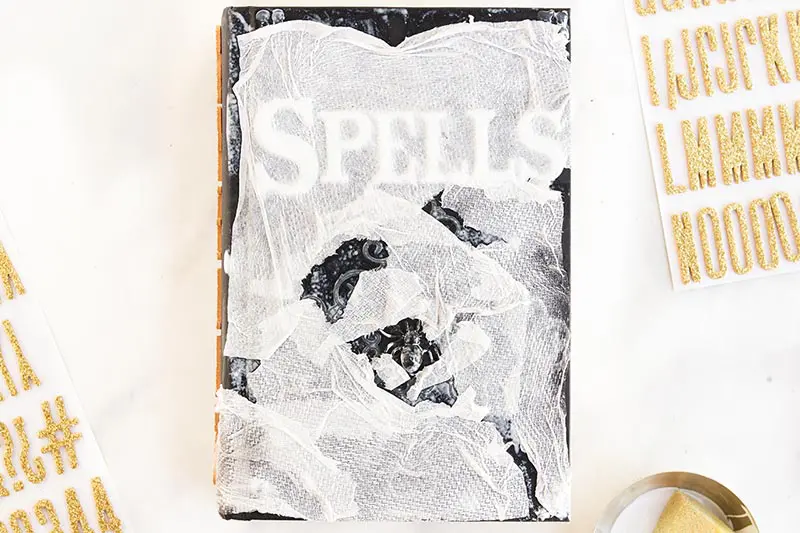
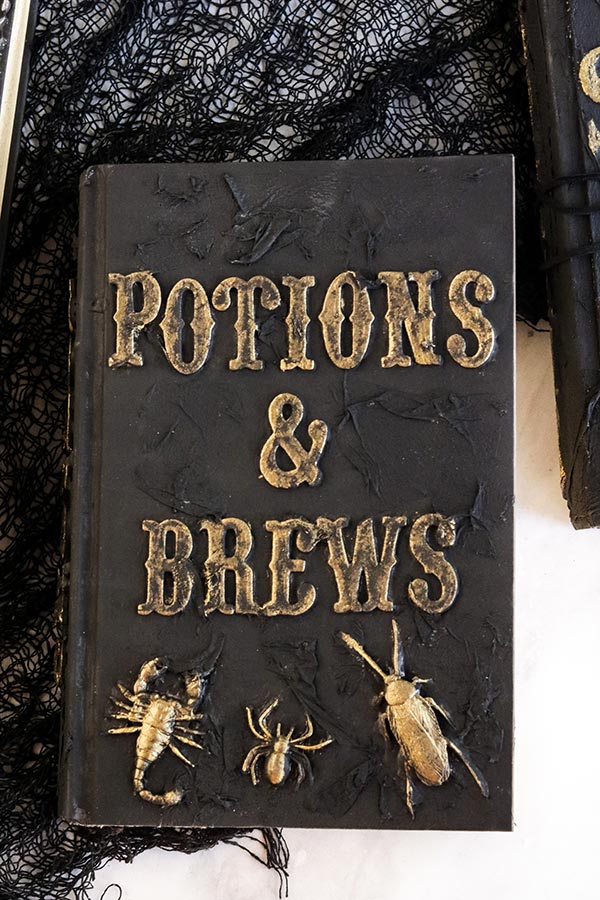
Once you have your books, attach the foam letter stickers to spell out the titles on both the cover and the spine of the book. Examples: Spells, Potions, Curses

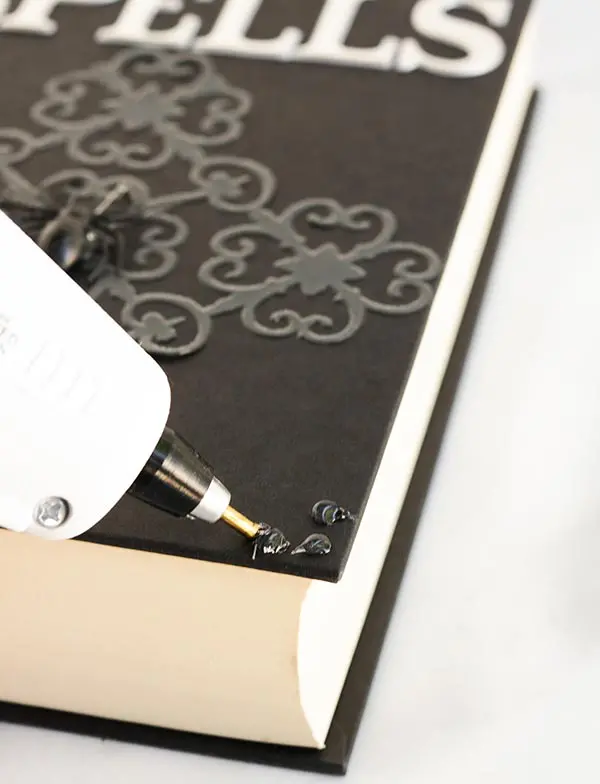
Use a glue gun to make studs, or any desired patterns on the cover. Also, attach any embellishments that you would like to be black.
Make sure your paper towel is separated into one ply and moisten with a couple of drops of water. Squeeze out any excess. You want it to be barely damp.
Place the book open with the hardcover sides facing up. Apply a layer of mod podge on the book and begin applying the paper towel in small sections to the cover, back and spine. You want to make small wrinkles and work the pieces around your foam letters.
Apply another layer of mod podge over the entire book cover (including the back and spine) using a dabbing motion. Then use the hairdryer for about 5 minutes to dry.
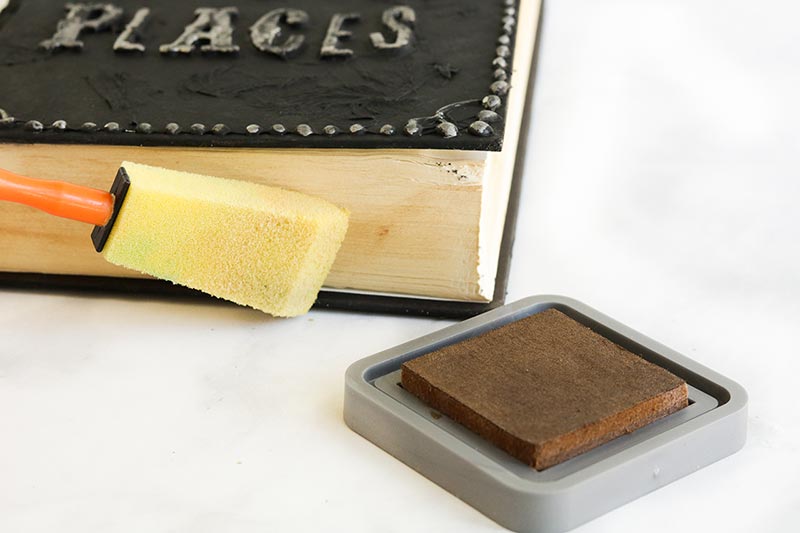
Using a sponge paint brush, apply black paint to the entire cover, back and spine of the book. Use the hairdryer again for about 5 minutes to dry the paint.

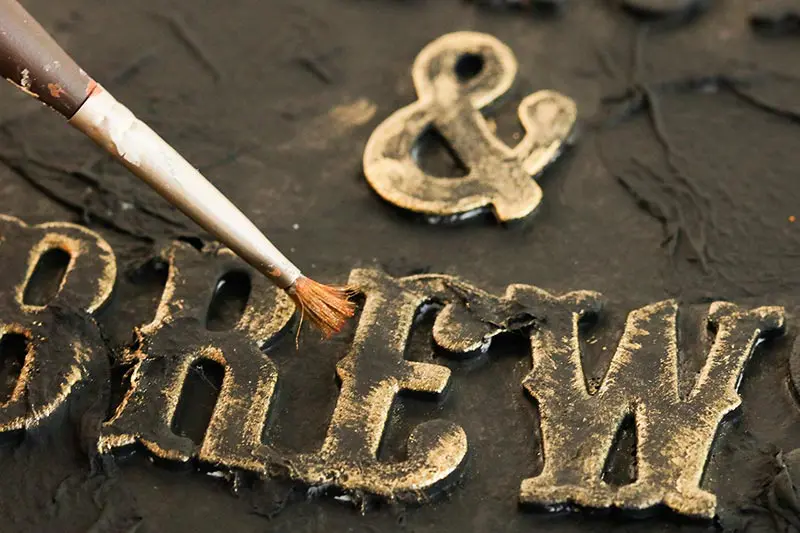
Take the small bristle brush to apply metallic paint to the lettering and any embellishments that were applied. Use the hairdryer again for about 5 minutes to dry the paint.

Use the distressing ink to apply stain to the edges of the book pages. Crumble and bend the pages without tearing them to give your grimoire an old, worn in look.
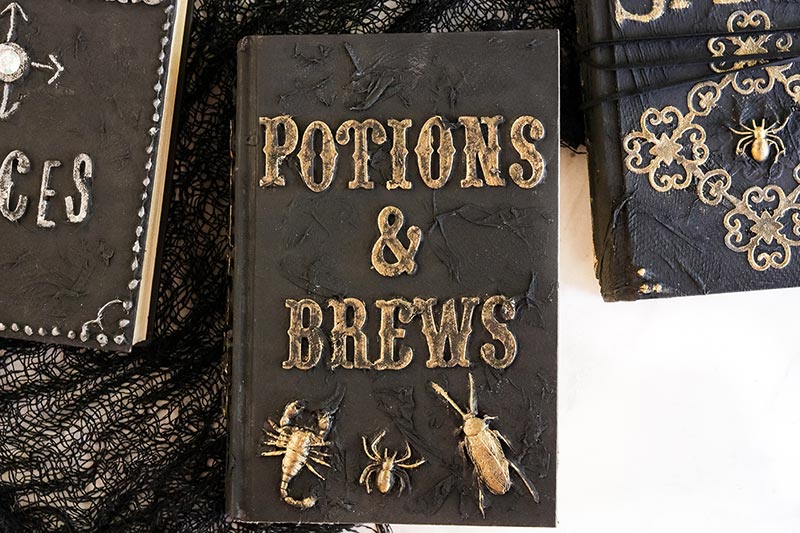
Finish your craft by adding gems or wrapping in ribbon or suede. You now have your very own wizard spell book!

Where Can I Find Old Hardcover Books to Use?
The great thing about this project is that you can use whatever old books you have laying around the house.
In fact, it’s a wonderful way to breathe new life into an outdated book!
If you don’t happen to have any vintage hardcover books lying around, try looking in your local thrift stores or search for some at garage sales.
Tips and Tricks for Making DIY Spell Books
- To achieve a raised metallic effect on the side of your book, uses pieces of damp paper. Get the paper wet and tear into pieces. Then mold them onto the book using mod podge.
- Create the look of a “compass” on your book cover by using hot glue and a fake coin.
- The pattern on the front of the spell book in the photo was created using 3D stickers. The possibilities for embellishment materials are truly endless!
- Try mixing golds and silvers for a really interesting look.
- For a magical glowing effect, attach LED lights to the book cover and embellishments with hot glue.
- You can also use acrylic paint and an artist’s brush for added detail around the edges of your spell book.
- Add feathers, fake spider webs, or dried flowers to give your book some extra texture.
- For a truly unique look, try using an old vintage leather journal as the base for your book instead of hardcover. This will give your spellbook a one-of-a-kind appearance!
More Halloween Decoration Crafts
If you’ve enjoyed crafting your personalized spell book, don’t stop there! There are many more Halloween decoration crafts that you can create to add even more spooky charm to your home. Check out these standout projects that are fun, imaginative, and surprisingly easy to make!
- 19 DIY Halloween Decorations
- Spider Stairs – super simple indoor decor idea from Charleston Crafted!
- 4 Halloween Pool Noodle Crafts
- Black Crow Frame Wreath from Oh My Creative
- 3 Easy Kawaii Inspired Flower Pot Crafts for Halloween
In conclusion, crafting a DIY spell book is more than just a fun Halloween activity – it’s a chance to let your creativity run wild! With a little bit of imagination, some basic craft supplies, and our handy tips and tricks, you can transform an ordinary book into a magical masterpiece.
Whether you’re planning a spooky party, tricking out your home for the holiday, or constructing a stunning wizard’s costume, a custom-made spell book can truly enhance the Halloween atmosphere.
So go ahead, get crafting and create a piece of Halloween decor that’s truly bewitching!

DIY Wizard Spell Book Craft Project
This spell book craft is a fun homemade Halloween decoration to make. Perfect for Halloween decor and as a DIY spellbook prop for a costume.
Materials
- 3 hardcover books
- Foam, puffy or 3D letter stickers
- Embellishments of choice (plastic bugs, gems, stickers)
- Mod Podge
- Paper Towel
- Black Paint
- Metallic Paints
- Distress Ink
- Ribbon or suede
Tools
- Hot Glue Gun with extra glue sticks
- Small Bristle Paint Brush
- Foam Brush
- Hairdryer
Instructions
- Glue foam stickers on the cover and along the spine to create your titles. Examples: Spells, Potions, Curses
- Use a glue gun to create patterns if desired and attach any embellishments that you would like to paint black.
- Separate paper towel into one ply and rip into smaller pieces. Get paper towel moistened with only a couple of drops of water. Squeeze out the excess. You want it to be barely damp.
- Open the book and place it pages side down. Apply a layer of mod podge on the hardcover book.
- Add paper towel pieces in small sections to the cover, back and spine. Make small wrinkles in it and work the pieces around any lettering.
- Dab another layer of mod podge over the paper towel.
- Use the hairdryer for about 5 minutes to help it dry.
- Apply black paint using a sponge/foam paint brush. Dab paint to coat the entire cover, back, and spine. Go over letters and embellishments too.
- Use the hairdryer again for about 5 minutes to dry the paint.
- Apply metallic paint (such as gold or silver) using a small bristle brush to the lettering and any embellishments that were applied.
- Use the hairdryer again for about 5 minutes to dry the paint.
- Apply distressing ink to stain the edges of the pages. This will make the book look older.
- Crumble and bend the pages without tearing them to create a worn in look.
- Finish by adding gems or wrapping the book cover in ribbon/suede.
Recommended Products
As an Amazon Associate and member of other affiliate programs, I earn from qualifying purchases.


Darcy is the founder of “Life With Darcy and Brian,” where she combines her love for education, board games, and crafting to create engaging learning experiences for kids. Her creative projects and writing have been featured in outlets like The Toy Insider, CafeMom, Mom.com, Parents.com, Country Living, and The Pioneer Woman.
Donna @ Modern on Monticello
Thursday 21st of September 2023
Great project and tutorial! This post will be a feature this week. #HomeMattersParty
Katie
Friday 15th of September 2023
So cute Darcy! Featuring you again at the Happiness Is Homemade Link Party #497 going live on Sunday!
Darcy Zalewski
Friday 15th of September 2023
Thank you so much, Katie!