
Are your kids fascinated by the beauty of gorgeous butterflies? If so, then let their creativity soar with this delightful Coffee Filter Butterfly craft! This engaging project is perfect for spring, allowing children to express themselves while learning about these captivating creatures.
Plus, we have a variety of other fun and educational butterfly activities for kids that can complement this craft, making it simple for you to plan a themed week full of exploration and discovery. Whether you’re looking to create a butterfly unit study or want to keep the kids entertained, there’s plenty of inspiration to make learning enjoyable!
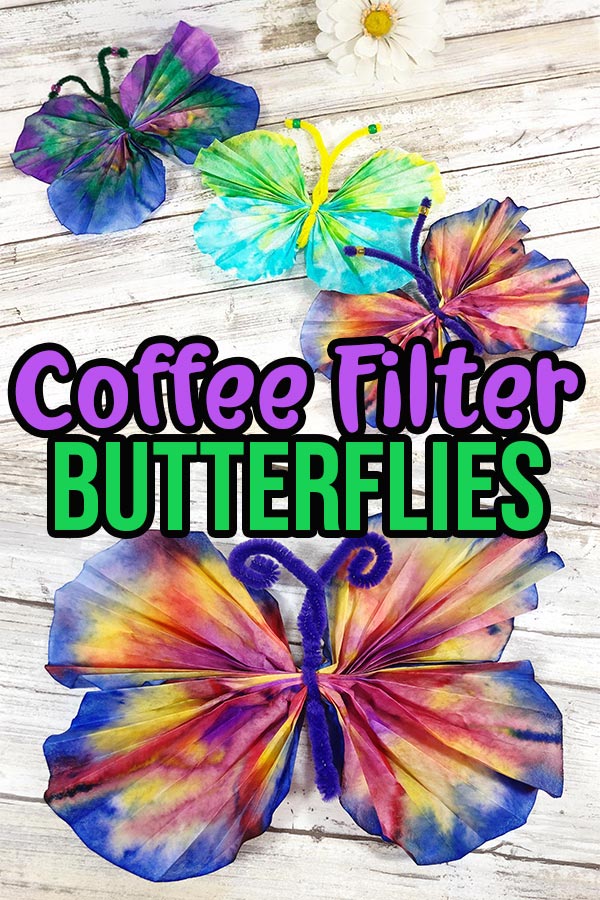

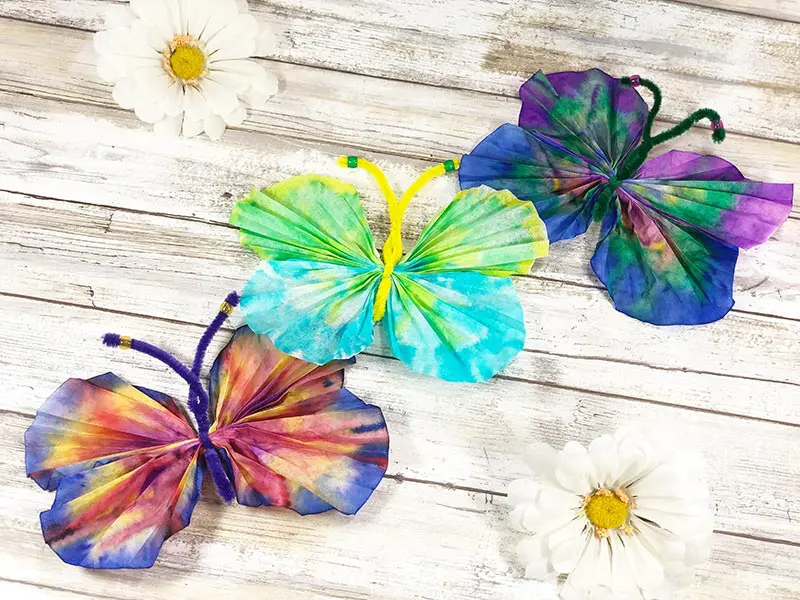
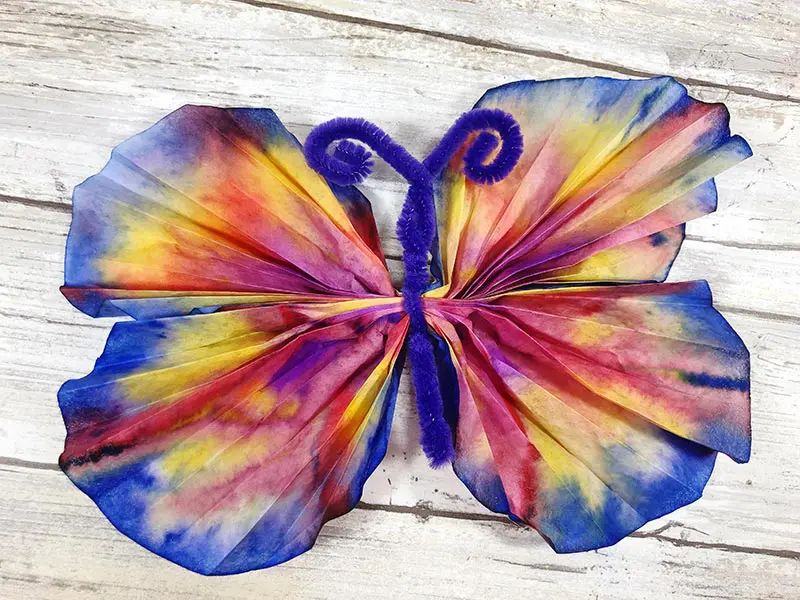
These tie dye coffee filter butterflies are quick and easy for kids to create and a great exercise in color theory and blending!
I love how simple and fun coffee filter crafts are for kids of all ages. They will love watching the colors blend.
This project is perfect for preschoolers and kindergartners, but even toddlers can help tie dye the filters.
Older kids can also create these butterflies with minimal assistance.
Once complete, hang your coffee filter butterflies on the wall or in the window for a pretty decoration.
Fun Coffee Filter Craft Projects
Discover even more fun coffee filter crafts for kids that ignite creativity and imagination! With a few basic craft and household supplies, you can make dozens of colorful creations.
Check out the exciting projects we have listed below for endless crafting fun!
- Coffee Filter Rainbow Craft
- Earth Day Coffee Filter Art
- Coffee Filter Leprechaun Craft
- Coffee Filter Umbrella Craft
- Turkey Coffee Filter Craft
This post contains affiliate links. As an Amazon Associate and a participant in other affiliate programs, we earn a commission on qualifying purchases.
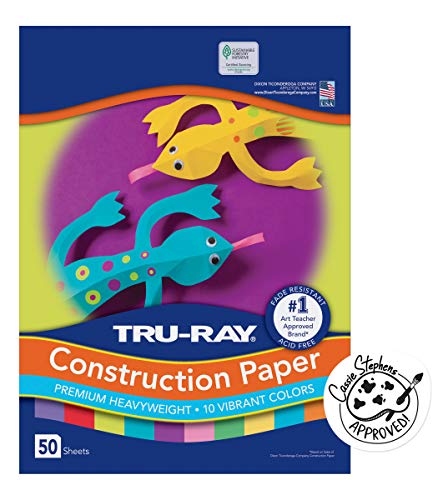
Crayola 588106 Washable Super Tips Markers, Assorted, 20/SetMelitta 600 Coffee Filters, Basket, Pack of 600, 8-12 Cups, WhiteCrayola Ultraclean Broadline Classic Washable Markers (10 Count), (Pack of 2)Mr. Pen- Washable WatercolorsAmazon Basics Basket Coffee Filters for 8-12 Cup Coffee Makers, White, 200 CountTru-Ray Construction Paper, 10 Vibrant Colors, 9


The Learning Benefits of Bug Crafts
Who knew that one beautiful bug craft could have so many learning benefits? There are many great opportunities to learn about colors, blending, counting, and, of course, butterflies!
Exploring the Science of Butterflies
Begin by exploring the fascinating science of butterflies through their life cycle. Kids of all ages will have fun learning about the transformation of a multi-colored butterfly from a less-than-inspiring caterpillar.
We offer a variety of engaging activities to teach each stage of this process, including a butterfly life cycle craft, a butterfly life cycle sensory bin, and a butterfly life cycle worksheet.
Understanding the Color Wheel
Once kids have learned this aspect, it’s time to introduce another learning opportunity that will assist in creating all art—the color wheel!
Learn about why some colors go well together, and others don’t.
Start by asking them to think of their favorite colors and why they like them together. Then, look at a color wheel and see if there’s a reason they pair up so well!

Can they make some new favorite combos using the wheel? Understanding color will make for more interesting art creation and viewing and open their eyes to new possibilities.
Counting Butterfly Colors
Now let’s talk about the high-flying part of a butterfly—its wings! Now that they’ve got a deeper understanding of science and color, it’s time to count them!
Using butterfly pictures or books, start counting and discussing. Does each color on each wing count once or twice? How many total colors are there? Per wing?
If they could have butterfly wings, how many colors would they want? Why?
This conversation with counting encourages them to go beyond just looking at a butterfly and seeing it simply as colorful and into why it’s so, too. Be sure to chart the answers for later review.
Discussing Symmetry in Nature
Now, to balance out their learning (there’s a joke coming in 3, 2, 1…), talk about symmetry! Do butterflies they’ve seen have wings that are the same or different?
The prompts here can encourage discussion on the number of wings, their colors, patterns, and sizes.
Why do they think they match up? What on their own bodies or other animal bodies match up?
Then, pose some silly questions to really get them thinking!
What would happen if feet were two different sizes? Or if one nostril was bigger than the other? How does symmetry help creatures of all types?

Bringing It All Together in Art
Before beginning to craft, ask them to apply what they’ve learned to their new bug friends. Or, of course, there’s always just art for art’s sake and they can go wild with the colors and symmetry too.
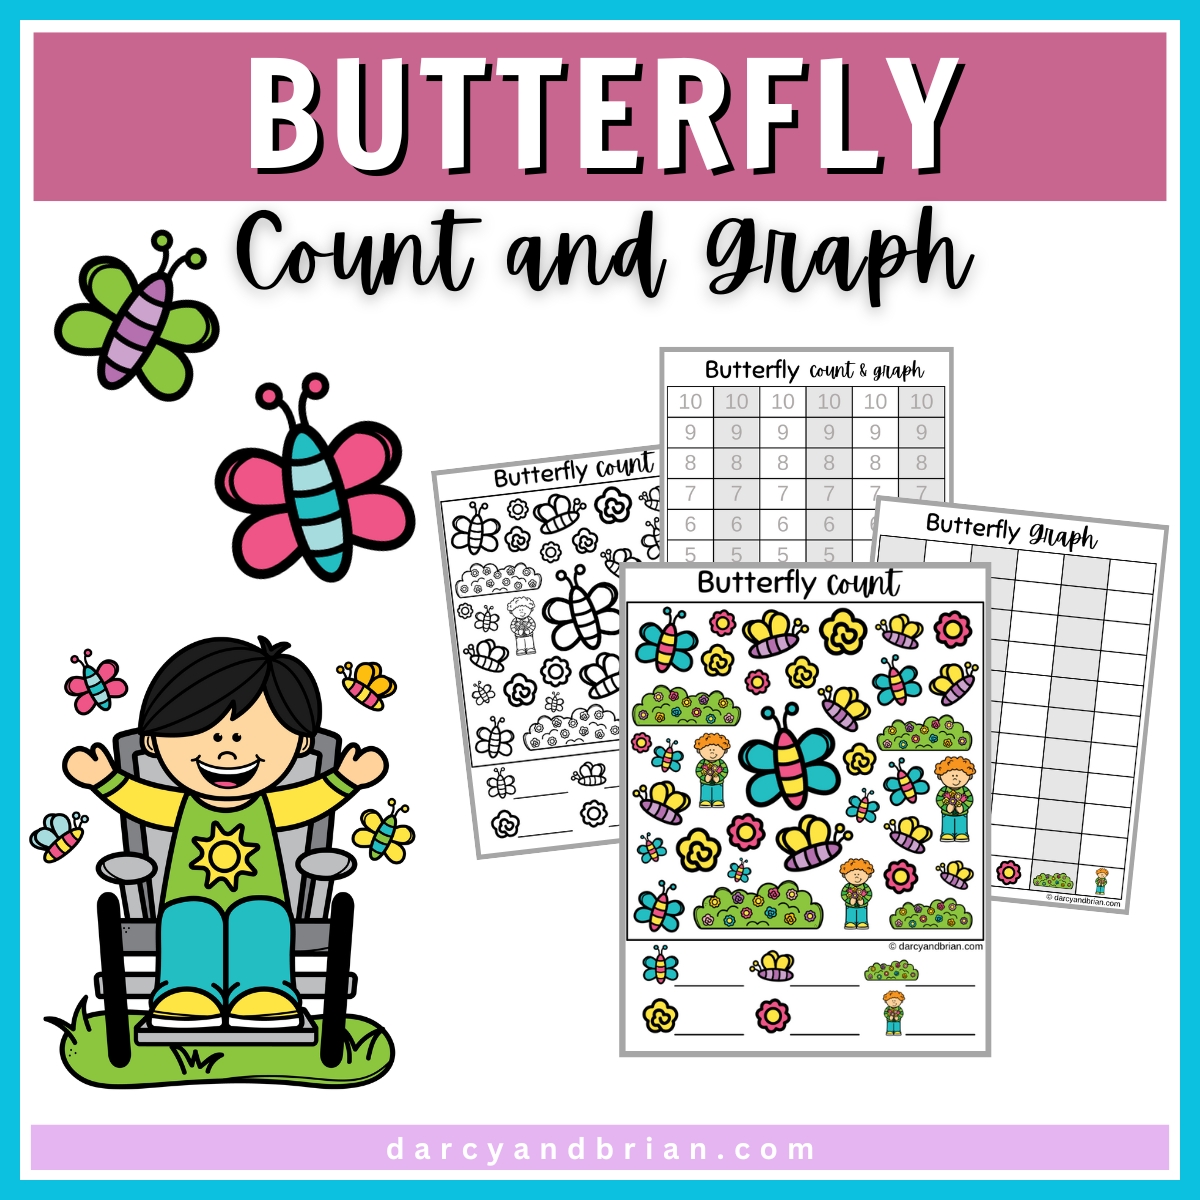
Butterfly Count and Graph Butterfly Bump Dice Game
Butterfly Coffee Filter Craft Supplies
To get started on your project, gather the following supplies. These materials are easy to find and might already be in your home.
Preparing everything beforehand will ensure a smooth and enjoyable crafting experience for kids of all ages.
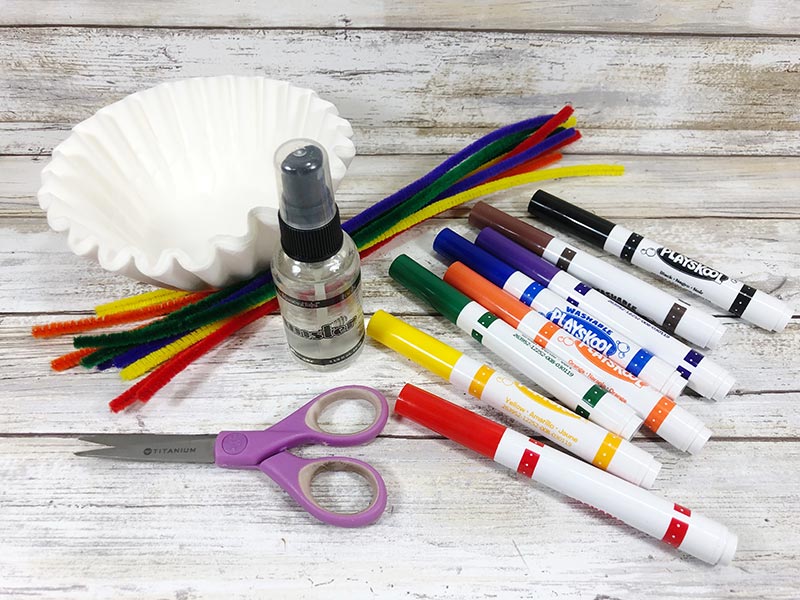

Here’s what you’ll need:
- Round White Coffee Filters (2 per butterfly)
- Washable Markers
- Chenille Stems in assorted colors (1 per butterfly)
- Pony Beads (2 per butterfly)
- Water Spray Bottle
- Gallon zip top bags or cookie sheet or wax paper (to lay filters on for drying)
Get 15 easy coffee filter craft tutorials conveniently all in one place for you with our Cute Coffee Filter Crafts digital craft book! Access it on your phone, tablet, or computer any time.
How to Make Coffee Filter Butterflies
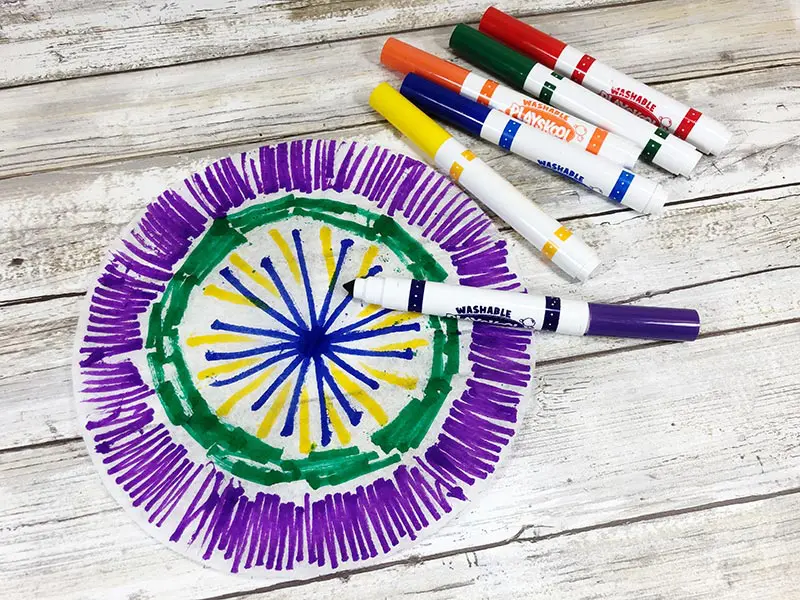
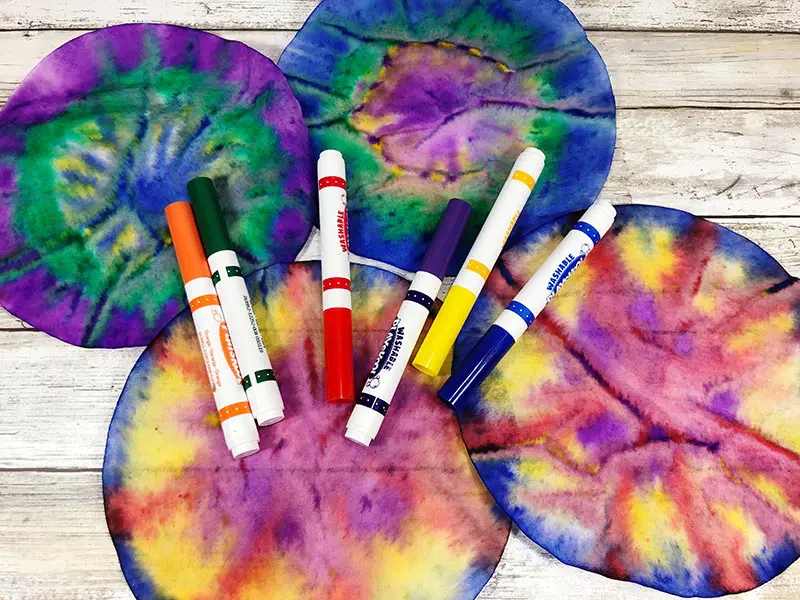
Lay out and flatten your round coffee filters. Draw random designs on the coffee filter with a variety of marker colors. Create two tie-dyed coffee filters for each butterfly.
Remember that some color combinations next to each other on the color wheel will become muddy once blended – red and green; blue and orange; yellow and purple.

After you are done coloring, place your colored coffee filter papers on a cookie sheet or plastic zip top bag. Then mist with water to watch the magic as the colors spread and blend!
TIP: Wax or freezer paper will work as well in place of a cookie sheet, but place an old towel underneath to protect your work surface.
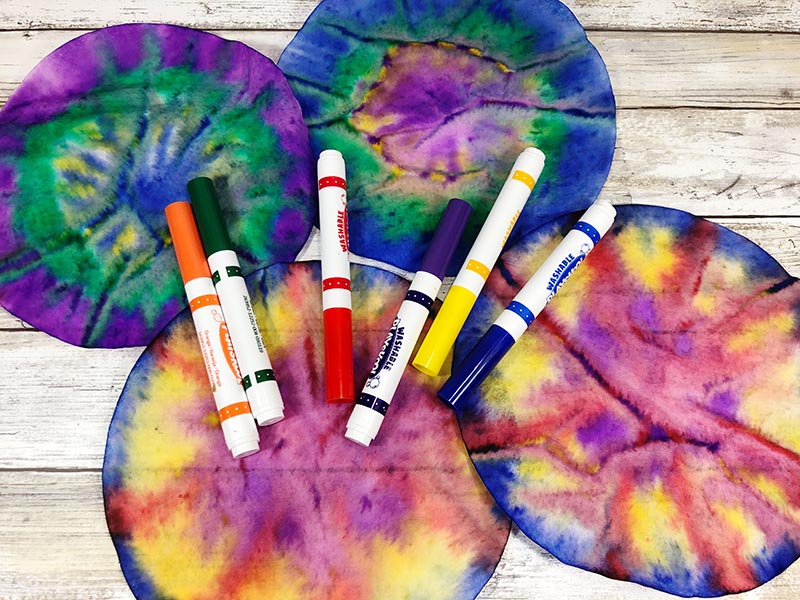
Set them aside to dry. Depending on the humidity, it will take about 1-2 hours for the filters to air dry. Some readers have suggested using a hair dryer to speed up the drying process.
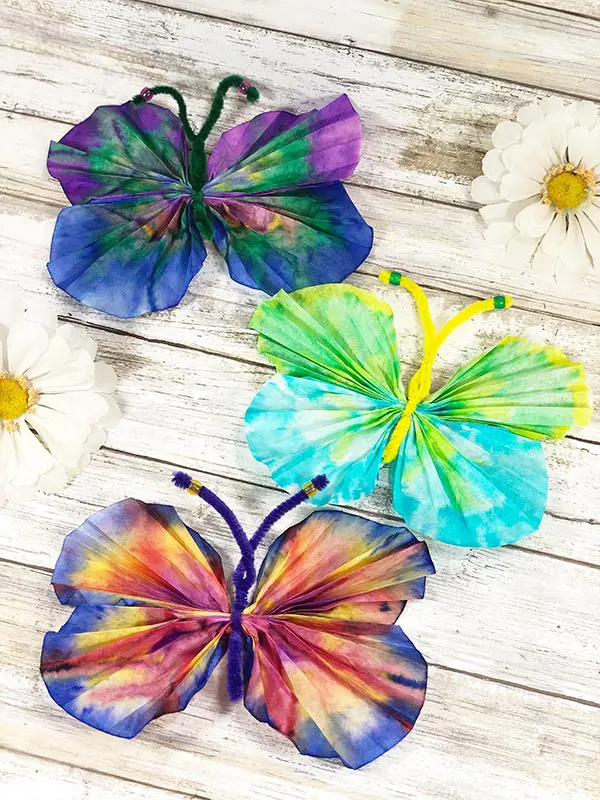
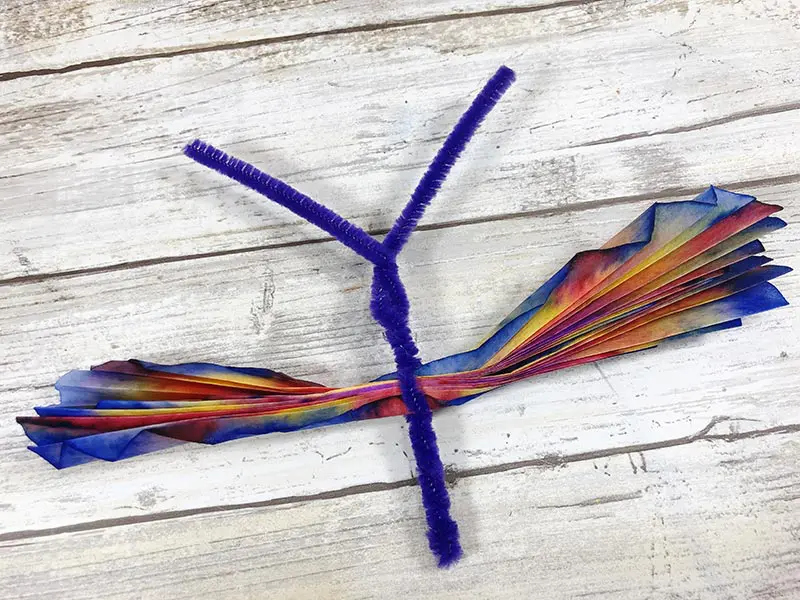
Fan fold two coffee filters to create wings for each butterfly.
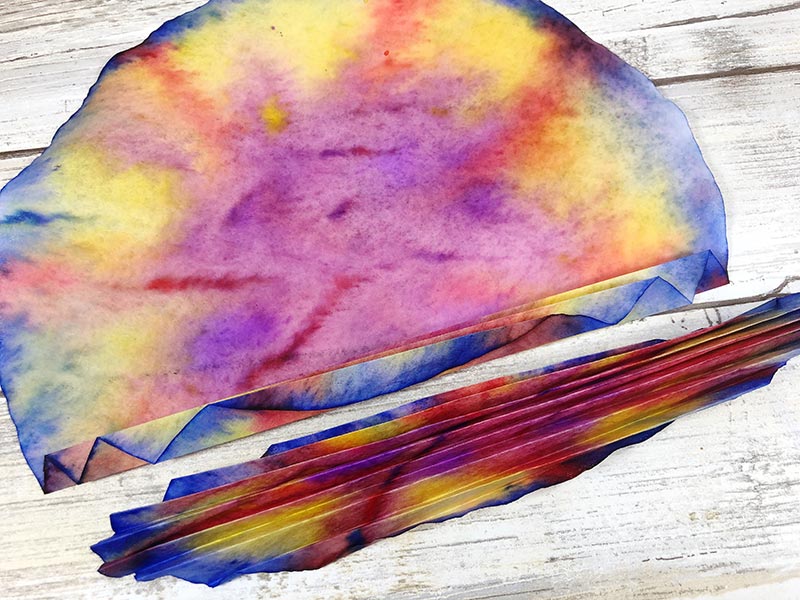
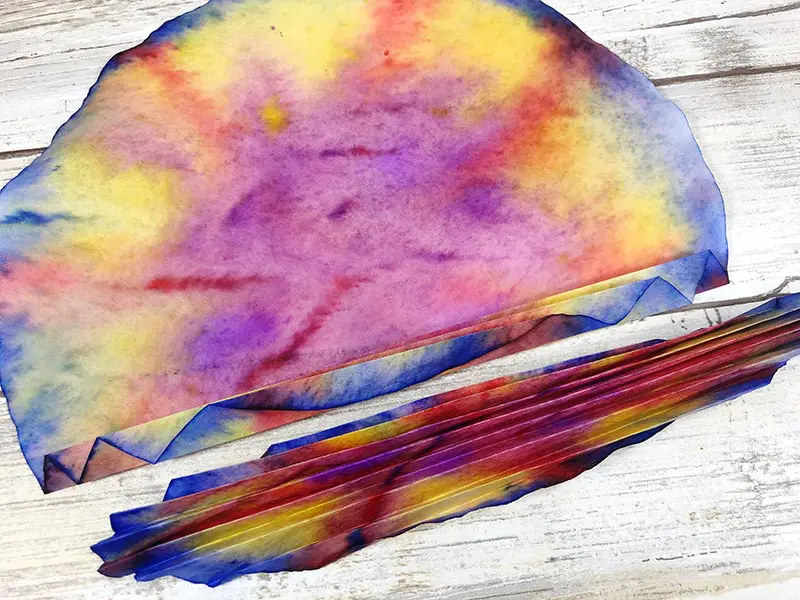
Stack fan folded coffee filters on top of each other, as pictured.


Fold the chenille stem in half and place coffee filters one-third from the base.
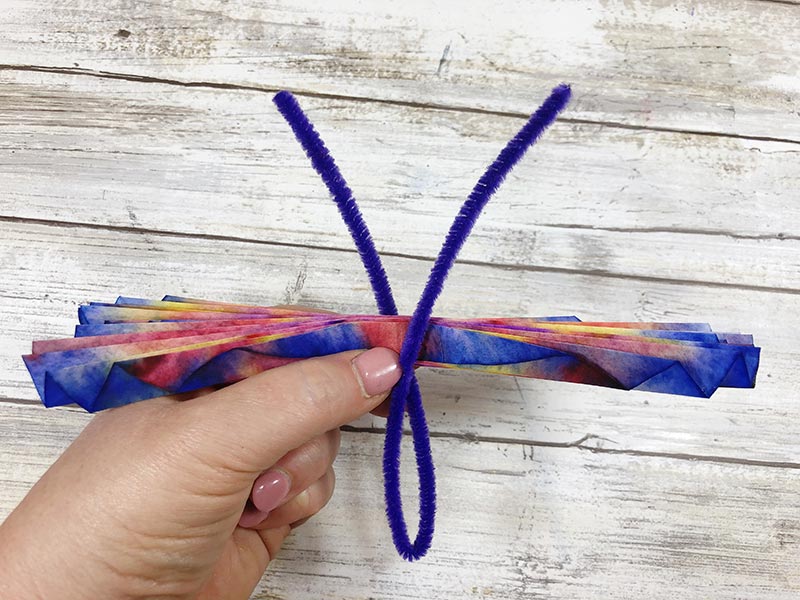
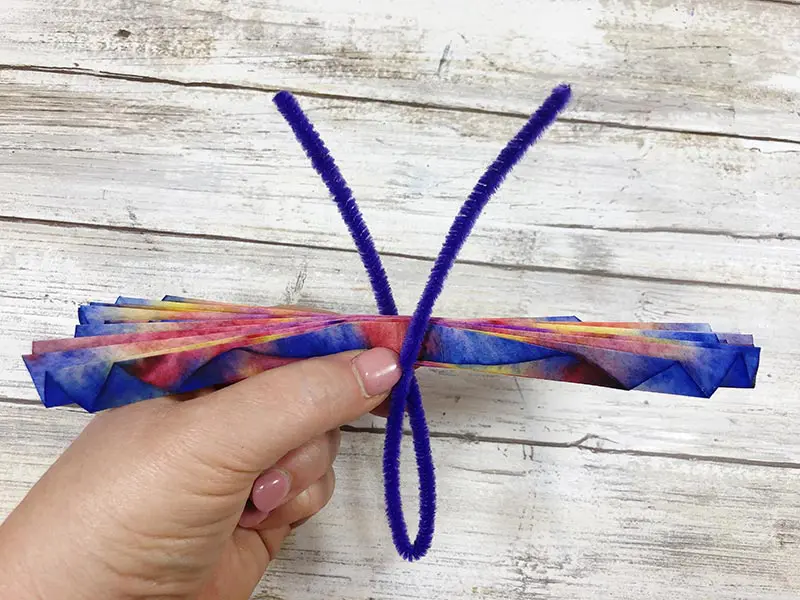
Next, twist the bottom loop of the chenille stem. Then twist once above the folded coffee filters, creating a tight section.
Leave a ½” loop and twist again to create the butterfly head. Leave the antennae straight for now.

Open and fluff out the wings of the butterfly. Pinch at the ends to retain the folds.

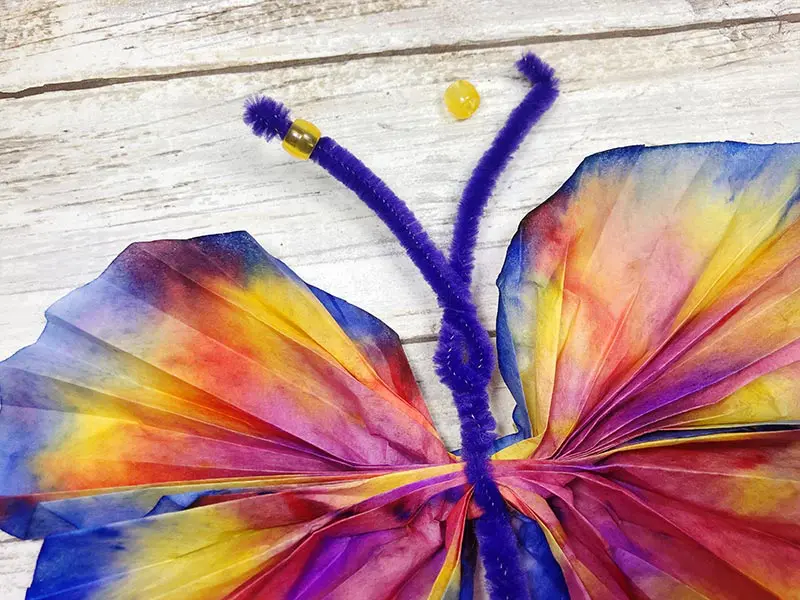
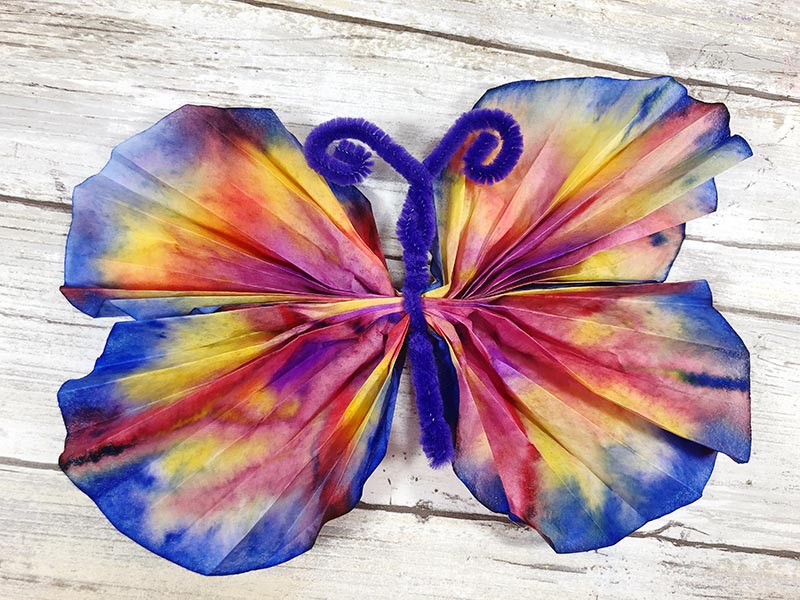
Thread a pony bead on the end of each antennae and curl them into a swirl. If you do not have beads, that’s OK! You can still bend the antennae to finish the butterfly’s look.
Engaging Insect Learning Activities
Engage your kids in a variety of exciting insect learning activities that combine fun with education!
From interactive crafts to informative worksheets, these activities cater to different learning styles and keep children entertained while they discover the fascinating world of insects.
Try some options below and watch your kids’ curiosity and knowledge about these incredible creatures grow.
- Coffee Filter Bumble Bee Craft
- Insect Unit Study
- Printable Praying Mantis Life Cycle Lapbook
- Coffee Filter Dragonfly Craft
- Ladybug Life Cycle Printable Activities
Butterfly Books for Kids
Butterflies are beautiful and captivating on their own, but another way to extend the fun is to incorporate literature.
Kids of all ages love a story, so feel free to read even a picture book to your older children. Here are some of our favorites.
Ten Magic Butterflies (McKellar Math)A Butterfly Is Patient: (Nature Books for Kids, Children’s Books Ages 3-5, Award Winning Children’s Books) (Sylvia Long)The Little Butterfly That Could (A Very Impatient Caterpillar Book)My, Oh My–A Butterfly! All About Butterflies (The Cat in the Hat’s Learning Library)Butterflies Are Pretty … Gross! (Nature’s Top Secrets)The Very Impatient Caterpillar (A Very Impatient Caterpillar Book)


More Spring Crafts for Kids
Celebrating the season can be a blast with creative spring crafts for kids. We have a ton of fun ideas to spark children’s imaginations and keep their little hands busy. From making adorable animals to crafting bright flowers, there’s something for every budding artist.
- Frog Paper Bag Puppet
- Fork Painted Bee Craft
- Popsicle Stick Rainbow
- Fork Painting Truffula Trees
- Soda Blossom Flowers
In conclusion, the Coffee Filter Butterfly craft is a great way to blend creativity with learning. It keeps children engaged while introducing important concepts in science, art, and symmetry.
By exploring the butterfly life cycle, understanding the color wheel, counting colors, and discussing symmetry, kids gain a well-rounded understanding of the natural world and enhance their artistic skills.
With many additional activities and spring crafts available, this project is just one of many ways to spark curiosity and creativity in young minds.
Gather your supplies and get ready for a colorful adventure that promises fun and educational benefits!

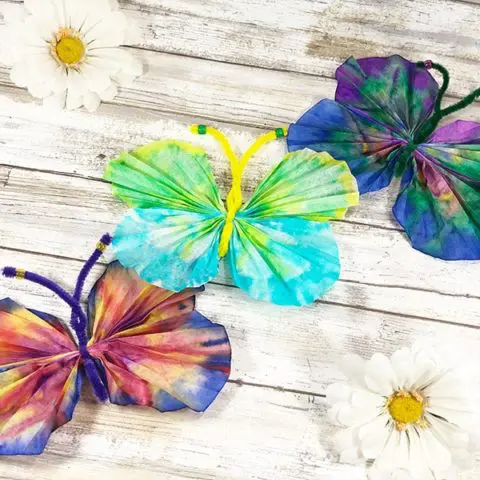
Coffee Filter Butterflies
Coffee filters and washable markers transform into a pretty butterfly craft for kids!
Instructions
- Lay out and flatten your round coffee filters. Draw random designs on the coffee filter with a variety of marker colors. Create two tie dyed coffee filters for each butterfly.
- Remember that color combinations next to each other on the color wheel will become muddy once blended – red and green; blue and orange; yellow and purple.
- Place your colored coffee filter papers on a cookie sheet or plastic zip top bag and mist with water to watch the magic as the colors spread and blend!
- TIP: Wax or freezer paper will work as well in place of a cookie sheet, but place an old towel underneath to protect your work surface.
- Set them aside to dry. Depending on the humidity, it will take about 1-2 hours for the filters to air dry. Some readers have suggested using a hair dryer to speed up the drying process.
- Fan fold two coffee filters to create wings for each butterfly.
- Stack fan folded coffee filters on top of each other, as pictured.
- Fold the chenille stem in half and place coffee filters one-third from the base.
- Twist the bottom loop of the chenille stem. Twist once above the folded coffee filters, creating a tight section.
- Leave a ½” loop and twist again to create the butterfly head. Leave the antennae straight for now.
- Open and fluff out the wings of the butterfly. Pinch at the ends to retain the folds.
- Thread a pony bead on the end of each antennae and curl them into a swirl.
Notes
Drying time may vary.


Darcy is the founder of “Life With Darcy and Brian,” where she combines her love for education, board games, and crafting to create engaging learning experiences for kids. Her creative projects and writing have been featured in outlets like The Toy Insider, CafeMom, Mom.com, Parents.com, Country Living, and The Pioneer Woman.