Celebrate the spooky season with delightful Halloween crafts for kids! One such craft that is perfect for both kids and adults alike is making this adorable bat tea light craft.
In just 15 minutes or less, you can create these charming decorations that are sure to add a touch of enchantment to your Halloween festivities.
Not only is this craft incredibly easy to make, but it also serves as a fun family project where you can get the kids involved. Let’s dive into the step-by-step process of creating these delightful bat tea lights that will surely be a hit among your Halloween decorations.

This post contains affiliate links. As an Amazon Associate and a participant in other affiliate programs, we earn a commission on qualifying purchases.
Want more bats? Check out this tissue paper bat, bat suncatcher craft, these coffee filter bats, and printable bat life cycle worksheets.
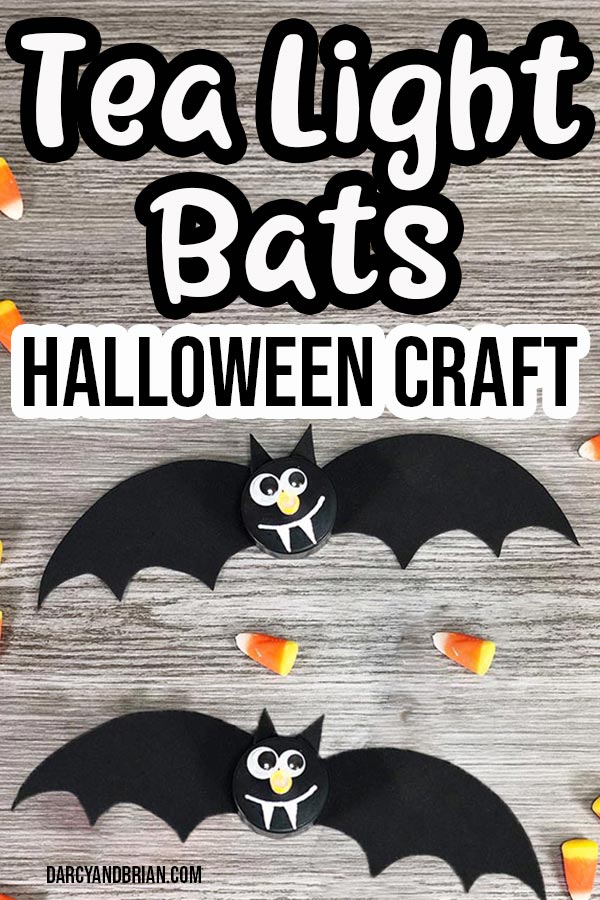
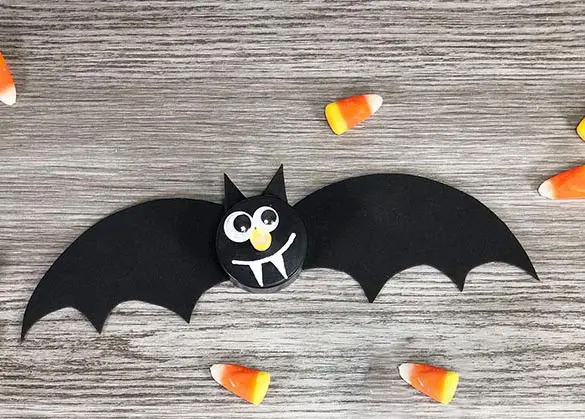
Bat Tea Light Halloween Craft
Transform battery operated tea lights into little bats using a few simple craft supplies. These tea light bats are an adorable, non-spooky way to light up your Halloween party food table.
You can also string them together to create a banner, add a loop to make a hanging decoration (perfect for a Halloween tree!), or even a small magnet to stick on your fridge.
These bat tea lights are a good project to make with kids. They can help trace the patterns and cut out the wings and ears. Children can also draw on the bat’s mouth and fangs.
We highly recommend using hot glue to assemble this project because it is more durable and dries quicker. Plus, some crafting materials are just tougher to sticker together with other types of glue.
Always discuss how to safely use a hot glue gun with kids and supervise them. We recommend using a low temp glue gun.
If you need an alternative to hot gluing, we recommend using this tacky craft glue. Your project will take longer to dry and may be more fragile when handling.
Bat Tea Light Craft Supplies:
- Black Battery Operated Tea Lights
- Black Craft Foam
- Googly Eyes
- White Paint Marker
- Low Temp Glue Gun and Glue Sticks (or tacky craft glue)
- Scissors
- Pencil
- Halloween Tea Light Patterns PDF
Also check out our ghost tea light craft and pumpkin tea light craft.
How to Make Tea Light Bats:
Start by gathering all of your supplies.
Download, print and cut out the Halloween Tea Light Patterns. You can also draw or cut the pieces freehand.
Remove the flameless, battery operated tea lights from the packaging, pull the tab in the back and make sure the flame lights up. Place the on/off switch at the 6 o’clock position and set it down.
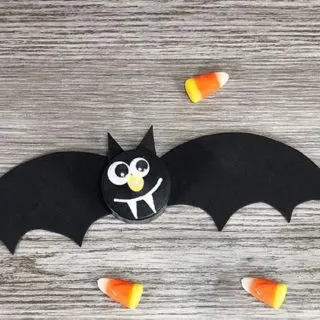
Now it’s time to add the face! Glue two googly eyes above the pretend flame. Using two different size eyes gives the bat a cute, silly look.
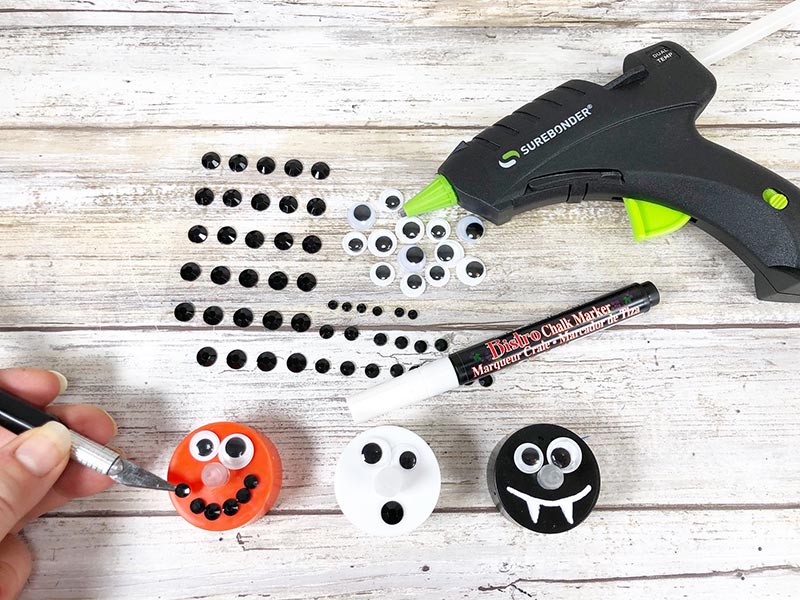

Next, use the white paint marker to draw the mouth and fangs below the flame.
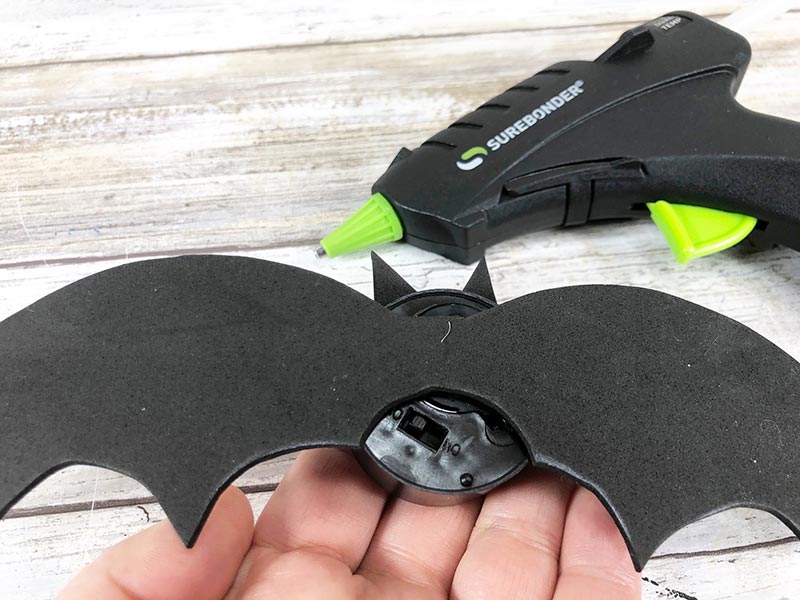
Then trace the bat wings onto black craft foam and cut them out with scissors. Also, cut two small triangles and glue them to the top of the tea light as ears.
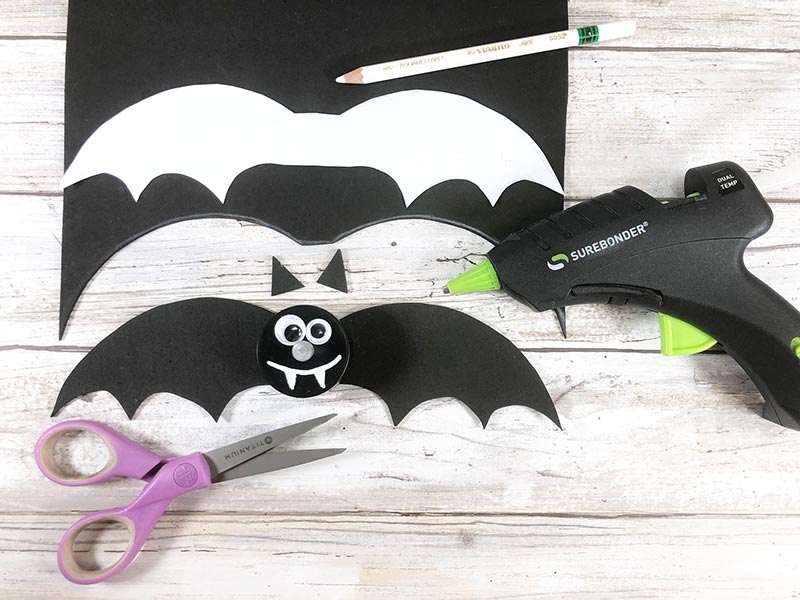
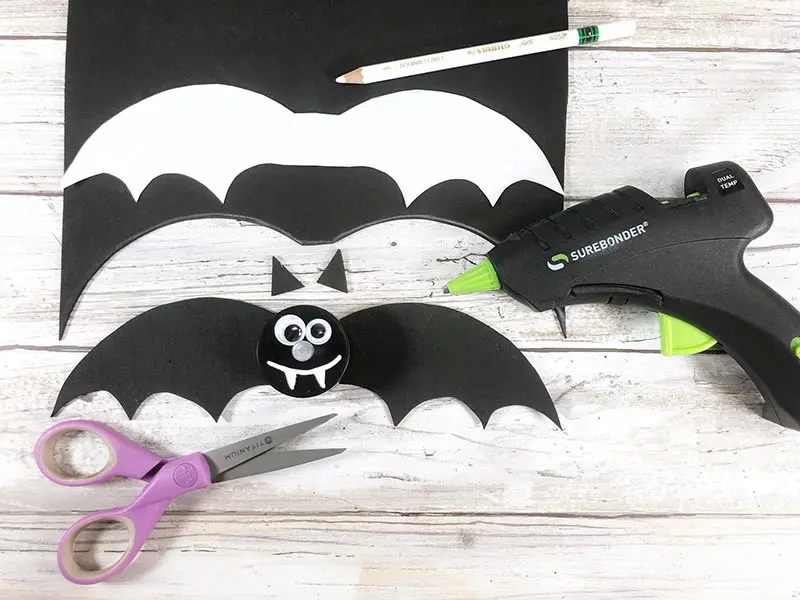
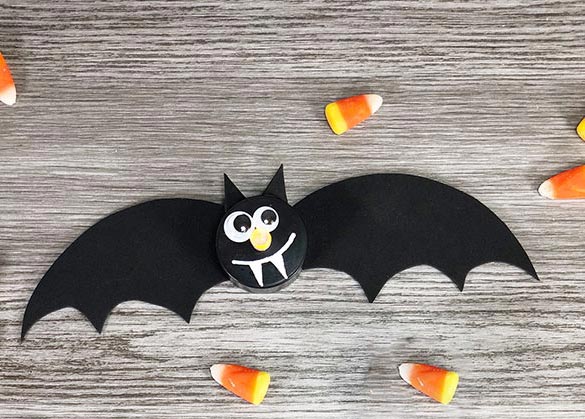
Make sure that the on/off switch of the votive is at the bottom and glue the bat wings above the switch with a hot glue gun.

Now your tea light bat is complete! You can easily make more and get into the Halloween spirit!
Did you make this project with your kids or students? We’d love to see it! Take a picture of it, then visit our Facebook page and show us!
More Halloween Activities:
- Creepy Monster Eyeball Tea Light Craft
- DIY Spellbook Craft
- Halloween Pool Noodle Crafts
- Best Halloween Games for Kids
- 20 Witch Crafts
- Free Halloween Printables

Bat Tea Light Craft
Create cute little light up bats with this Halloween tea light craft!
Instructions
- Download, print and cut out the Halloween Tea Light Patterns. You can also draw or cut the pieces freehand.
- Start by gathering all of your supplies. Remove the flameless, battery operated tea lights from the packaging, pull the tab in the back and make sure the flame lights up. Place the on/off switch at the 6 o’clock position and set it down.
- Now it’s time to add the face! Glue two googly eyes above the pretend flame. Using two different size eyes gives the bat a cute, silly look.
- Next, use the white paint marker to draw the mouth and fangs below the flame.
- Then trace the bat wings onto black craft foam and cut them out with scissors. Also, cut two small triangles and glue them to the top of the tea light as ears.
- Make sure that the on/off switch of the votive is at the bottom and glue the bat wings above the switch with a hot glue gun.
Notes
Drying time may vary depending on type of glue used.


Darcy is the founder of “Life With Darcy and Brian,” where she combines her love for education, board games, and crafting to create engaging learning experiences for kids. Her creative projects and writing have been featured in outlets like The Toy Insider, CafeMom, Mom.com, Parents.com, Country Living, and The Pioneer Woman.