
This turkey popsicle stick craft is a quick and easy fall craft for kids to make at school or home. November is a popular time of year to plan Thanksgiving crafts for kids.
Using common craft supplies you can make this project in about 30 minutes. I love how simple yet adorable these are when finished.
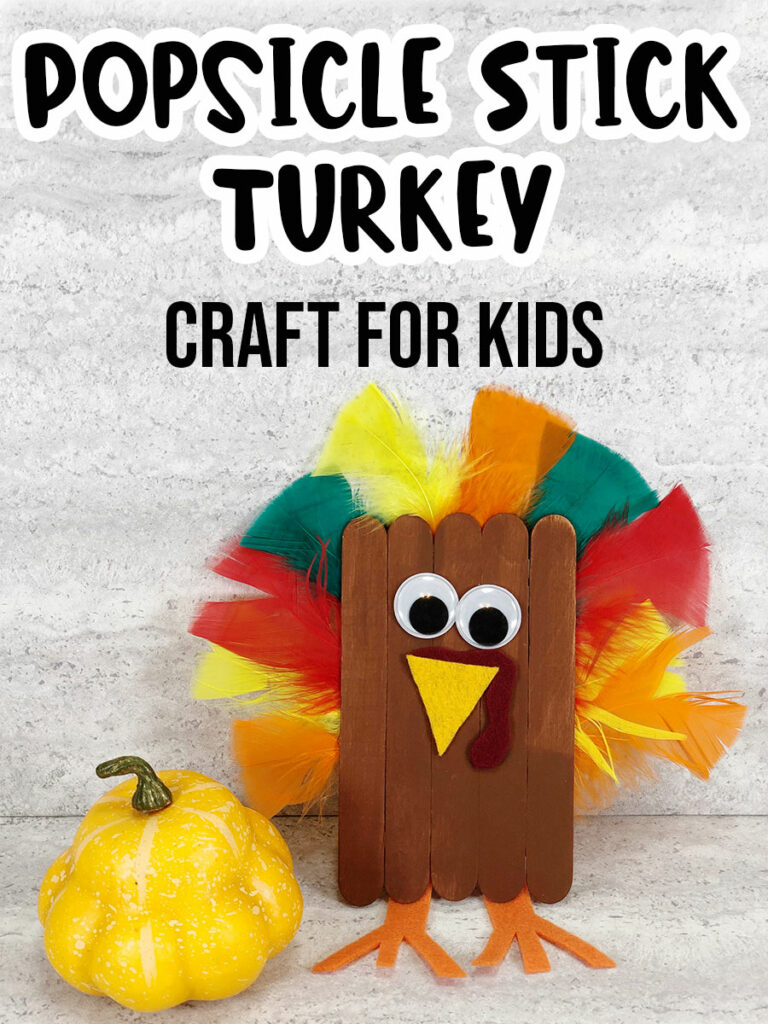
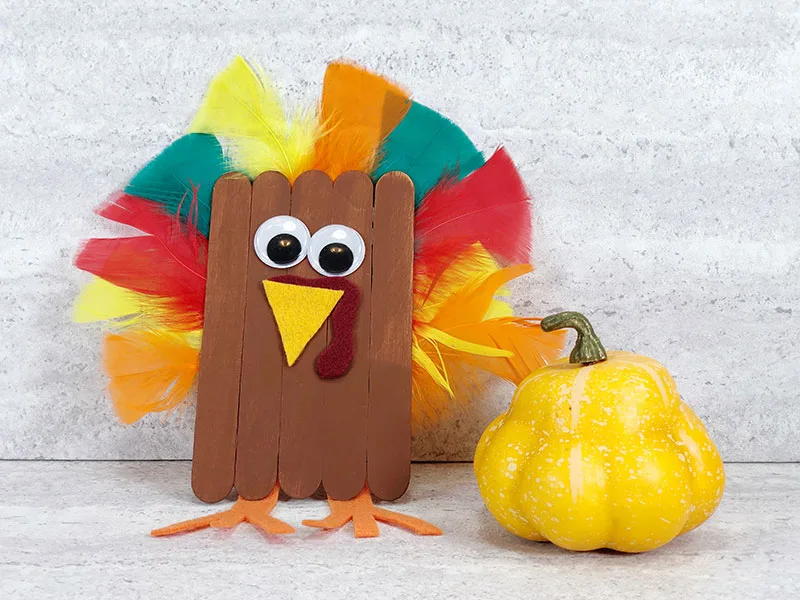
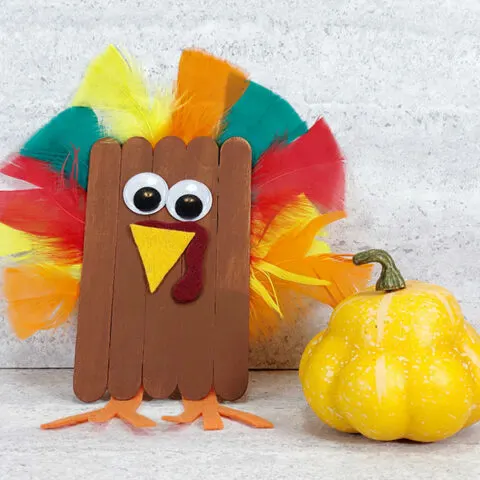
Kids will delight in transforming ice cream sticks into little turkeys using paint, wiggle eyes, and craft feathers!

Craft Stick Turkey Fall Craft
Easy, low prep crafts, such as with popsicle sticks, are my favorite projects, especially for younger kids.
This cute craft stick turkey is one of our simple fall activities for children. Creating these turkeys help preschool and kindergarten children to work on colors, shapes, cutting, and counting.
Younger children may need some assistance with assembly, but older elementary age children should be able to complete this project independently.
Painting, cutting out the pieces, and squeezing glue are all different ways for kids to strengthen their fine motor skills.
You can also cut out all of the felt parts ahead of time and let the children focus on painting and putting their turkeys together.
To practice counting, have them count out the five popsicle sticks for the turkey’s body, the 8-10 feathers, two feet, two googly eyes, one beak, and one snood.
After making a few regular turkey crafts this fall, let the kids get creative with different ways to transform their turkeys!
This whimsical turkey disguise project encourages children to help their turkey friend escape the Thanksgiving table by creating innovative disguises.
This activity not only stirs creativity but also introduces children to the concept of empathy and problem-solving in a playful way. Get ready for an exciting adventure full of giggles and creativity!

This post contains affiliate links. As an Amazon Associate and a participant in other affiliate programs, we earn a commission on qualifying purchases.
Turkey Popsicle Stick Craft Supplies:
For assembly, I recommend using my favorite tacky craft glue, but you can use another liquid glue with a fine tip applicator. It may take longer to dry though.
I suggest using a hot glue gun if you are creating a flock of turkeys for classroom decor!
Another idea is to use a marker to write names on the turkeys and use them as place cards for Thanksgiving dinner.

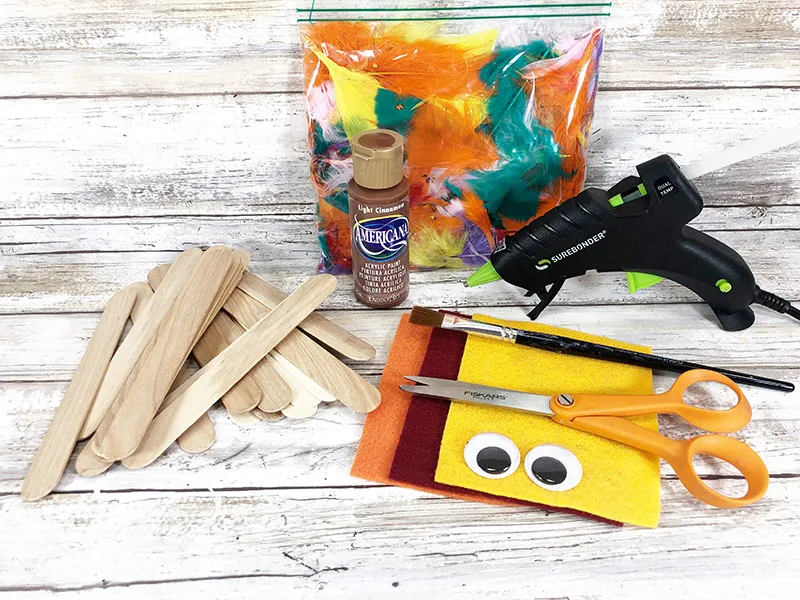
- 5-7 Jumbo Craft Sticks
- Craft Feathers in assorted colors
- 2 Googly Eyes
- Brown Acrylic Craft Paint
- Craft Felt in Orange, Yellow, Red
- Tacky Craft Glue or Low Temp Glue Gun
- Scissors
You can use liquid craft glue instead of a hot glue gun for this project, but you will have to wait for it to dry in between steps.
How to Make a Craft Stick Turkey:
Start with making the turkey’s body. To create the turkey, line up five jumbo craft sticks side by side on your work surface.
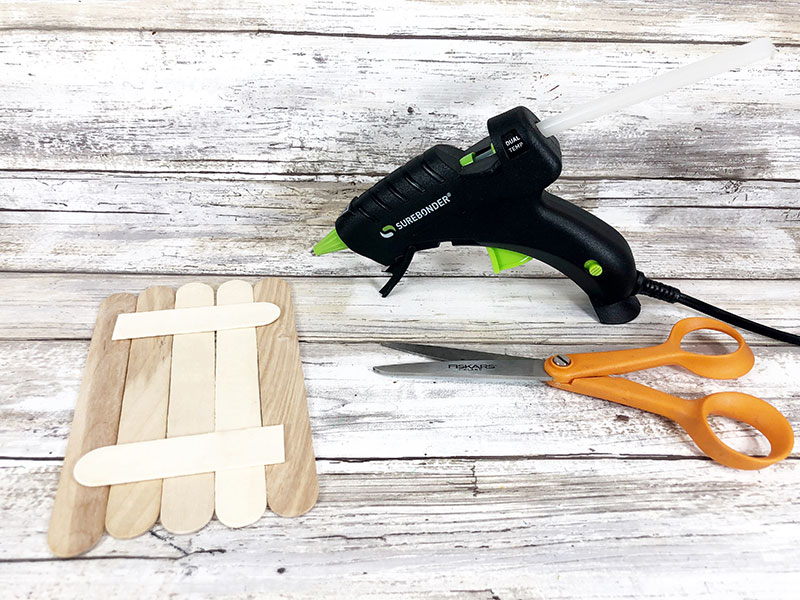

Use scissors to trim two additional jumbo craft sticks to the width of the turkey and glue across the back of the five sticks. You can also cut a rectangular piece of cardstock to glue the craft sticks onto.

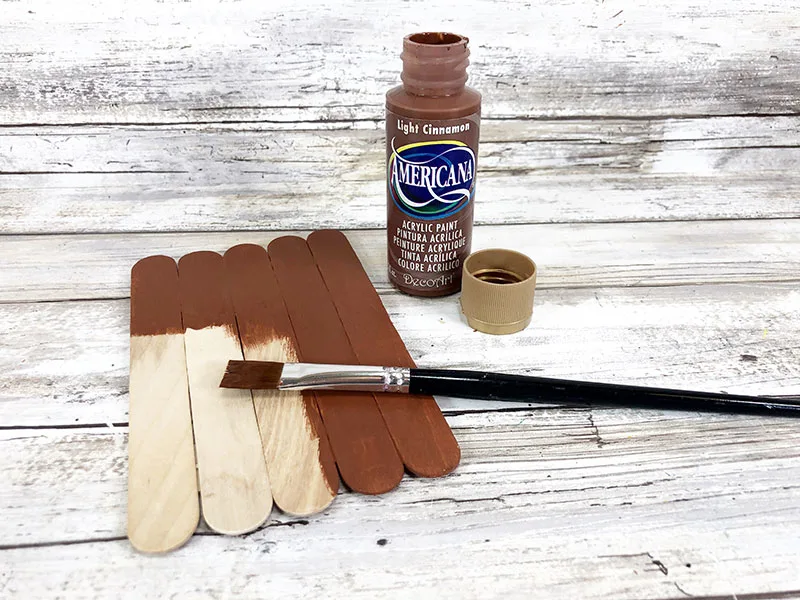
Then paint the front and sides of the turkey’s body with brown acrylic craft paint. Set aside to dry and apply a second coat, if needed.
Next cut out a triangle beak from yellow craft felt. Cut out a wiggly snood from red craft felt to hang down over the beak.
Cut out two orange felt turkey feet.
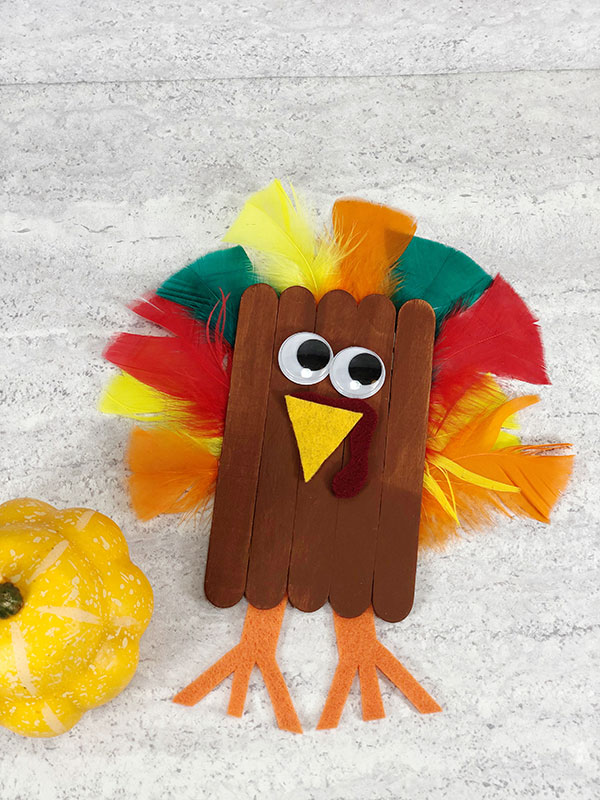
Once the paint is completely dry, glue on the eyes, beak, and snood to the front of the body. Set aside for glue to dry.
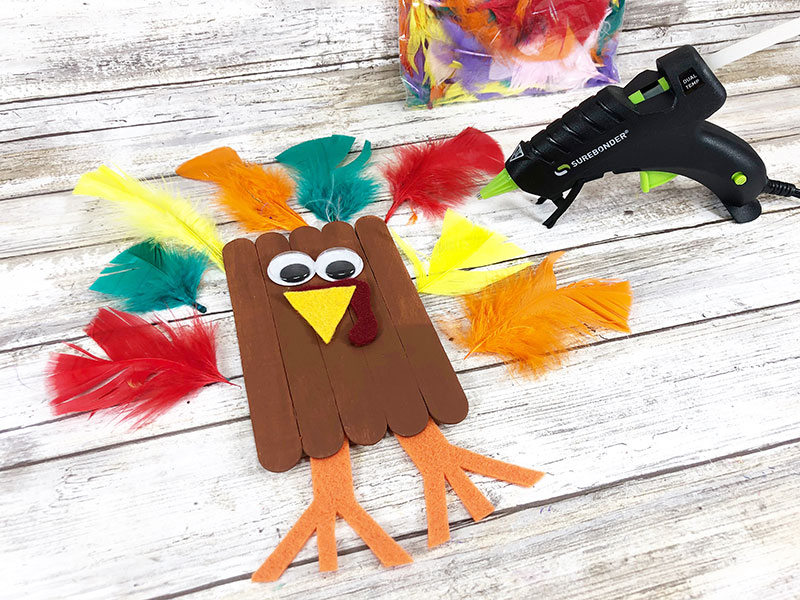

Pick out eight to ten craft feathers in various colors.
Tip: When opening a package of craft feathers, place all the feathers inside a zip top bag. Then pick your feathers out, one at a time, so the feather fluff doesn’t get all over your work surface.
Flip the turkey over and glue all of the craft feathers to the top back of the turkey and the feet to the bottom back. Set aside to dry completely.


Attach a magnet to the back to place the turkey on your fridge, hang it up someplace, or write a name on the front to use as a dinner place card.

If you are looking for more ideas of turkey crafts for kids to make, check out our coffee filter turkeys and thankful turkey bucket.
More Popsicle Stick Crafts:
- Monster Popsicle Stick Bookmark
- Dad Rocks Popsicle Stick Box
- Home Popsicle Stick Magnet
- Popsicle Stick Leprechaun Hat
- Popsicle Stick Rainbow
- Popsicle Stick Apple
- Popsicle Stick Pencil

Turkey Popsicle Stick Craft
Make a cute popsicle stick turkey for an easy fall craft for kids.
Materials
- 5-7 Jumbo Craft Sticks
- Craft Feathers in assorted colors
- 2 Googly Eyes
- Brown Acrylic Craft Paint
- Craft Felt in Orange, Yellow, Red
Tools
- Tacky Craft Glue or Low Temp Glue Gun
- Scissors
Instructions
- Start with making the turkey’s body. To create the turkey, line up five jumbo craft sticks side by side on your work surface.
- Use scissors to trim two additional jumbo craft sticks to the width of the turkey and glue across the back of the five sticks. You can also cut a rectangular piece of cardstock to glue the craft sticks onto.
- Paint the front and sides of the turkey’s body with brown acrylic craft paint. Set aside to dry and apply a second coat, if needed.
- Cut out a triangle beak from yellow craft felt. Cut out a wiggly snood from red craft felt to hang down over the beak.
- Cut out two orange felt turkey feet.
- Once the paint is completely dry, glue on the eyes, beak, and snood to the front of the body. Set aside for glue to dry.
- Pick out eight to ten craft feathers in various colors.
- Flip the turkey over and glue all of the craft feathers to the top back of the turkey and the feet to the bottom back. Set aside to dry completely.
Notes
You can use liquid craft glue instead of a hot glue gun for this project, but you will have to wait for it to dry in between steps.
When opening a package of craft feathers, place all the feathers inside a zip top bag. Then pick your feathers out, one at a time, so the feather fluff doesn’t get all over your work surface.
Attach a magnet to the back to place the turkey on your fridge, hang it up someplace, or write a name on the front to use as a dinner place card.


Darcy is the founder of “Life With Darcy and Brian,” where she combines her love for education, board games, and crafting to create engaging learning experiences for kids. Her creative projects and writing have been featured in outlets like The Toy Insider, CafeMom, Mom.com, Parents.com, Country Living, and The Pioneer Woman.