
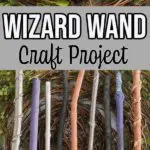
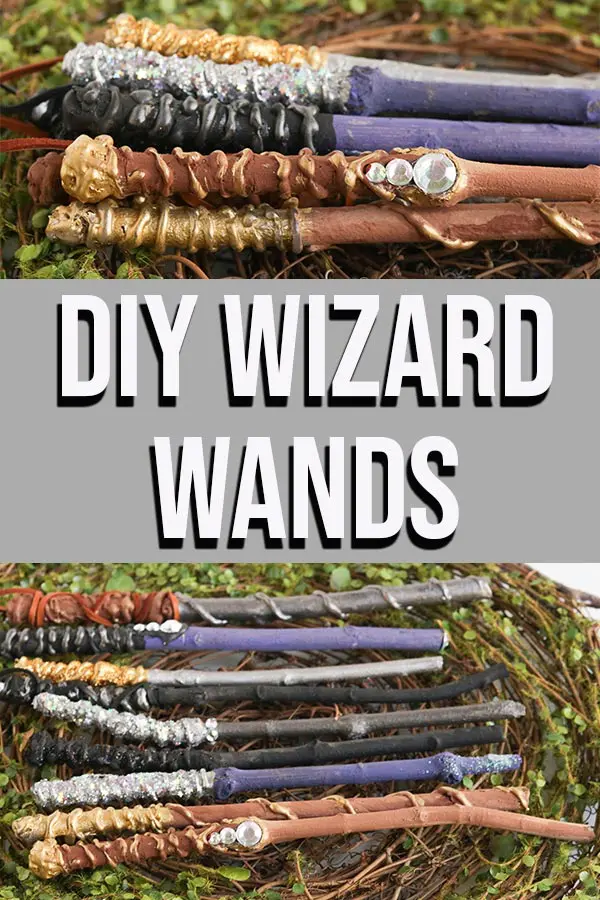
Are you a fan of wizards, witches, and all things magical? If so, you’re in luck! In this blog post, we’ll show you how to make a wand out of a stick from your yard.
This fun and creative DIY project is one of our many Halloween crafts for kids. So grab your materials and get ready for a spellbinding adventure!
And don’t forget, printable directions are included at the bottom of this post. Let’s get started!

This homemade wand craft goes perfectly with our DIY spell book tutorial. Create your own magic wand to use for pretend play, as part of a costume, or for homemade Halloween decorations.
This post contains affiliate links. As an Amazon Associate and a participant in other affiliate programs, we earn a commission on qualifying purchases.
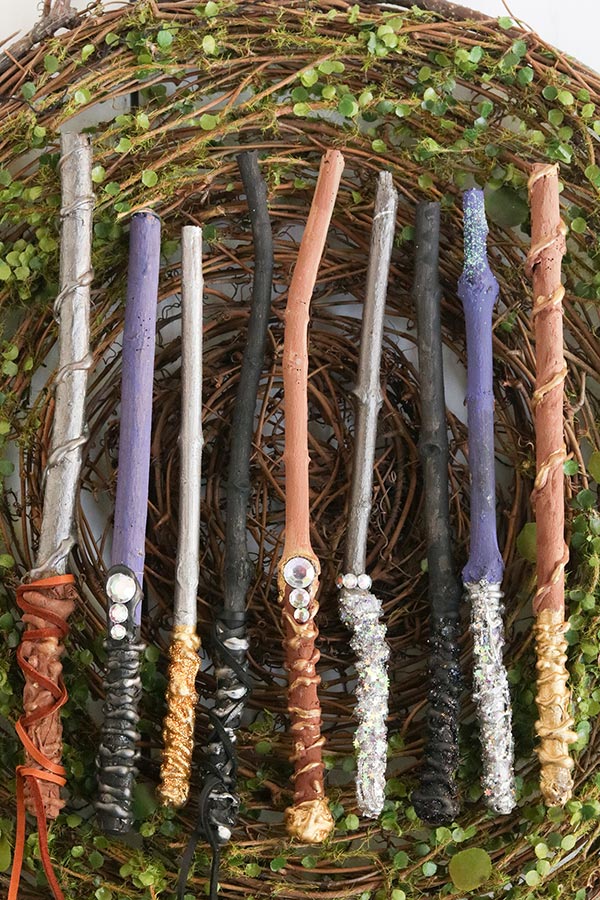
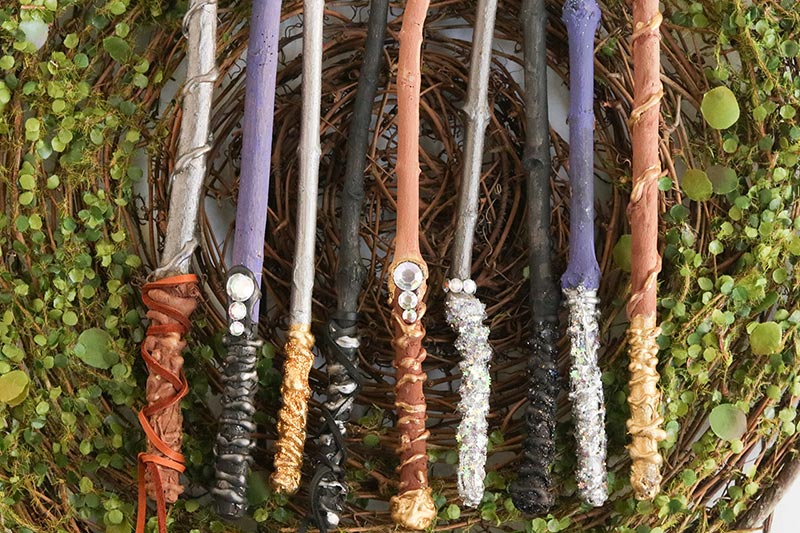
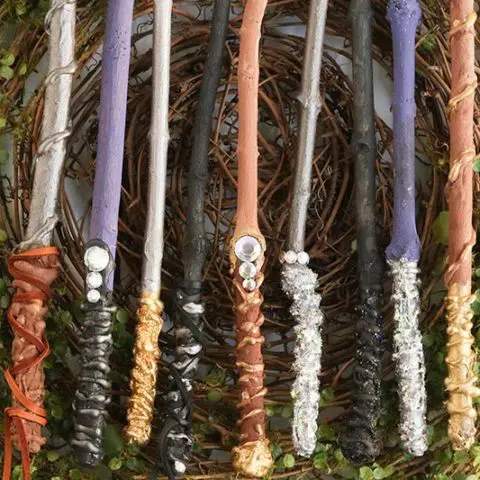
Wand Design Ideas
Whether you want to know how to make a Harry Potter wand or you just want to make a cool Halloween costume prop, this craft tutorial will give you the basics on creating your own unique wand.
The first step is gathering sticks. If your kids are stick collectors like my son, there will be an entire pile of them in the yard that you can use. They’ve already picked out the best of the best!
When selecting which sticks to use, don’t choose anything too perfect. The knobs, curves, and imperfections are perfect for giving your wizard wands a rustic feel.
Try to find sticks with tight bark. If the bark is loose and falls off easily when you touch it, then the paint and other decorations may flake off. If you like the shape of that stick, then try to remove the bark before starting.
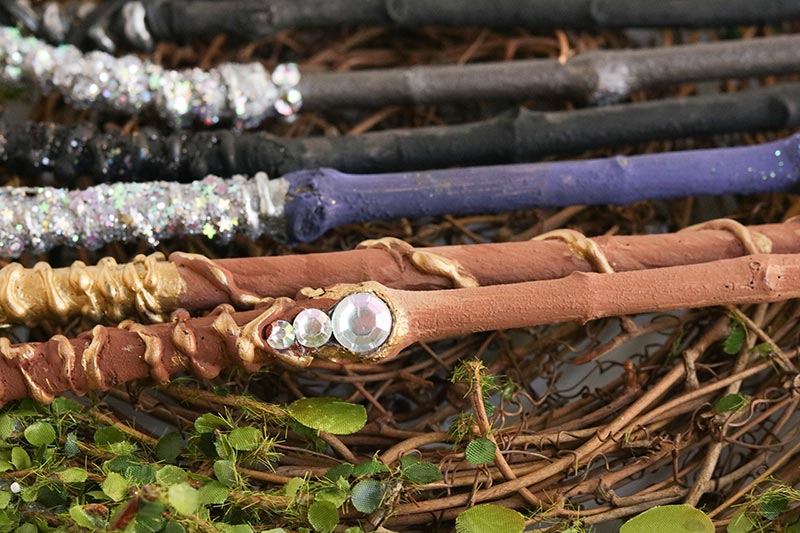
Also, don’t be afraid to pile on layers of hot glue. This will help you sculpt your wand – especially the handle. It can make parts of your wand wider or make jewels look deep set. Get creative with using different materials too.
If you don’t want to (or are unable to) use sticks collected from outside, you can use wooden dowel rods or even pencils instead.

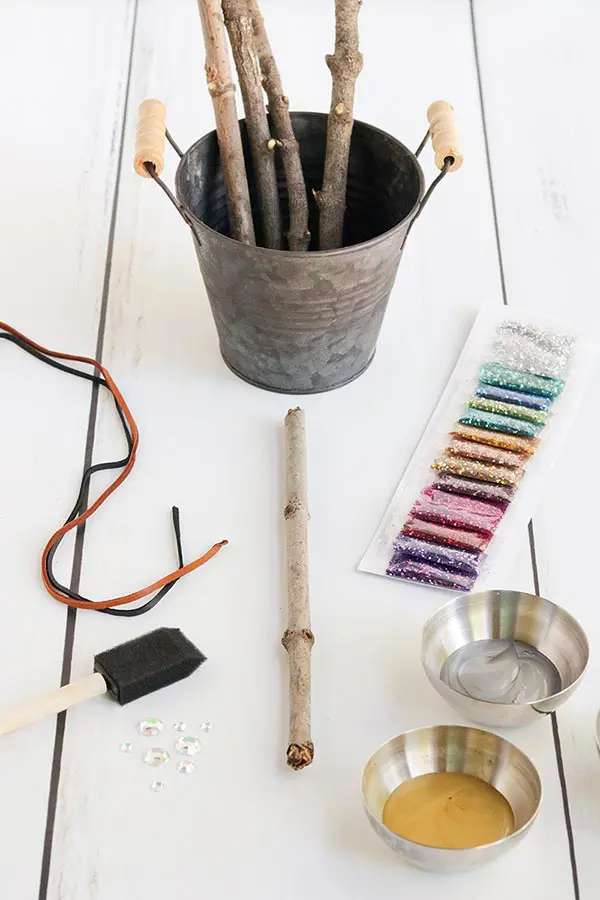
DIY Wand Craft Supplies
- 6 Sticks
- Hot glue gun and extra glue sticks
- Paint – assorted colors – metallic paint colors and brown are good choices
- Gems
- Glitter
- Mod Podge
- Ribbon, Rope, Suede
- Paint brushes
How to Make and Paint a Wand
Cover your table with newspaper or crafting paper to protect the work area from paint and hot glue.
Using the hot glue gun, apply glue to the bottom ⅓ of the stick to make the handle. Apply the glue around the stick several times to add texture and grip.
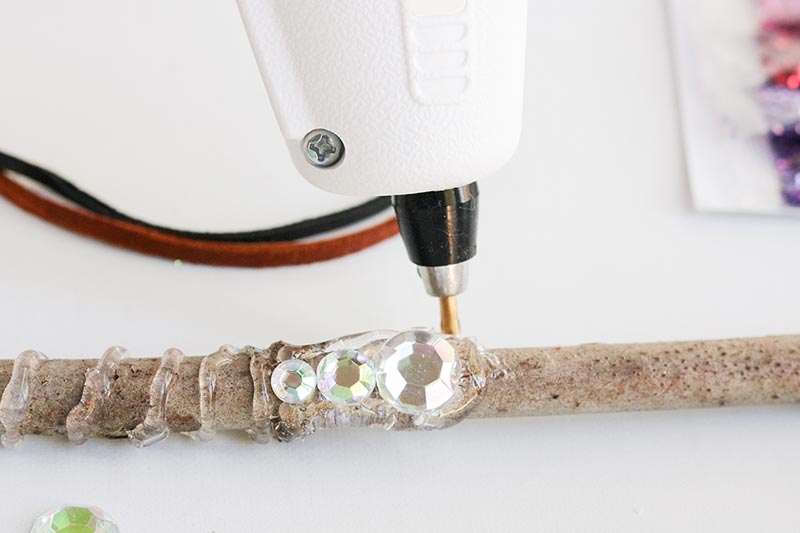
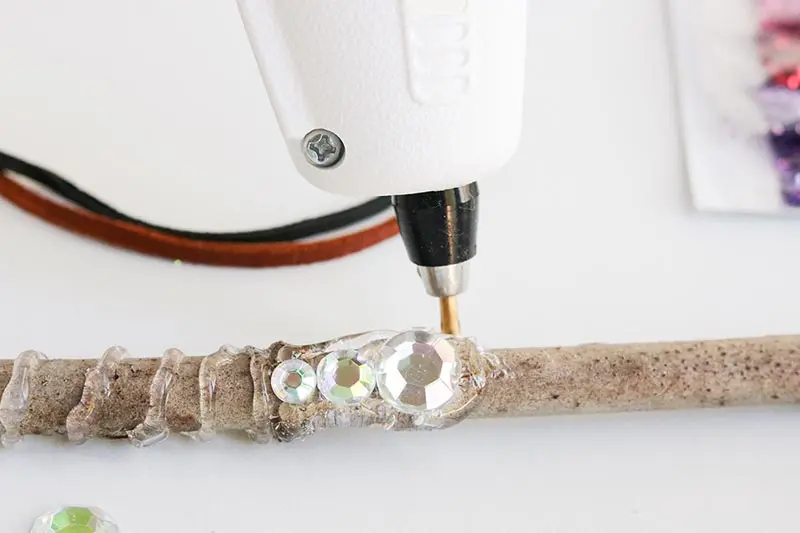
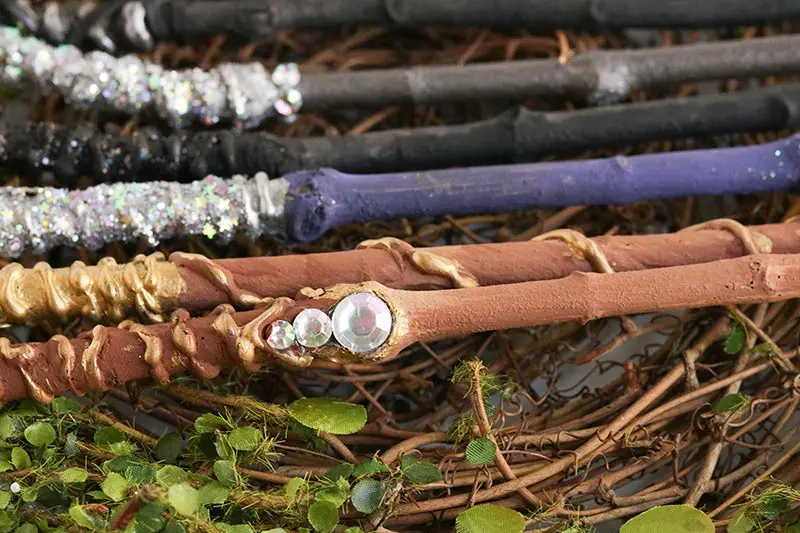
Attach gems to the wand handle using hot glue. Next, change the shape and design of the rest of the wand using hot glue as needed.
Paint the handle and the top of the wand in your desired color. Set aside for a few minutes to dry.
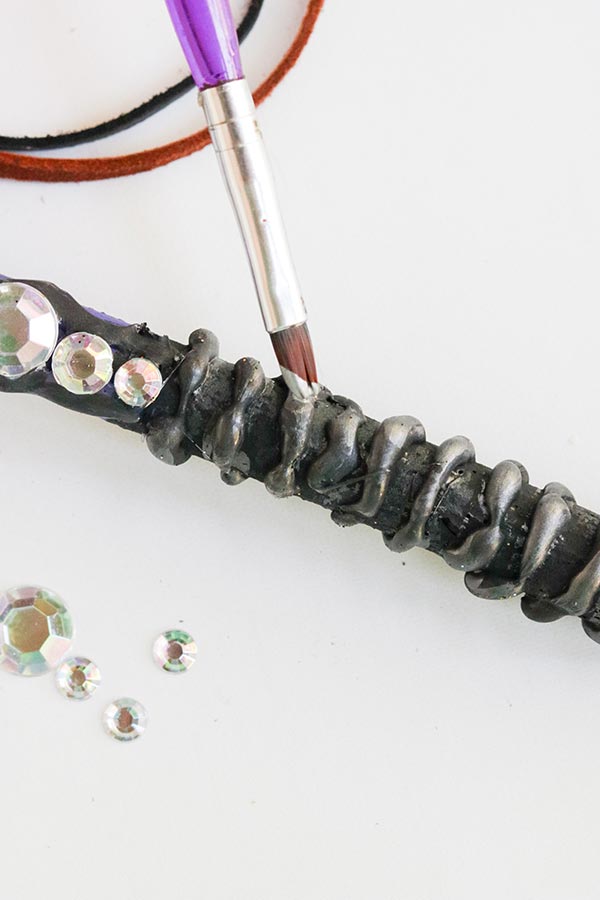

Give your wand an antique look by lightly brushing metallic paint over raised areas on your wand. Set aside for a few minutes to dry.
Use Mod podge and glitter to add a bit of sparkle to your wand (optional)
Add embellishments with gems, ribbon, rope and suede, then let the wands dry overnight. To speed drying time up, use a hairdryer if you are in a hurry to use magic!

More Craft Project Ideas:
Did you make this project with your kids or students? We’d love to see it! Take a picture of it, then visit our Facebook page and show us!
Printable DIY Wand Craft Instructions

DIY Wand Craft Project
Make your own witch or wizard wand using sticks with this craft tutorial. They are fun and easy to create in 30 minutes or less.
Instructions
- Cover your table with newspaper or crafting paper to protect the work area from paint and hot glue.
- Using the hot glue gun, apply glue to the bottom ⅓ of the stick to make the handle. Apply the glue around the stick several times to add texture and grip.
- Attach gems to the wand handle using hot glue.
- Change the shape and design of the rest of the wand using hot glue as needed.
- Paint the handle and the top of the wand in your desired color. Set aside for a few minutes to dry.
- Give your wand an antique look by lightly brushing metallic paint over raised areas on your wand. Set aside for a few minutes to dry.
- Use Mod podge and glitter to add a bit of sparkle to your wand (optional)
- Add embellishments with gems, ribbon, rope and suede.
Let the wands dry overnight or use a hairdryer if you are in a hurry to use magic!
Notes
Make a set of 6 wands. Creation time is about 30 minutes. Drying time may vary, but allowing to completely dry overnight before handling is recommended.


Darcy is the founder of “Life With Darcy and Brian,” where she combines her love for education, board games, and crafting to create engaging learning experiences for kids. Her creative projects and writing have been featured in outlets like The Toy Insider, CafeMom, Mom.com, Parents.com, Country Living, and The Pioneer Woman.
Shelbee on the Edge
Friday 15th of September 2023
Darcy, I absolutely love these wands! My kids are avid stick collectors as well. They have been carving all the bark off for me and I have been incorporating the larger sticks into my home decor. They add such a gorgeous rustic vibe! Now I have to shift their focus to finding me perfect sticks to make magic wands!
Shelbee
Darcy Zalewski
Friday 15th of September 2023
That's awesome, Shelbee! There are so many creative ways to sticks. :D
Karins Kottage
Wednesday 13th of September 2023
Love this fabulous wands! My grandkids will go crazy over them! I would love to have you join my party https://karinskottage.com/2023/09/karins-kottage-linky-party-330.html
Karin
Darcy Zalewski
Thursday 14th of September 2023
Thanks, Karin! I'm sure they will love making their own wands too :)
Nicolle
Wednesday 13th of September 2023
These are so creative! What a fun idea!
Darcy Zalewski
Wednesday 13th of September 2023
Thank you so much, Nicolle!