
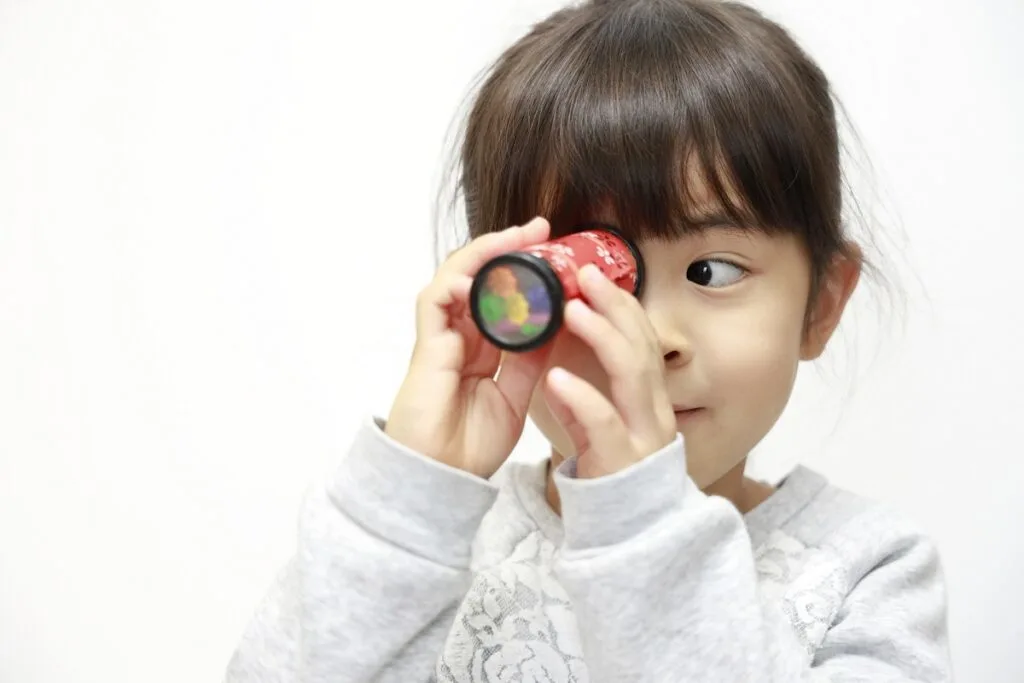
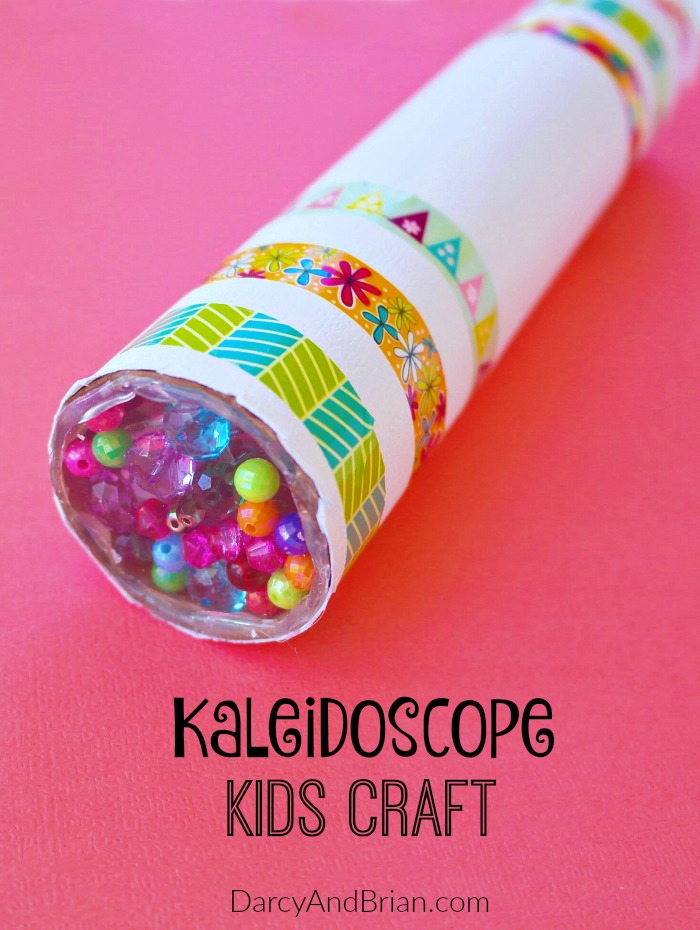
This DIY kaleidoscope craft is fun to work on together when you need craft ideas for kids that you can do as a family. We’re going to show you how to make a kaleidoscope without mirrors using aluminum foil, beads, and a paper towel tube.
This project is a great conversation starter to discuss various science and art concepts. For example, you can talk about colors, patterns, light reflection, and even how the eye works.

My kids love when I work on craft projects with them. So grab your supplies and make this a family activity!
Although this homemade kaleidoscope craft doesn’t function exactly like the real thing, it is easy to make and will look similar when viewing it.
What Is a Kaleidoscope?
So what exactly is a kaleidoscope and what is a kaleidoscope used for? It is an optical toy that kids can play with to create gorgeous patterns. This can help children learn about colors and shapes.
Besides entertainment purposes, kaleidoscopes can also be viewed for relaxation. They can be used to inspire creativity for artists and fashion designers too.
Get even more family craft and activity ideas in our FREE ebook available at the end of this post.
How Does a Kaleidoscope Work?
A kaleidoscope works by reflecting objects multiple times. Mirrors inside (usually in a triangle shape) reflect pieces of colored beads or glass to create repeating symmetrical patterns.
As you turn the kaleidoscope, it moves the objects inside which changes the pattern reflections. You can learn more about the science of kaleidoscopes at Britannica.
This homemade kaleidoscope craft project does not twist the same as a real one once completed, but it will look similar when you are looking inside, even with using foil instead of mirrors.

How to Make a Kaleidoscope for Science Project
Our craft project is like an improvised kaleidoscope, a craft project rather than a replica, that uses aluminum foil instead of mirrors. To make one for a science activity, you would need mirrors in order to more accurately observe how the mirrors reflect the colored beads.
However, you could still make our homemade kaleidoscope craft while discussing the science behind what you see in a kaleidoscope. You could also put together a poster board presentation with kaleidoscope facts.
More Science Projects for Kids
- Our Melting Rainbows Baking Soda Experiment is an excellent intro to chemistry for preschoolers. They will have lots of fun with this!
- Another cool project is a homemade spectroscope. It is similar to a kaleidoscope but it splits light up into different wavelengths (also known as light refraction). Learn how to make one at Hess UnAcademy.
- Want a really cool science demonstration? Show your kids our Balloon Air Pressure experiment. It’s an engaging way to both show and teach children about air pressure.
- This skeleton craft from my friend Monique at Living Life and Learning is a fun hands-on way to teach kids about the human skeleton.
- Get even more ideas with our printable 30 day science activity calendar!


Homemade DIY Kaleidoscope Craft Materials
This is not the type of activity I can set up for my kids to do while I work on something else, though you could keep them busy decorating the paper towel tube for a few minutes first.
Our step by step directions are using an empty paper towel roll; however, you could also make a diy kaleidoscope using empty toilet paper rubes or even an empty Pringles can.
If you use a chip can, just make sure to clean out the inside and remove the bottom end first. For making the reflective section, you will need to adjust the length based on the size of the cardboard tube you are using.
This post contains affiliate links. As an Amazon Associate and a participant in other affiliate programs, we earn a commission on qualifying purchases.
- Paper towel tube
- 12 x 12 card stock or scrapbook paper
- Thin clear plastic (can be scrap from packaging)
- Colorful translucent beads
- Cardboard
- Aluminum foil
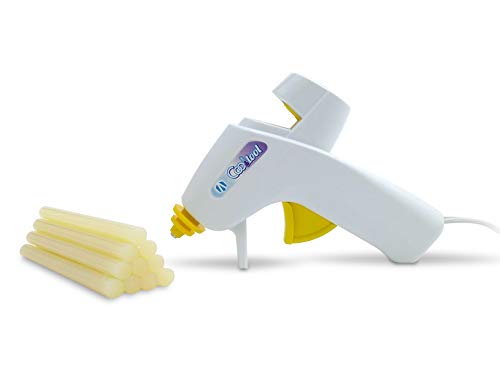
- Hot glue gun
- Scissors
- Marker
- Washi tape or other decorations (optional)
If you don’t have these craft supplies on hand, this kaleidoscope making kit looks pretty good too.
How to Make a Homemade Kaleidoscope Instructions:
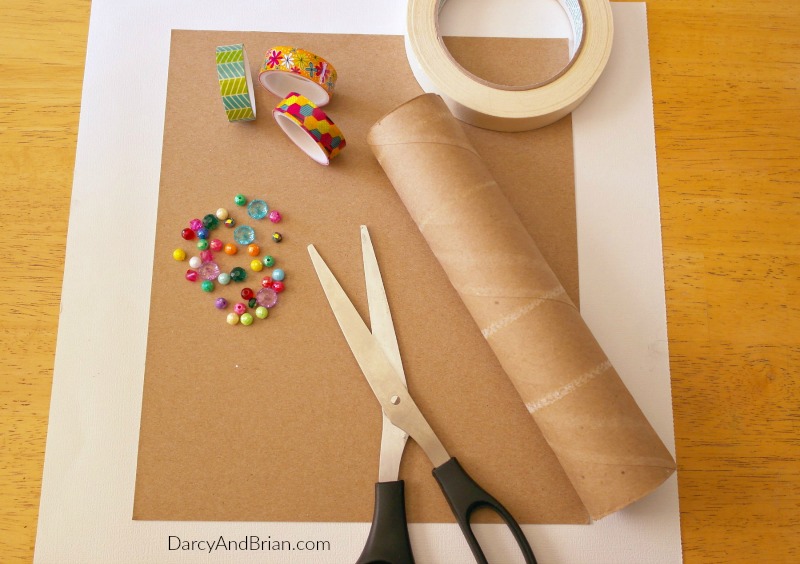

Start by gathering up all of your supplies. If you are using plain white paper, you can have the kids color and draw on it first.
Squeeze glue all over the scrapbook paper and roll the paper towel tube up in it. Hold it together for a few seconds to give the glue time to stick. Cut any excess paper from the ends.
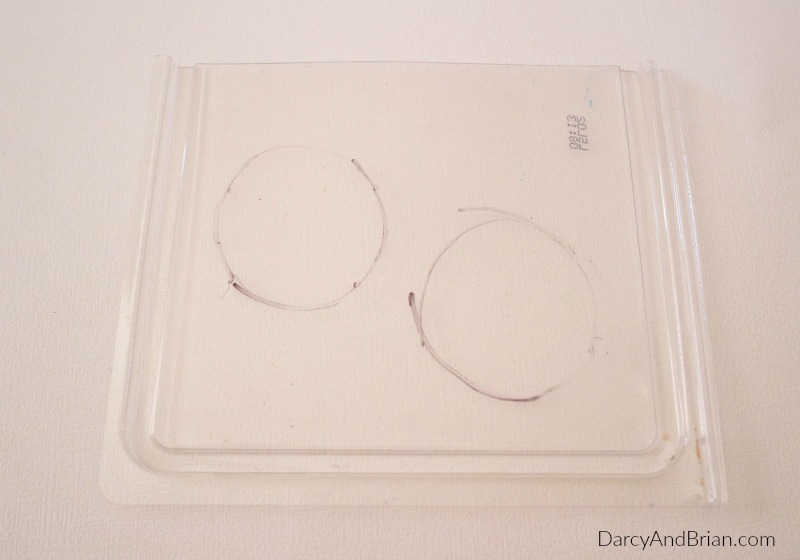
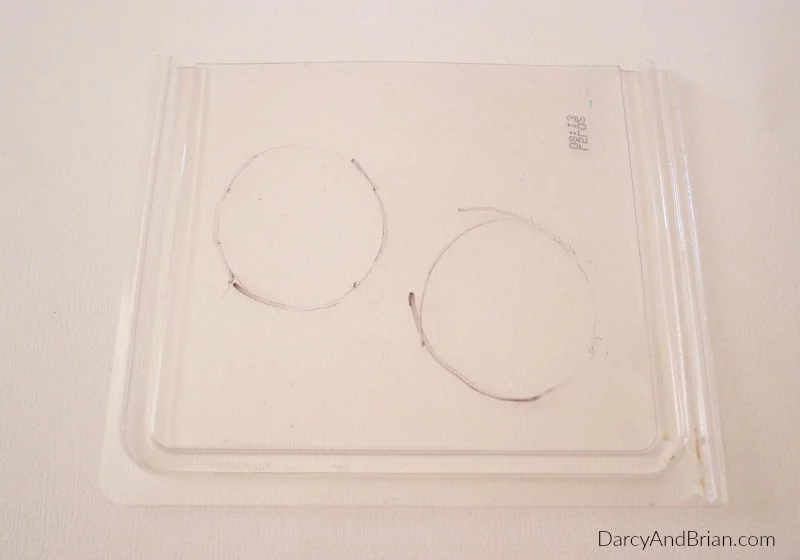
Trace the end of the paper towel tube on the scrap plastic three times and cut out all three circles.
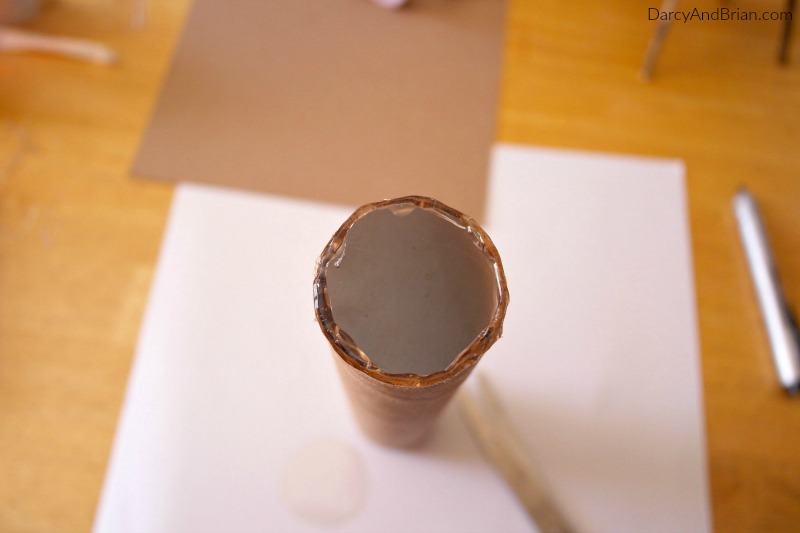
Hot glue one circle on the bottom end of the paper towel tube.

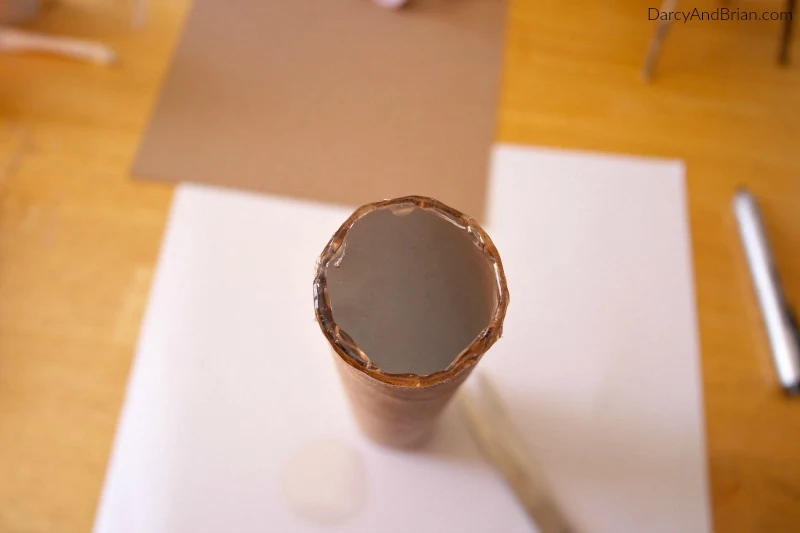
Drop your beads into the tube. Put enough to almost cover the plastic. Then place the second plastic circle inside the tube.
You will need to use a pencil or marker to push it down to the bottom and loosely cover the beads.
Do not push it snug up against them! If it is too tight, then the beads won’t move around between the plastic discs.
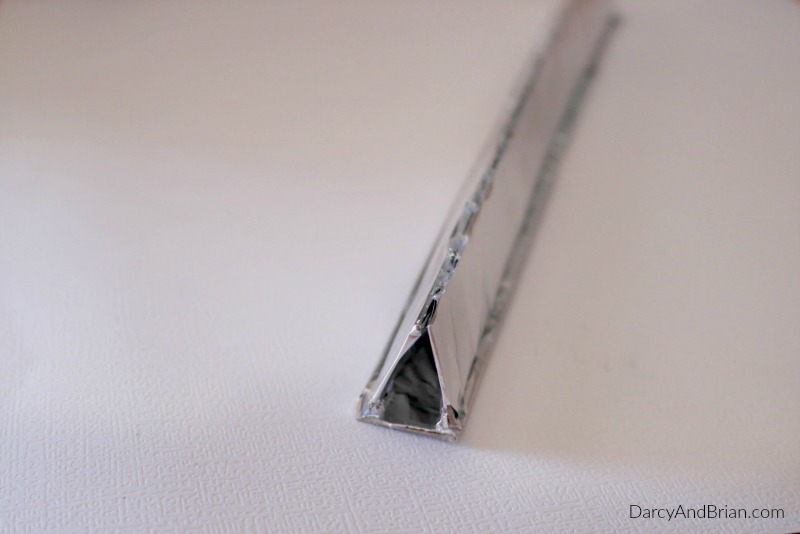
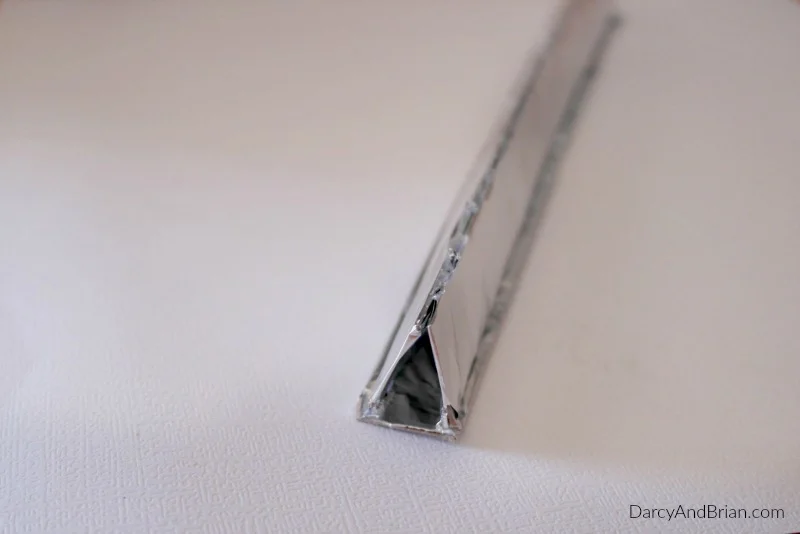
Cut three strips of cardboard that are 1 inch wide and almost as long as the tube you are using.
Cover each strip with foil and glue them into a triangle shape and place inside the tube.
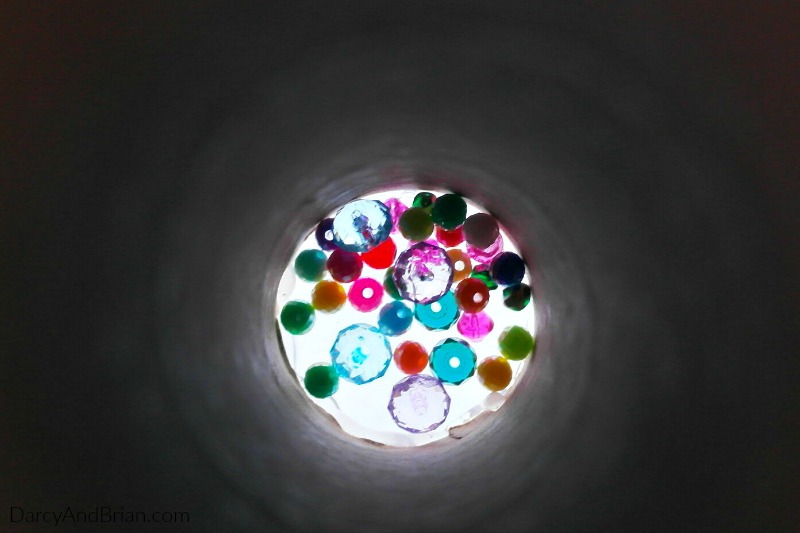
This will create the kaleidoscope effect when the kids look inside!
Note: The triangle pieces need to be almost as long as the tube. I’d say just a little shorter to make sure the end cover goes on right.
Then glue the three 1″ pieces together into a triangle and slide into the tube. The triangle piece should be pretty snug between the plastic ends.
I would slide the triangle in then place the 3rd piece of plastic on the end (without gluing yet) to check the length.
If the triangle part is too long, cut more off the end. If it seems too loose inside, you could place glue on one end, sticking it to the plastic.
Almost done! Now, glue the last plastic circle on the open end of the paper towel tube. This will be the end they look through.

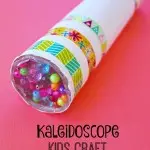
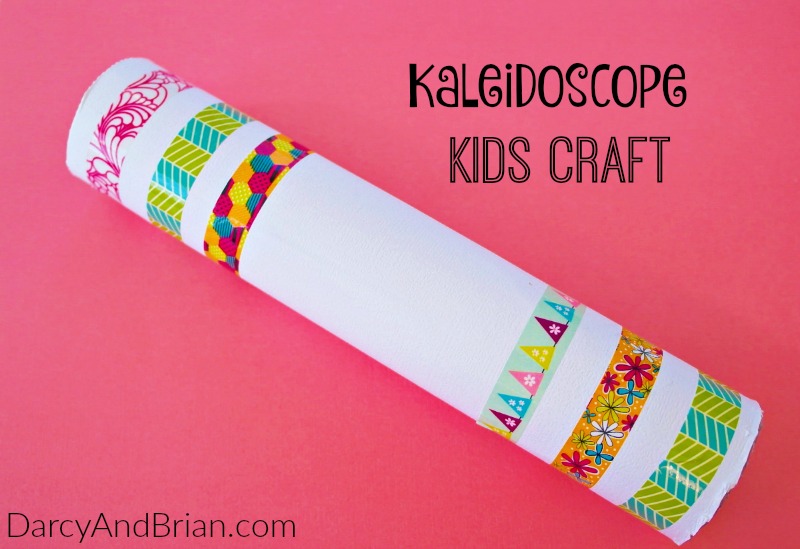
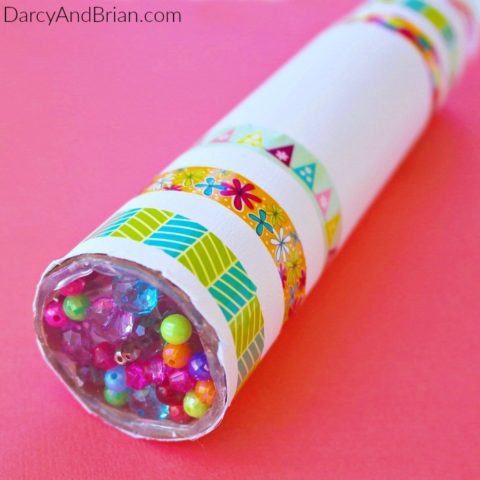
Let the kids decorate the outside of the paper towel roll with washi tape, stickers, or color on it if they didn’t already.
Once they are done, hold your homemade kaleidoscope up to the light and turn to view!
More Paper Roll Crafts for Kids
Are you drowning in paper tubes just like I am? It seems like they multiply out of nowhere! Don’t worry, though. I’ve got some super fun and creative ways you can use them.
How about making Disney Frozen inspired paper roll bracelets or building your own cardboard castles? And if you’re feeling musical, you can even make a rain stick from a paper towel roll!
Another fun idea is using paper tubes to create art! See how to make a toilet paper roll fireworks painting using our tutorial.
You can even use some for a few of these superhero activities. Let’s turn all those paper tubes into something amazing and have a blast while doing it.
Get ready for a fun family DIY project! We’ve got a fantastic kaleidoscope tutorial that you and your loved ones can enjoy together. Crafting is not only a chance to have a great time, but it’s also a wonderful way to strengthen those family bonds. And for kids, hands-on learning experiences like this one are truly priceless.
By making this kaleidoscope, you and your child will have the opportunity to unleash your creativity, collaborate, and have some meaningful conversations along the way. So gather your materials and get ready for an exciting and memorable crafting session with your family!

Homemade Kaleidoscope Craft
Make a homemade DIY Kaleidoscope craft with the kids using a cardboard tube and a few other materials.
Materials
- Paper towel tube
- 12 x 12 card stock or scrapbook paper
- Thin clear plastic (can be scrap from packaging)
- Colorful translucent beads
- Cardboard
- Aluminum foil
- Washi tape or other decorations (optional)
Tools
- Hot glue gun
- Scissors
- Marker
Instructions
- Cover paper towel roll with scrapbook paper. Trim paper if it hangs over the ends after gluing it on.
- Have the kids decorate it.
- Trace three circles on scrap plastic using the end of the paper towel tube. Cut them out.
- Use glue gun to secure one plastic circle on bottom end of tube.
- Drop in almost enough beads to cover the plastic. Place the second plastic circle inside the tube. Do not push it tightly against the beads. You need to leave room for movement.
- Cut cardboard into three strips that are each about one inch wide. Cut length to be a little shorter than your tube.
- Wrap foil around each strip and glue them in a triangle.
- Place the foil triangle in the paper towel roll. (See post for additional tips if needed)
- Secure the third plastic circle to the open end of the paper towel roll. You will look through this end.
Recommended Products
As an Amazon Associate and member of other affiliate programs, I earn from qualifying purchases.


Darcy is the founder of “Life With Darcy and Brian,” where she combines her love for education, board games, and crafting to create engaging learning experiences for kids. Her creative projects and writing have been featured in outlets like The Toy Insider, CafeMom, Mom.com, Parents.com, Country Living, and The Pioneer Woman.
Joanne
Wednesday 18th of June 2025
Oh I love this idea! I use to love playing with kaleidoscopes as a kid.
Jen
Thursday 21st of March 2024
Do you think the hot glue could be substituted with a different glue
Darcy Zalewski
Thursday 21st of March 2024
Hi Jen, I think tacky craft glue would work in place of hot glue. It would need time to dry completely before the next step. When adding everything inside, I'd just be careful not to push against the end plastic piece too hard. I really like Aleene's tacky glue but any strong bond craft glue should do the trick. I hope that helps!
jo ann bauer
Tuesday 21st of June 2022
I'm an experienced crafter and found this project to be difficult. It was hard to get the 2nd piece of plastic in place without it sitting on top of the gems.
Darcy Zalewski
Saturday 25th of June 2022
Thank you for your feedback on this project!
Alyssa
Thursday 23rd of April 2020
I was so excited to do this with my kids, but it was a huge fail. The foil prism inside the tube just looks like a big black spot when you look through. It took so much work to get it all put together and...nothing. To make things worse, the only thing my kids could really help with was coloring the paper for the outside and choosing their beads. I wouldn't recommend this one...
Darcy Zalewski
Monday 27th of April 2020
Thank you for your feedback, Alyssa. I'm sorry you did not enjoy this project. Hopefully some of our other projects (like our coffee filter crafts) are more fun for you and your kids to do together.
Kasey Schwartz
Tuesday 21st of April 2020
This looks fun! And I have all the items at home already! FUN!
Darcy Zalewski
Tuesday 21st of April 2020
Yay! I hope you enjoy making one!