Are you looking for easy Saint Patrick’s Day crafts for kids? This coffee filter shamrock craft is the perfect project to make at home or school. It’s one of our crafts for kids of all ages and it’s always a hit with the younger set.
They are easy to make, using common craft supplies, take only about 20 minutes, and can be used to make a variety of fun St. Patrick’s Day-themed decorations. Our printable shamrock craft template makes them easy to cut out.
I love how many different things you can make and decorate with them when finished!

Fun Shamrock Coffee Filter Craft
Unleash a rainbow of possibilities with the simple and affordable coffee filter shamrock craft! It’s a great way to explore colors, practice fine motor skills, and learn about the traditional symbol of Ireland.
Fun for kids of all ages, even toddlers. Younger children can color the coffee filter paper and spray them with water, while older children can create more intricate designs and cut out their shamrocks. Perfect for a Saint Patrick’s Day art center!
Coffee Filter Crafts for Kids
Brighten up your home and spark creativity with easy coffee filter crafts for kids. These crafts are not just festive and fun; they also help children develop their fine motor skills and explore their imaginations.
Whether it’s transforming coffee filters into colorful shamrocks or beautiful rainbows, kids will love the process of creation and the pride in displaying their artwork.
- Coffee Filter Rainbow Craft
- Coffee Filter Leprechaun Craft
- Easy Coffee Filter Butterfly Craft
- Coffee Filter Dragonfly Craft
This post contains affiliate links. As an Amazon Associate and a participant in other affiliate programs, we earn a commission on qualifying purchases.
Crayola Super Tips Marker Set (120ct)Crayola Ultraclean Broadline Classic Washable Markers (2-Pack)Fiskars® Big Kids Scissors, Turquoise (6 in.)LovesTown Preschool Training Scissors

St. Patrick’s Day Coffee Filter Shamrock Craft Learning Benefits
These simple shamrocks are the perfect inexpensive St. Patrick’s Day craft for kids to make at home, as a family, or at school for a simple art center activity. And, the possibilities for extension activities are like finding the pot of gold!
Preschoolers practice fine motor skills as they carefully flatten and color the coffee filters and press down to squirt the water onto them.
Older elementary school-aged children can also practice folding and cutting with scissors as well. Fine motor skill development doesn’t stop when they’re littles!
All kids will love tapping into their creative side and choosing from green or rainbow shamrocks or to wherever their imaginations take them!


This is a great opportunity for older children to learn about primary and secondary colors using the rainbow as a guide.
Then use the remainder of the cut-out coffee filter allows for some more academic but fun activities.
Using a glue stick and white paper, they can mount it. Ta da! Now there’s blank space for another project tying in writing, literature, and art.
Maybe they’d like to write a St. Patrick’s Day limerick, a note for that sneaky leprechaun, a short story, or draw something holiday-related like a plan for a leprechaun trap!
This St. Patrick’s Day craft for kids is also a great opportunity to teach about positive and negative space for the older ones.
- What happened when we removed the shamrock?
- Why does it look different?
- How did that happen?
Upper elementary kids can really dig in with positive and negative numbers. How can they tie that concept into positive and negative space?
While not about St. Paddy’s Day, “It Looked Like Spilt Milk” by Charles G. Shaw is a great tool for teaching about positive and negative space, as all of the book illustrations are simple and white and blue.
Not to mention it’s just a wonderful conversation-starter for little kids as they use critical thinking skills and an arty eye to figure out just what is going on!
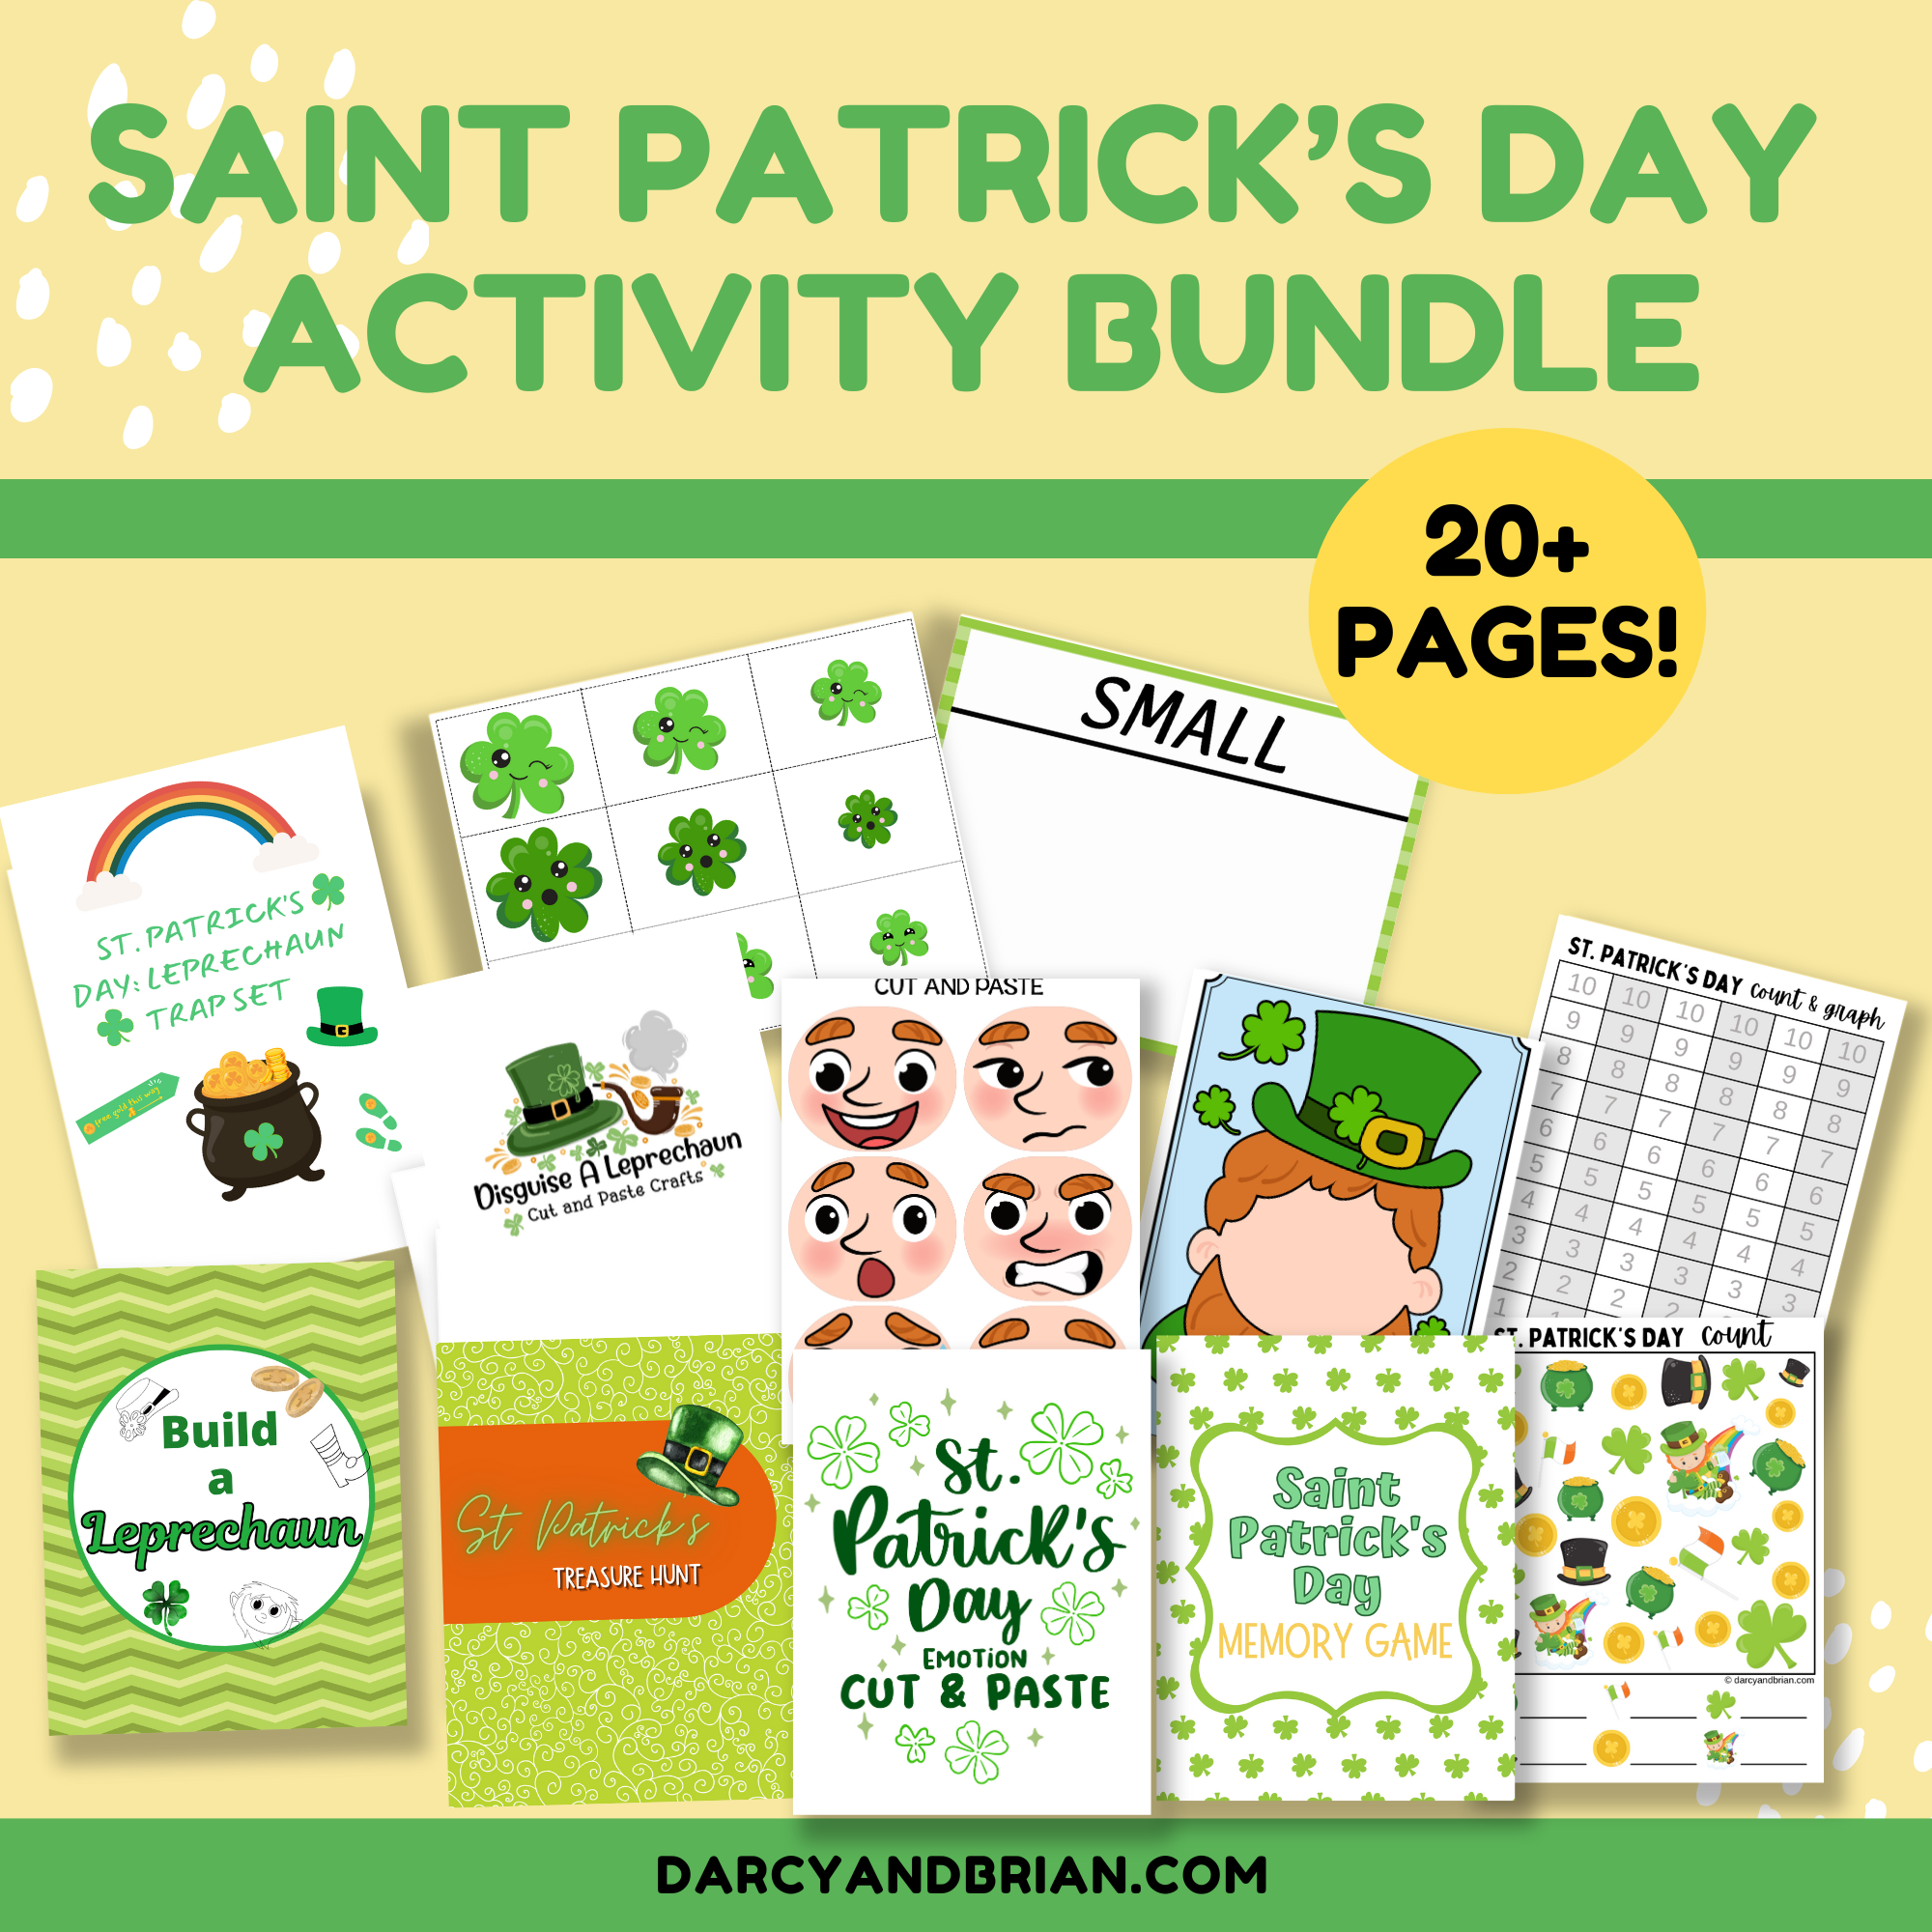
Saint Patrick’s Day Activity Bundle
For those younger kiddos who really love this activity and make more than expected (expect that!), sorting their crafts by color and size is a fun way to practice pattern work and color recognition.
Can the little ones come up with the rainbow order by themselves? If not, this is a great opportunity to work on it!
Coffee Filter Shamrock Craft Supplies
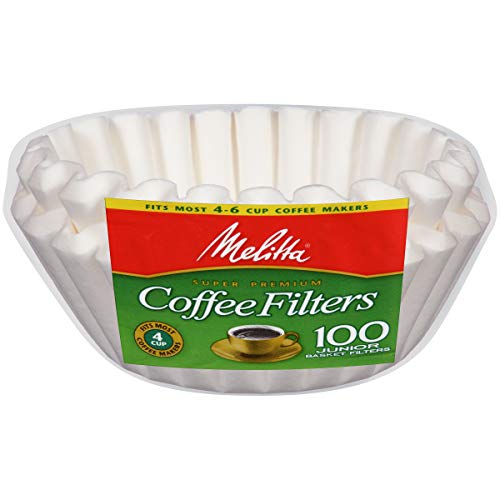
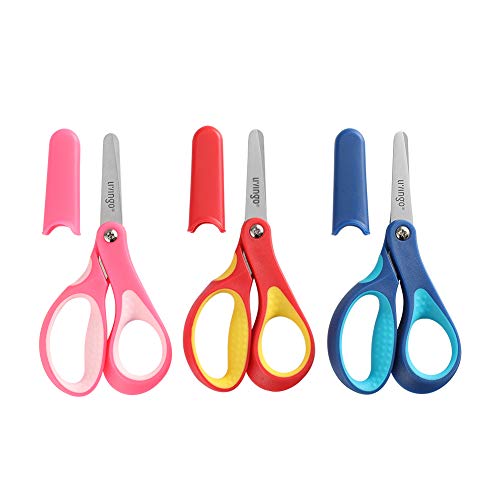
To create your own coffee filter shamrocks, gather these items: round white coffee filters, washable markers, scissors, a spray bottle, a shamrock craft template (accessible by completing the form at the end of this post), and a craft mat or parchment paper to safeguard your workspace.
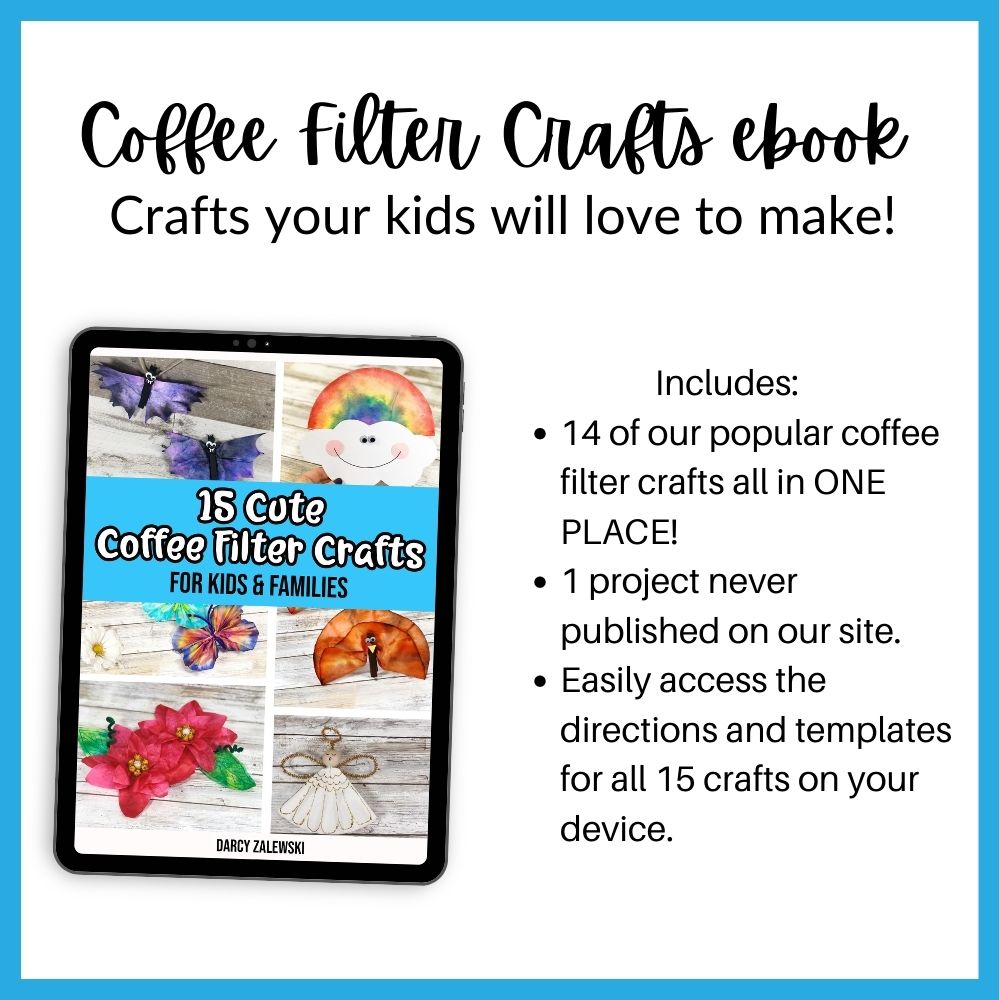
Cute Coffee Filter Crafts eBook
How to Make Coffee Filter Shamrocks:
Start by flattening out round coffee filters. Draw on them with washable markers in a variety of patterns or simply lightly color the entire area.

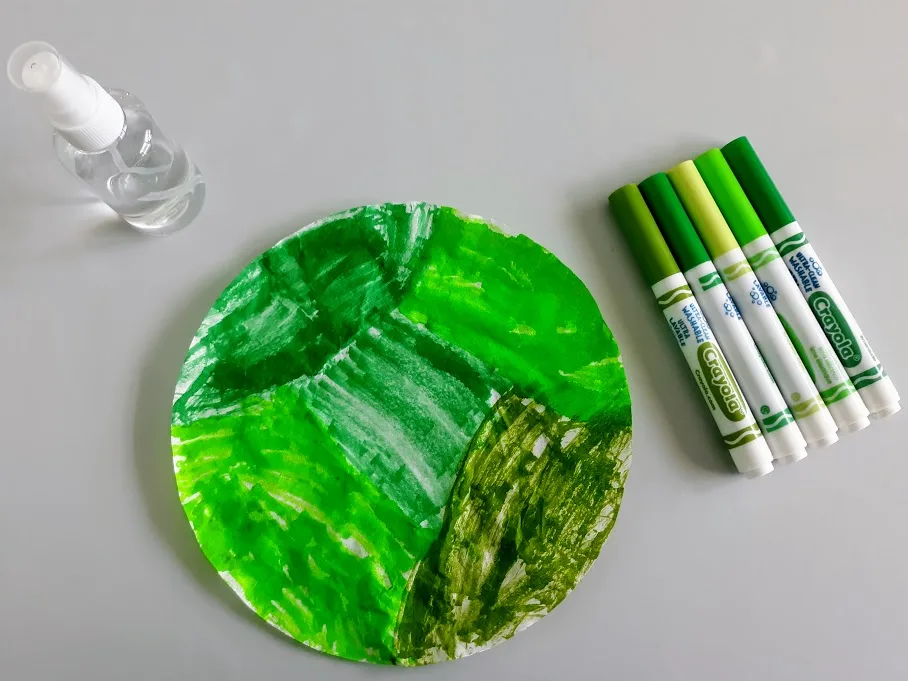
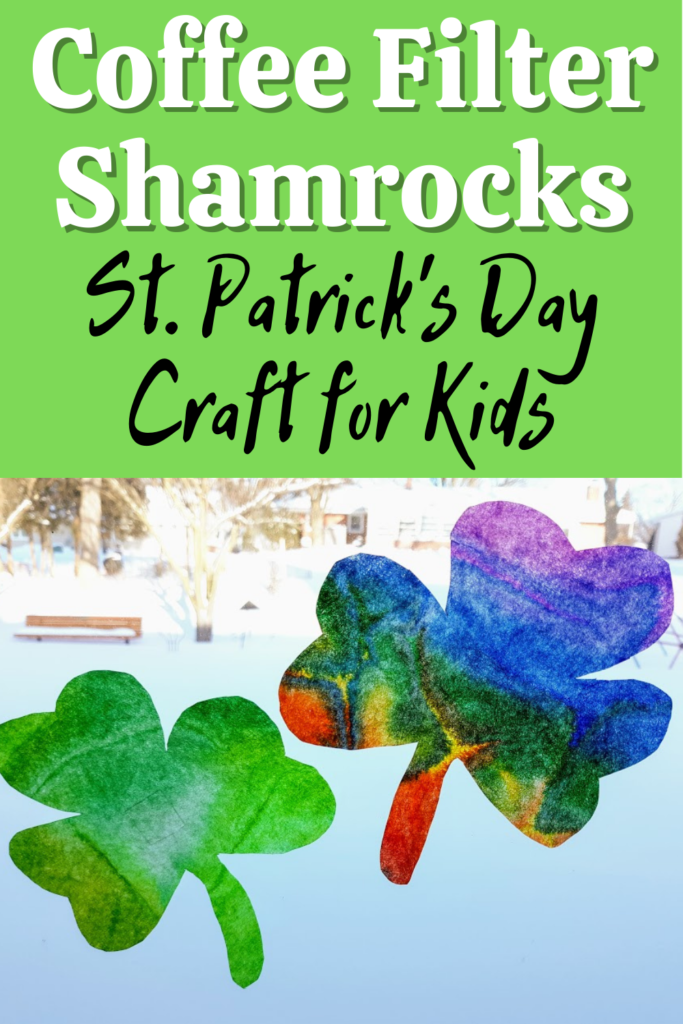
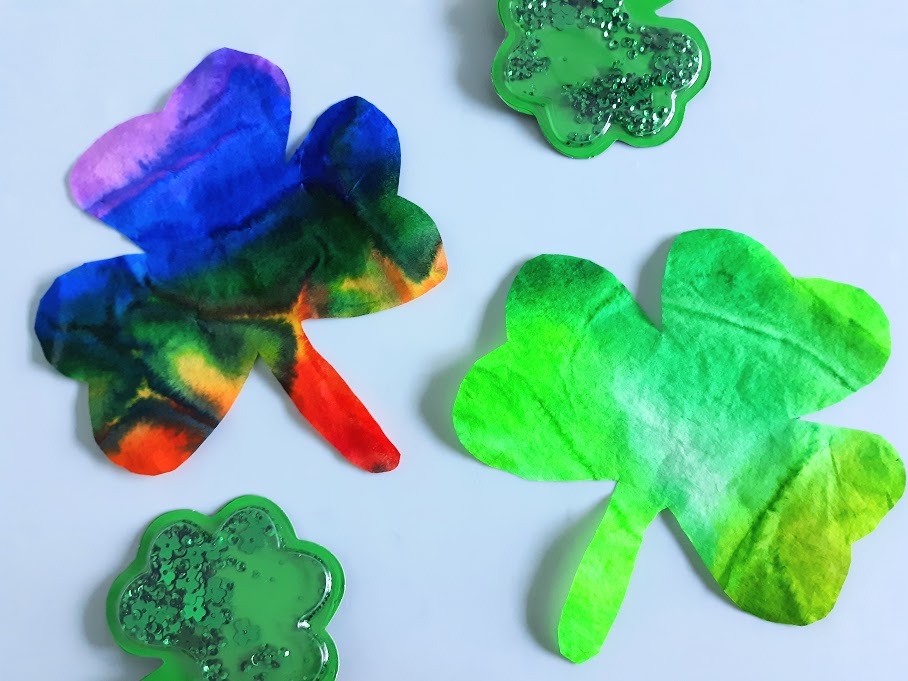
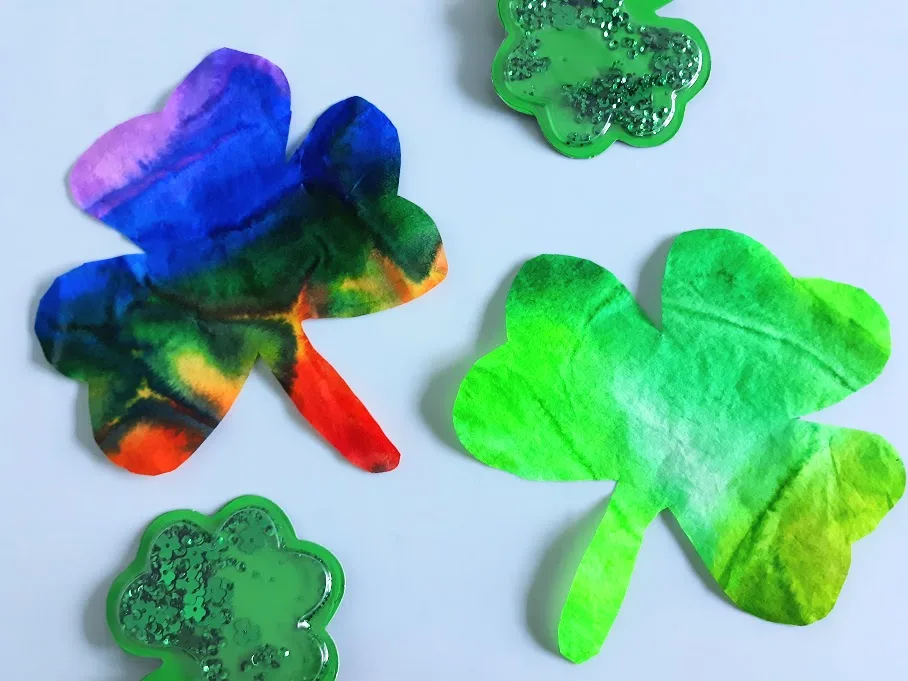
Let kids use whatever colors they want, but here are a few suggestions: For mostly green shamrocks, use a variety of green and yellow markers.
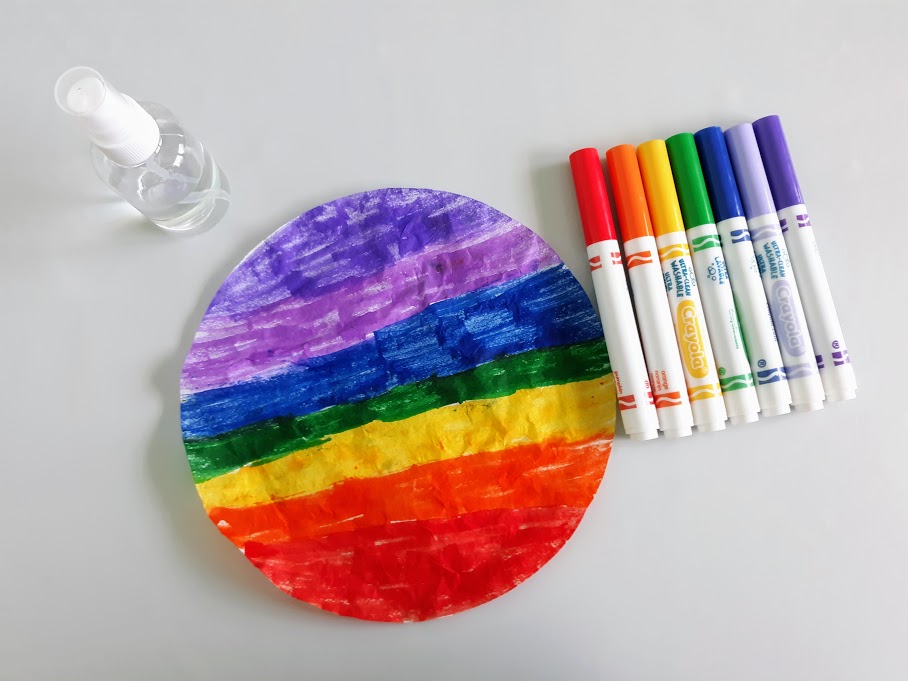
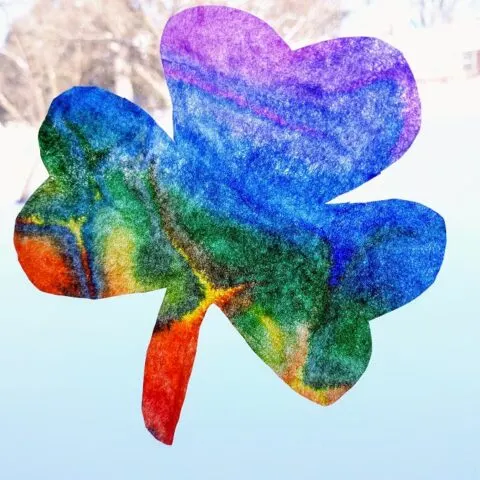
Or, shade your coffee filter in red, orange, yellow, green, blue, and purple markers to make a rainbow-colored shamrock.

Place the colored coffee filter on a paper plate, sheet of parchment paper, craft mat, or large zipper baggie and spray with water.
Have fun watching the magic of the colors move and blend! Kids of all ages can experiment with more or less water to see what happens. Is there a “perfect” amount? Encourage creative ideas and answers.


Set the wet coffee filters aside to dry. These may require additional drying time depending on how much water is sprayed on them during the blending stage.
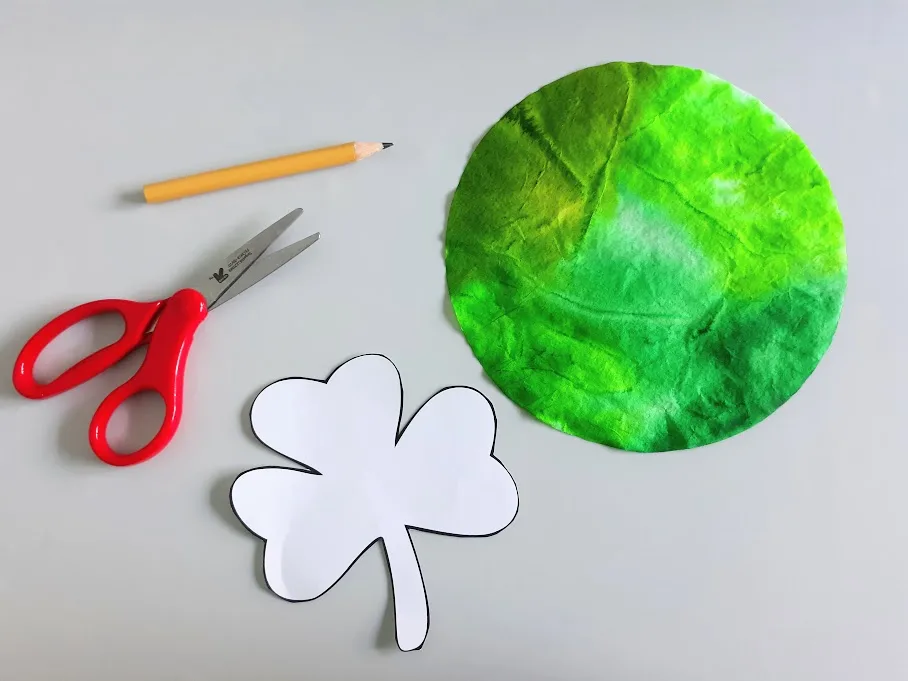
Once your coffee filter is dry, it’s time to cut out your coffee filter shamrock! Print out the shamrock craft template and cut out the shamrocks.
Please note: The template includes a couple different sizes. The smaller size was used for the shamrocks in these photos.

Hands of all sizes can try the different sizes of shamrocks. Are there any differences when you make them either large and small?
Cut the shamrock shape onto the coffee filter and cut it out. Younger kids may need help tracing, but older kids can do it themselves, as well as the cutting.
You could also prep this project ahead by cutting the coffee filters into shamrock shapes prior to tie-dyeing them with markers. You can also challenge older kids to freehand and cut out a four-leaf clover for extra luck!

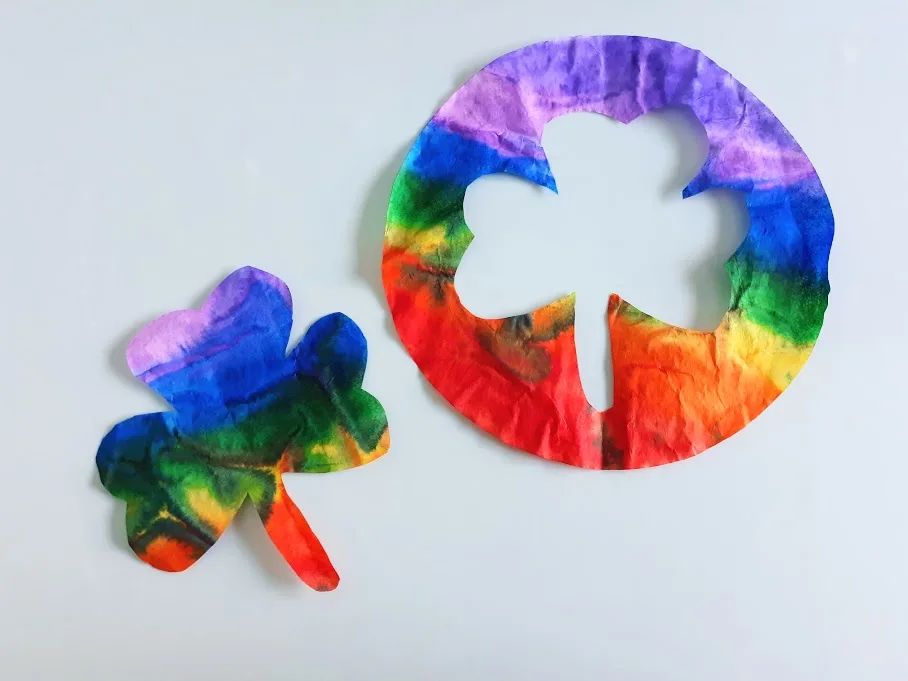
That’s it! Hang them in the window or use in other creative ways to make colorful decorations.
Ways to Use Coffee Filter Shamrocks
There are multiple ways to showcase your completed shamrock coffee filter crafts for vibrant holiday decorations.
Create a delightful St. Patrick’s Day garland to hang on the wall, mantel, or across the window by threading several onto a length of twine or string.
Older children can sew it themselves, further refining their fine motor skills. Another cute idea is to affix them to green pipe cleaners and place them in a vase for a charming homemade centerpiece.
Alternatively, they can be positioned in a window for a stunning green or rainbow-hued sun catcher! Let your creativity soar with this lucky craft project.
Saint Patrick’s Day Books for Kids
Continue to extend the fun by tying in some related books to inspire and engage. These can be a great jumping-off point for the written activities above. Here are some favorites for a range of ages:
Discover the whimsical world of leprechauns in “How to Catch a Leprechaun: A St. Patrick’s Day Book for Kids” by Adam Wallace and Andy Elkerton. This playful picture book adds St. Patrick’s Day fun as children try to outsmart the elusive leprechaun. With vibrant illustrations and engaging rhymes, this story sparks creativity in young readers. Get ready for giggles and crafty trap ideas as the holiday magic unfolds!
“Would You Rather: Saint Patrick’s Day Edition” by Riddleland is an engaging book for children featuring St. Patrick’s Day dilemmas. It prompts kids to make decisions and use their imaginations with playful scenarios.
How to Catch a Leprechaun: A Saint Patrick’s Day Book for Kids It’s Laugh O’Clock – Would You Rather? St Patrick’s Day Edition: A Hilarious and Interactive Question Book for Boys and Girls – Hilarious Gift for Kids and Family (St Patrick Books For Kids)Fiona’s LuckHow to Trap a Leprechaun (Magical Creatures and Crafts)That’s What Leprechauns Do


“Fiona’s Luck” by Teresa Bateman is a captivating folktale that weaves together the themes of cleverness and fortune against the backdrop of Ireland’s lush landscape. This enchanting story highlights a young woman’s wit as she outsmarts the Leprechaun King to restore luck to Ireland. The book’s vibrant illustrations and rich narrative make it an excellent addition to St. Patrick’s Day readings.
In “How to Trap a Leprechaun” by Sue Fliess and illustrated by Emma Randall, readers join resourceful children in a whimsical quest during St. Patrick’s Day. The engaging story follows their clever attempts to catch a crafty leprechaun with charming illustrations, sparking creativity and mischief. Perfect for inspiring young minds to create their own leprechaun traps and enjoy the holiday with magic and fun.
In “That’s What Leprechauns Do” by Eve Bunting, illustrated by Emily Arnold McCully, young readers discover the playful world of leprechauns. The story tracks leprechauns on a journey to place a pot of gold at the end of a rainbow, with comical antics along the way. This tale lets children enjoy the unpredictability of these Irish figures and the fun of St. Patrick’s Day traditions.
More St. Patrick’s Day Activities for Kids
Embrace the magic of St. Patrick’s Day with a plethora of activities to make this holiday truly special for kids. From creating homemade leprechaun slime to constructing clever leprechaun traps, these engaging tasks promise endless fun and the creation of lasting memories for all participants.
- 8 Leprechaun Trap Ideas
- Leprechaun Slime Play Idea
- Shamrock Printable Book
- Saint Patrick’s Day Size Sorting Printable Activity
- 10 St. Patrick’s Day Games for Kids
St. Patrick’s Day Crafts for Kids
St. Patrick’s Day is not only a celebration of Irish culture and heritage but also a chance to engage children in activities that spark their creativity. These additional Saint Patrick’s Day craft ideas are designed to be kid-friendly, making use of simple materials typically found at home or in a classroom.
- Shamrock Tissue Paper Suncatcher Craft
- Beaded Shamrock Craft
- Leprechaun Popsicle Stick Hat Craft
- Shamrock Leprechaun Craft
- 13 Leprechaun Crafts
Get into the festive spirit of St. Patrick’s Day with your little ones by crafting coffee filter shamrocks together. It’s not just a creative activity but a chance to bond and learn while having fun.
Don’t miss out on this simple yet delightful activity that’s perfect for home or the classroom. Fill out the form below and get started with your free printable shamrock template today! Then let the St. Patty’s Day cheer bloom right in your hands.

Coffee Filter Shamrock Craft
Make these coffee filter shamrocks for an easy Saint Patrick's craft for kids!
Materials
- Shamrock Craft Template (available for free by filling out the form at the bottom of this post)
- Round White Coffee Filters
- Washable Markers
Tools
- Scissors
- Water Spray Bottle (for color blending)
- Craft Mat
Instructions
- Start by flattening out round coffee filters.
- Color them with washable markers.
- Use a craft mat or sheet of parchment paper to cover your table. Set the colored coffee filters on there and spray with water.
- Print out the shamrock template and cut out the shamrocks. Please note: The template includes a couple different sizes. The smaller size was used for the shamrocks in these photos.
- Once the coffee filters are completely dry, use a pencil to trace the shamrock shape onto the coffee filter and cut it out.
- Now create fun decorations or other crafts using your colorful coffee filter shamrocks.
Notes
You could also prep this project ahead by cutting the coffee filters into shamrock shapes prior to tie dyeing them with markers.
Recommended Products
As an Amazon Associate and member of other affiliate programs, I earn from qualifying purchases.

A. Hager is a lover of books and all things crafty. She enjoys puzzles, board games and puppy snuggling. She is constantly adapting new recipes so her two children with food allergies are able to experience a variety of delicious and fun foods.
Elizabeth
Thursday 7th of March 2024
Thank you!
Darcy Zalewski
Tuesday 12th of March 2024
You're welcome, Elizabeth! We hope you enjoy making these!