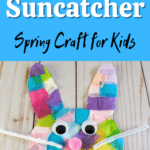
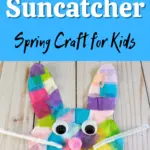
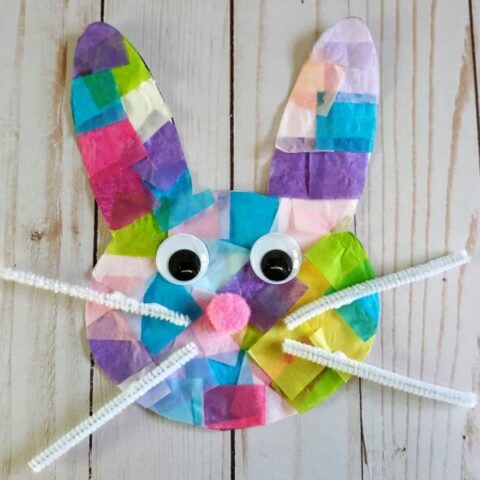
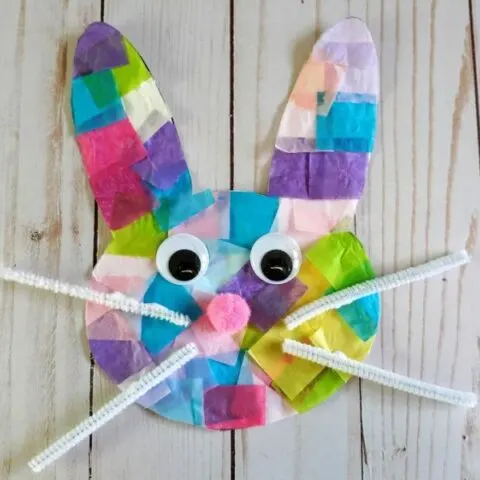
This bunny tissue paper suncatcher is the perfect Easter craft for kids of nearly any age.
It is easy to make at home or at school, inexpensive, and makes a beautiful window decoration.
This faux stained glass-looking craft makes a wonderful addition to any virtual school, homeschool space or classroom during spring.

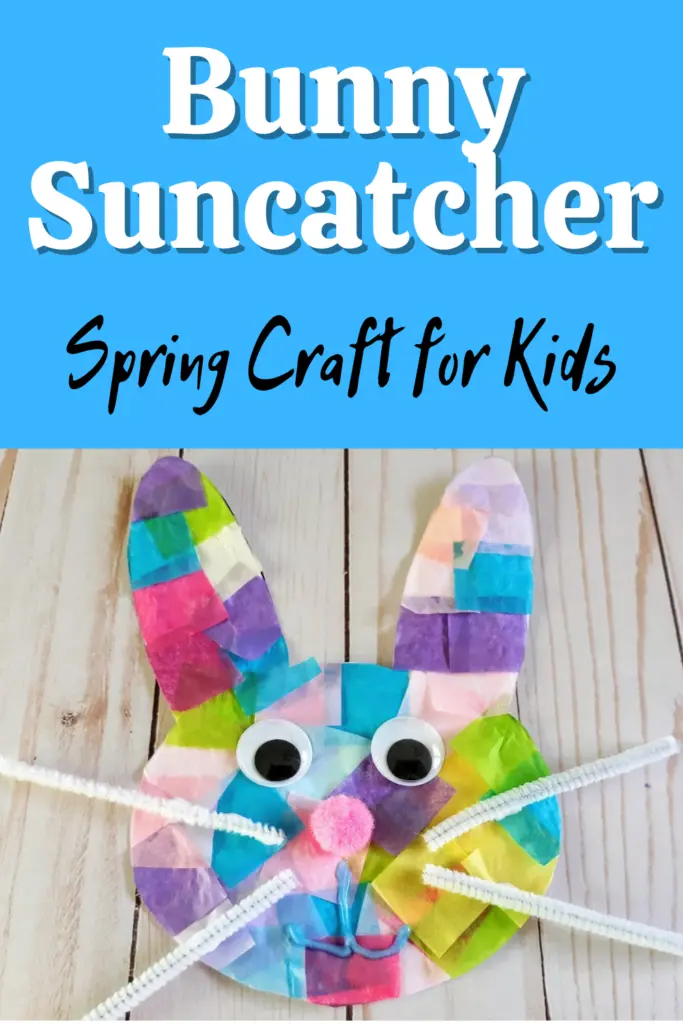
Tissue Paper Easter Bunny Suncatcher
These bunny suncatchers are one of our tissue paper crafts for kids that use just a few common craft supplies and take less than 30 minutes to complete.
It’s a quick and easy craft to include in an art center during Easter and spring themed activities.
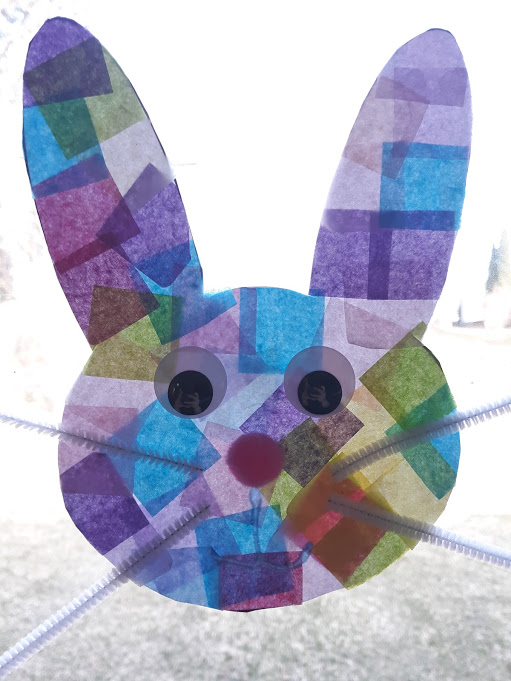
Just look at how lovely it looks hung up in a window with the sun streaming through!

Making tissue paper suncatchers is also a fun fine motor activity for preschool and kindergarten children that provides cutting and gluing practice.
Older children will also enjoy this quick craft that they can complete on their own.
It’s also the perfect craft project if you want the kids to craft with minimal mess.
If you don’t have tissue paper on hand, you can still use the bunny craft template for other projects.
For example, kids can paint or color the bunnies. Children could also use the template to make a “fuzzy” bunny by decorating it entirely with pom poms or cotton balls.
Looking for more projects like this? You may also enjoy creating these Easter egg suncatcher and felt egg crafts.


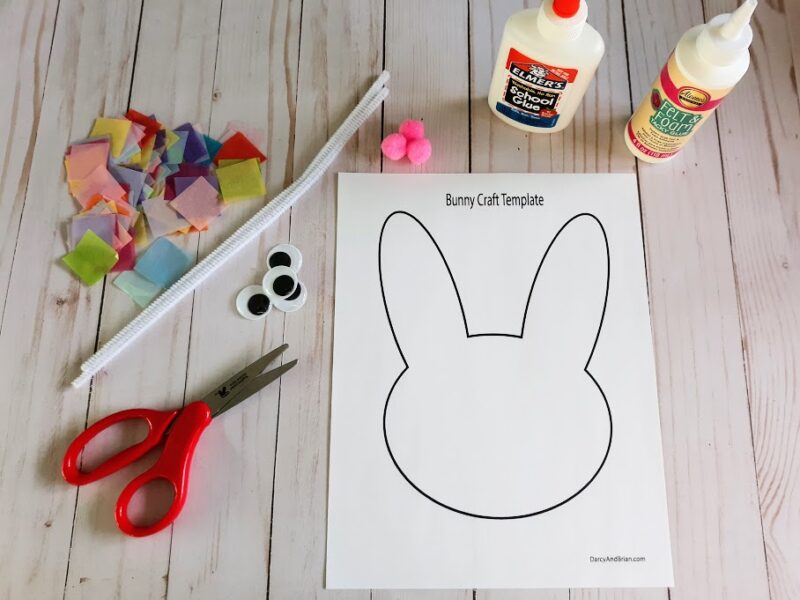
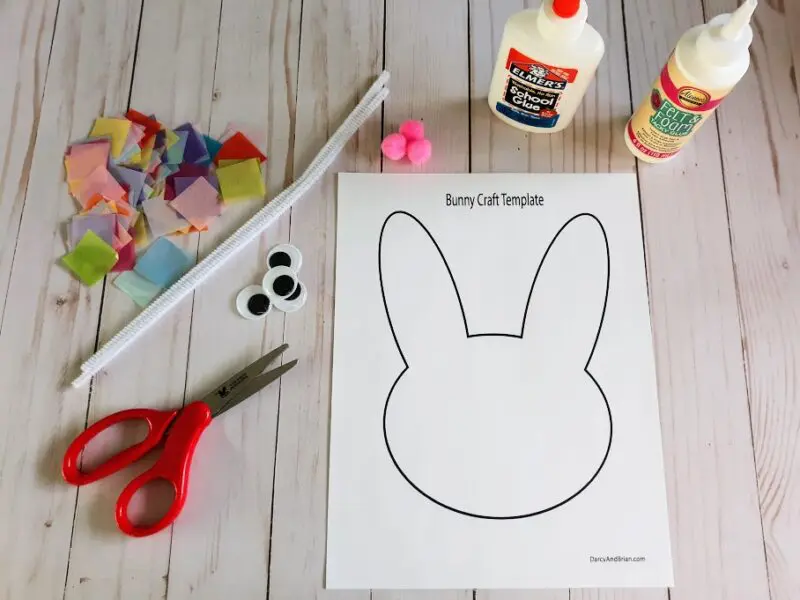
Bunny Suncatcher Craft Supplies:
This post contains affiliate links. As an Amazon Associate and a participant in other affiliate programs, we earn a commission on qualifying purchases.
- Bunny Craft Template (available at no cost by filling out the form at the bottom of this post)
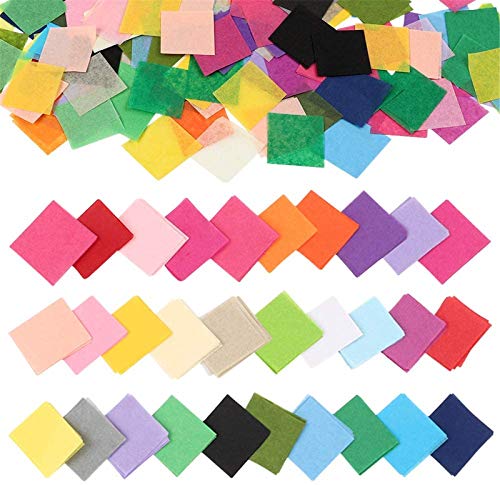
- Tissue paper in a variety of bright or pastel spring colors
- White Chenille Stems (aka Pipe Cleaners) cut into 4” sections
- ½” Pink Pom Poms
- 1 inch Googly Eyes
- Scissors
- Glue
- Aleene’s Felt & Foam Tacky Glue
- Scotch(R) Removable Wall Mounting Tabs (optional)
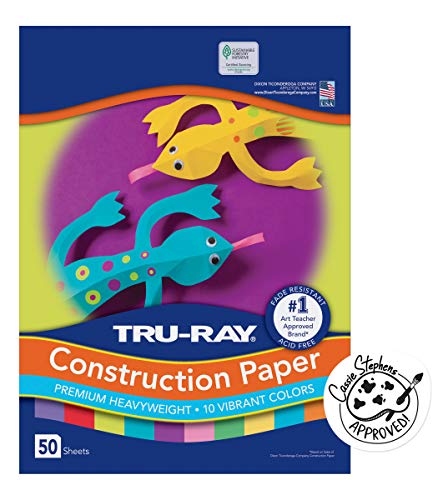
You can also get an assortment of googly eyes, pom poms and chenille stems to use for several projects.
Tru-Ray Construction Paper, 10 Vibrant ColorsDarice 1000 Pcs Popsicle StickMulti-Color Pom Poms, 1200pcs Assorted Size & ColorCrayola Mini Twistables Crayons (50ct), Crayons for Toddlers, 3+Elmer’s All Purpose Glue Sticks, WashableFiskars Training Scissors for Kids 3+ with Easy Grip (3-Pack) – Toddler Safety Scissors


How to Make a Bunny Tissue Paper Suncatcher:
First you will need to download and print out our bunny craft template.
I recommend using regular printer paper for this project. The light will shine through plain printer paper easier than cardstock.
Next you will need to cut your tissue paper into small one inch squares in a variety of bright and pastel colors (i.e. pinks, greens, yellows, purples and blues).
You can also buy pre-cut tissue paper squares for a quick and easy project.
Younger children could also rip the tissue paper into smaller pieces and older children could cut their own.
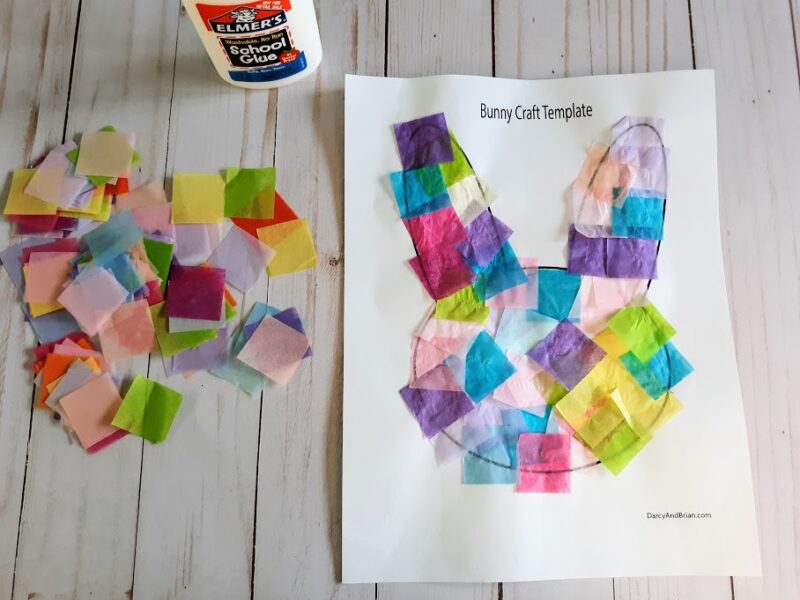
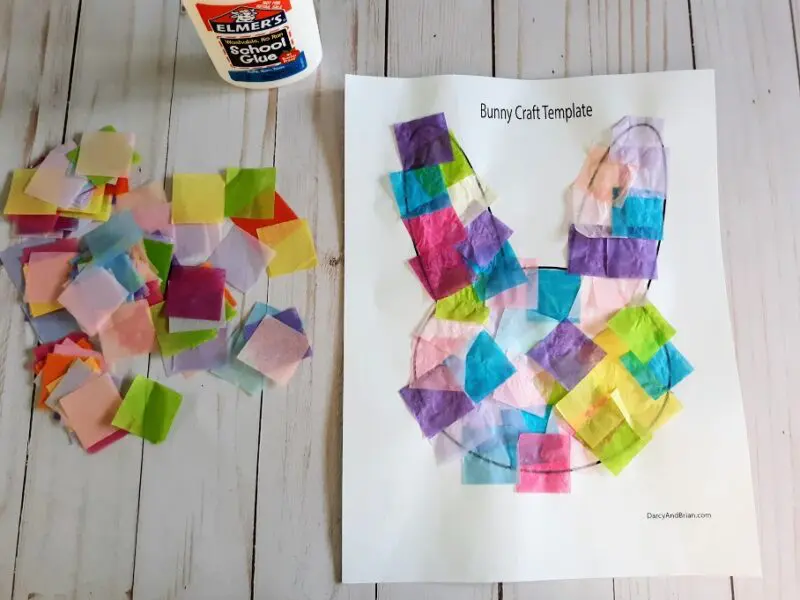
Then it is time to start gluing! Use regular liquid glue or glue sticks to cover the entire bunny shape with tissue paper.
It’s okay if the tissue paper overlaps or goes over the edges.
Set the suncatcher aside to dry.
While the suncatcher is drying, prep your other materials.
Gather two large wiggly eyes, 1 medium pink pom pom for the nose and white pipe cleaners.
Cut the pipe cleaners into four 4” sections.
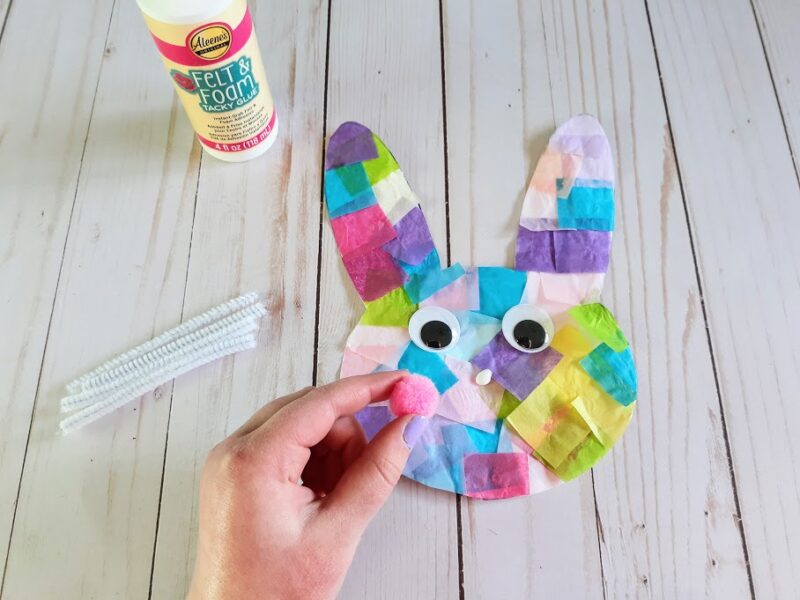
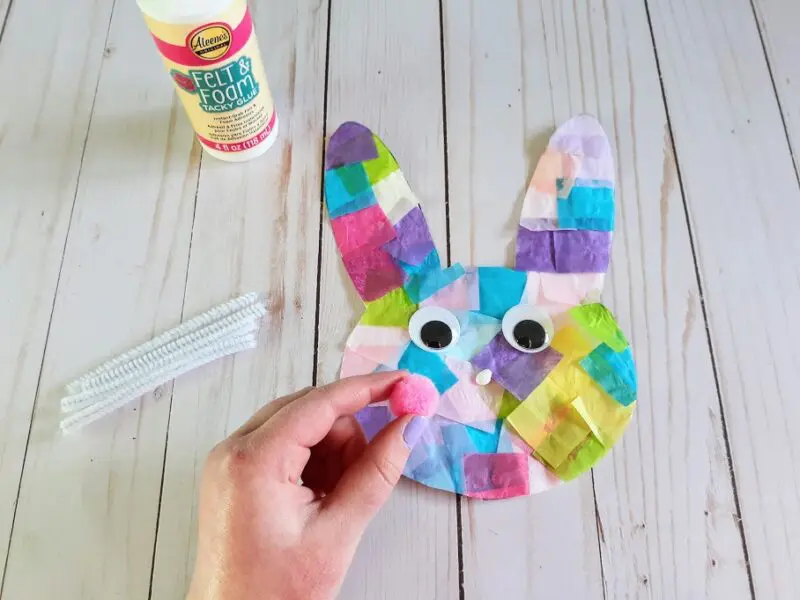
Once the glue is dry, cut out the template.
Use Aleene’s Felt & Foam Tacky Glue (it works much better on projects like this than regular glue) to glue on eyes, pom pom nose and pipe cleaner whiskers.
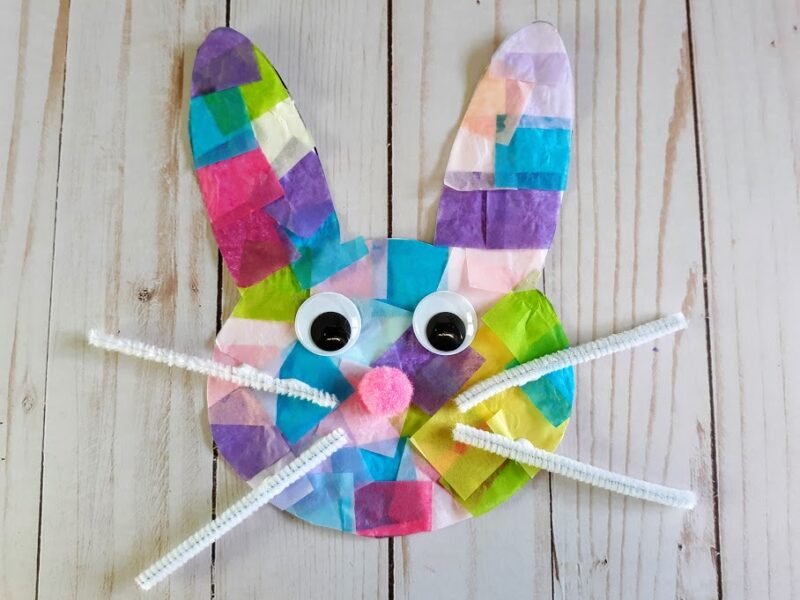
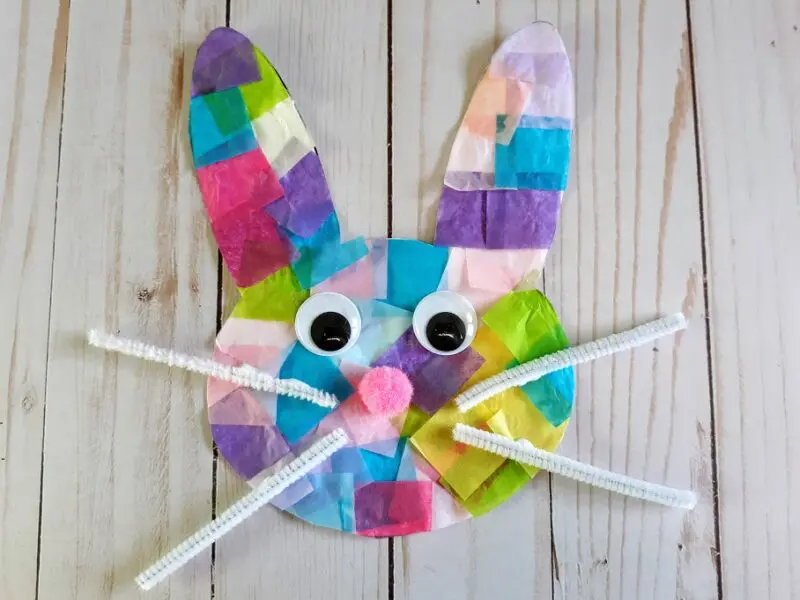
Now you have a cute faux stained glass bunny suncatcher made with tissue paper to hang in the window and enjoy!
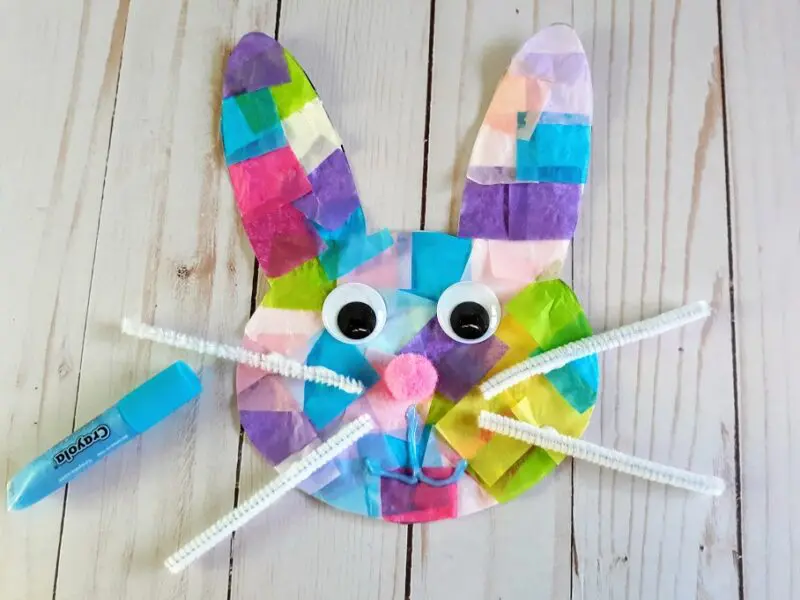
You can also use a marker or glitter glue to add a mouth to the bunny or leave it as is.

Use these removable mounting tabs to make it super easy to display in a window around your home or classroom.
Amazon Basics Multipurpose Copy Printer Paper, 8.5Outuxed 4800pcs 1Inch Tissue Paper Squares360 Sheets 36 Multicolor Tissue Paper BulkELMER’S Disappearing Purple School Glue SticksAvery 73601 Self-Adhesive Laminating Sheets, 9 x 12 InchScotch(R) Removable Wall Mounting Tabs


More Suncatcher Crafts:
- Heart Suncatcher
- Christmas Tree Suncatcher
- Fall Tissue Paper Suncatchers
- Bat Suncatcher
- Turkey Suncatcher
- Easter Egg Suncatcher
- Shamrock Suncatcher
MORE EASTER CRAFTS FOR KIDS:
- Hatching Chick Paper Plate Craft
- Handprint Chicken Paper Plate Craft
- Color by Number Easter Basket Coloring Pages
- Easter Egg Coloring Pages
- 35 Free Easter Printables for Kids
Get the Printable Bunny Craft Template
Bunny Tissue Paper Suncatcher Craft
Make this adorable tissue paper bunny suncatcher for a quick and easy spring craft for kids. Also a great Easter craft project!
Instructions
- First you will need to download and print out our printable bunny craft template. (It is file 133 in our free printable resource library.)
- Next you will need to cut your tissue paper into small one inch squares in a variety of bright and pastel colors (i.e. pinks, greens, yellows, purples and blues).
- Then it is time to start gluing! Use regular liquid glue or glue sticks to cover the entire bunny shape with tissue paper. It’s okay if the tissue paper overlaps or goes over the edges.
- Set the suncatcher aside to dry. While it is drying, prep your other materials.
- Gather 2 large wiggly eyes, 1 medium pink pom pom for the nose and white pipe cleaners.
- Cut pipe cleaner into four 4” sections to create bunny whiskers.
- Once the glue is dry, cut out the template.
- Use Aleene’s Felt & Foam Tacky Glue to glue on eyes, pom pom nose and pipe cleaner whiskers.
- You can also use a marker or glitter glue to add a mouth to the bunny if you want.
- Now you have a cute faux stained glass bunny suncatcher made with tissue paper to hang in the window and enjoy!
Notes
I recommend using regular printer paper for this project. The light will shine through plain printer paper easier than cardstock.
You can also buy pre-cut tissue paper squares for a quick and easy project.
Younger children could also rip the tissue paper into smaller pieces and older children could cut their own.
Use removable mounting tabs to make it super easy to display in a window around your home or classroom.
A. Hager is a lover of books and all things crafty. She enjoys puzzles, board games and puppy snuggling. She is constantly adapting new recipes so her two children with food allergies are able to experience a variety of delicious and fun foods.
Maria
Saturday 9th of March 2024
This is adorable, Darcy. My grandson will love making it and I will love hanging it in my window :) Thanks so much for sharing this with us at the Senior Salon Pit Stop! I'm excited to be featuring you at Monday’s party. Congrats! Pinned Hugs, Maria @ kraftyplanner.com
Darcy Zalewski
Monday 18th of March 2024
Thank you so much, Maria! I greatly appreciate the feature!