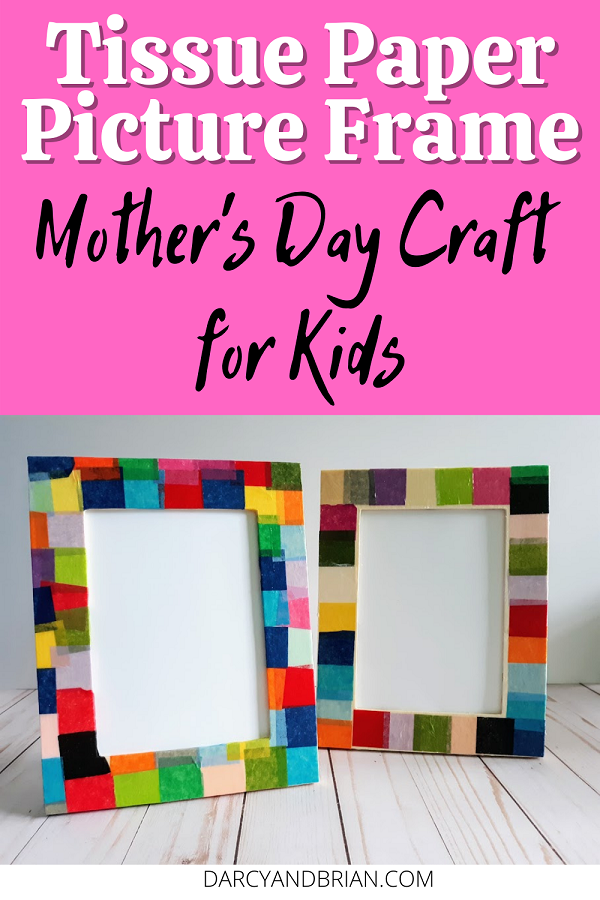
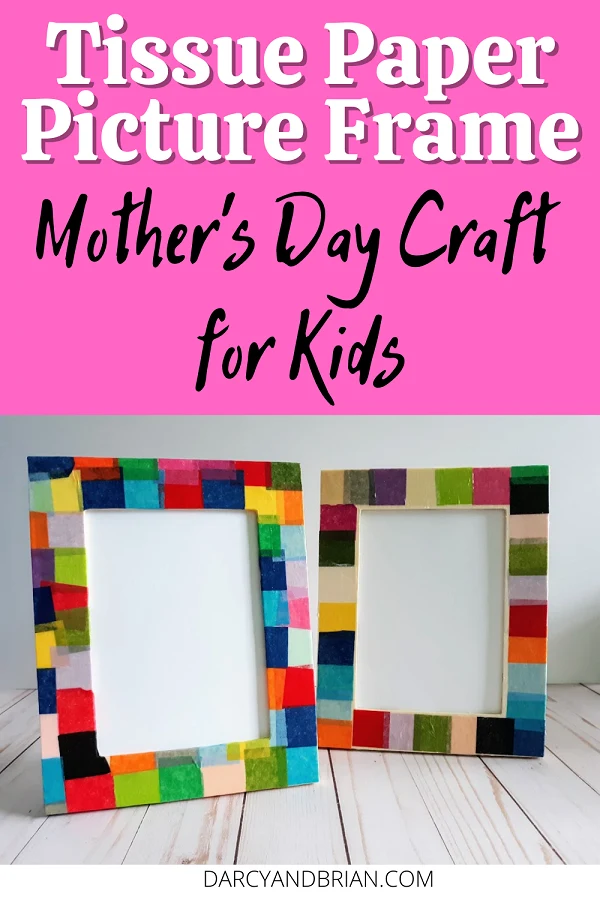
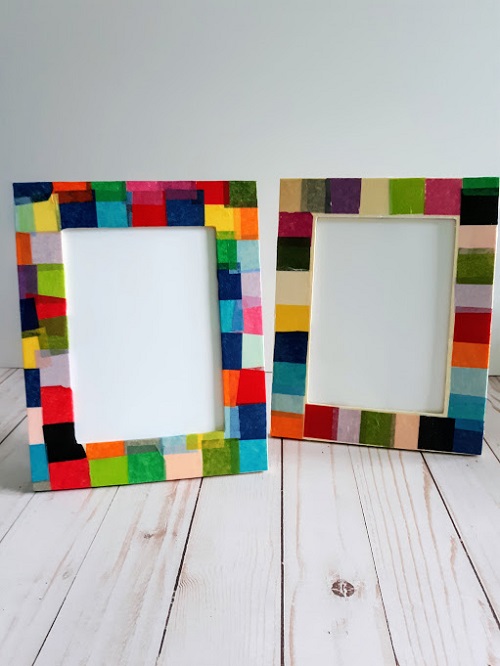
This tissue paper picture frame craft is one of our easy Mother’s Day crafts for kids to make at home or at school. It is simple to make, inexpensive and makes a wonderful gift. Just look at how lovely the frames look when finished!
Kids of all ages can make this photo frame craft as a homemade present for other occasions as well, such as Father’s Day, Grandparent’s Day, and Christmas. It’s also a wonderful decorative addition to any home and is perfect for displaying school photos.
Mother’s Day Card Ideas
Once the frame is finished and wrapped, you’ll need a card to go along with it. Here are a few cards you can easily print out or create to attach to your handmade gift.
- Watercolor Resist Mother’s Day Craft
- Handprint Cactus Mother’s Day Card
- Floral Mother’s Day Printable Card
What Age Can Make This Picture Frame Craft?
You can work on this project with kids of all ages, and it is less messy than painting!
Toddlers can help rip up tissue paper pieces and stick them down onto the frame while an adult brushes on the mod podge.
For preschool and kindergarten children, making these tissue paper frames is a fun fine motor activity that provides practice with cutting their own tissue paper pieces and gluing.
Older elementary school children will also find this to be an enjoyable craft that they can design and complete on their own. They may also enjoy making an easy DIY pom pom frame to use as a dry erase message board.
To make this even easier to do, prep ahead by cutting tissue paper into one inch squares (or any other shapes you’d like). You can also use our Amazon affiliate link to buy these pre-cut tissue paper squares for a quick and easy project.
Get even more family craft and activity ideas in our FREE ebook available at the end of this post.

What Holidays is This Frame Craft For?
This homemade mod podge tissue paper photo frame craft is a quick, easy and economical project that everyone will love!
Kids can give one of these frames as a gift for any special occasion, especially Mother’s Day or Father’s Day.
Make it extra special by adding a picture of your child and use a permanent marker to write their name and the date on the back of the frame as a keepsake.
For a sweet Grandparents Day gift, include a photo of your child with their grandparents and surprise them with it! This also works well for Christmas.
While there are several holidays you could make a picture frame for, it’s also an excellent option for a school art project even without a specific holiday in mind.
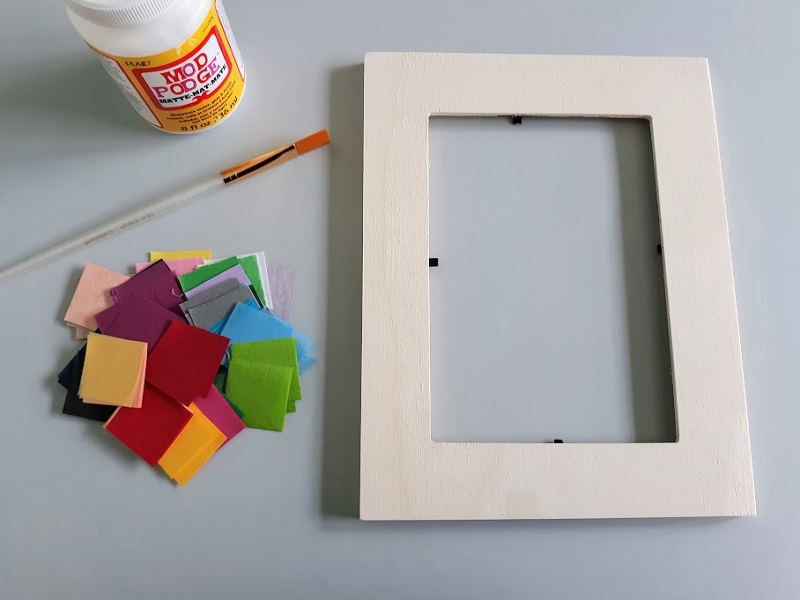
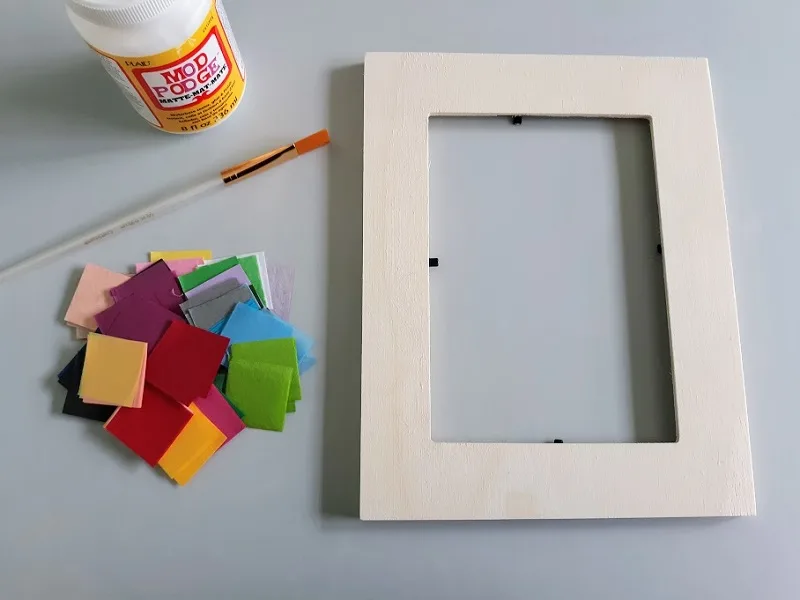
Tissue Paper Picture Frame Craft Supplies
These tissue paper photo frames use just a few common craft supplies and only take about 30 minutes to complete.
This post contains affiliate links. As an Amazon Associate and a participant in other affiliate programs, we earn a commission on qualifying purchases.
- Tissue paper in a variety of colors
- Scissors
- Paintbrush
- Mod Podge
- Craft Photo Frame
You could also add embellishments to the finished frame such as hearts, stars, buttons, and inspirational words.
How to Make a Tissue Paper Photo Frame:
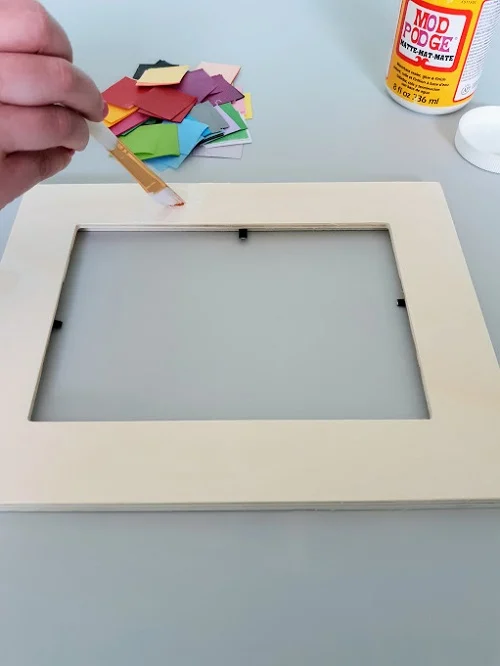
First you will need to cut your tissue paper into small one inch squares or purchase pre-cut tissue paper squares. Next, remove any glass, plastic or wood pieces from the center of your frame.
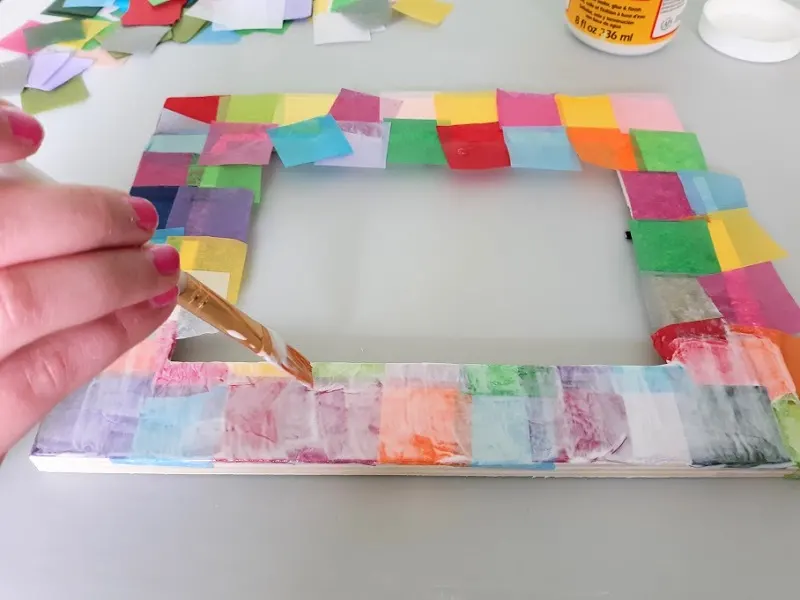
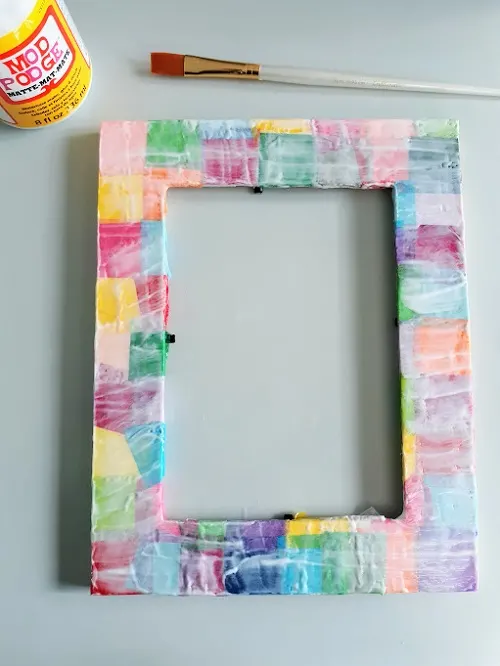
Then it is time to start gluing! Using mod podge, brush a small amount onto the front of the frame.
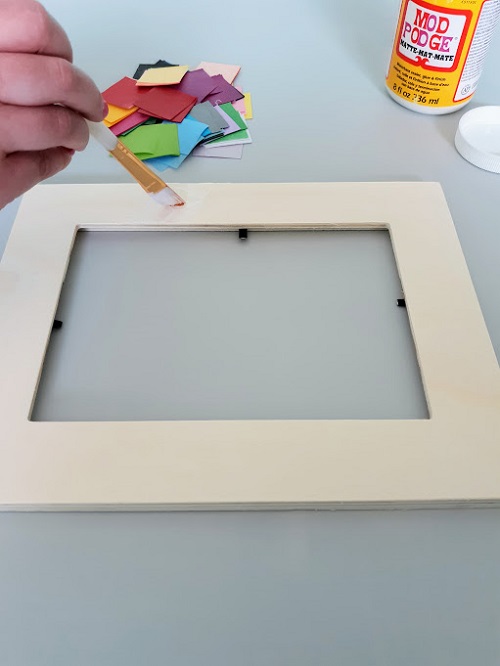
Gently lay tissue paper squares onto the glue one at a time.

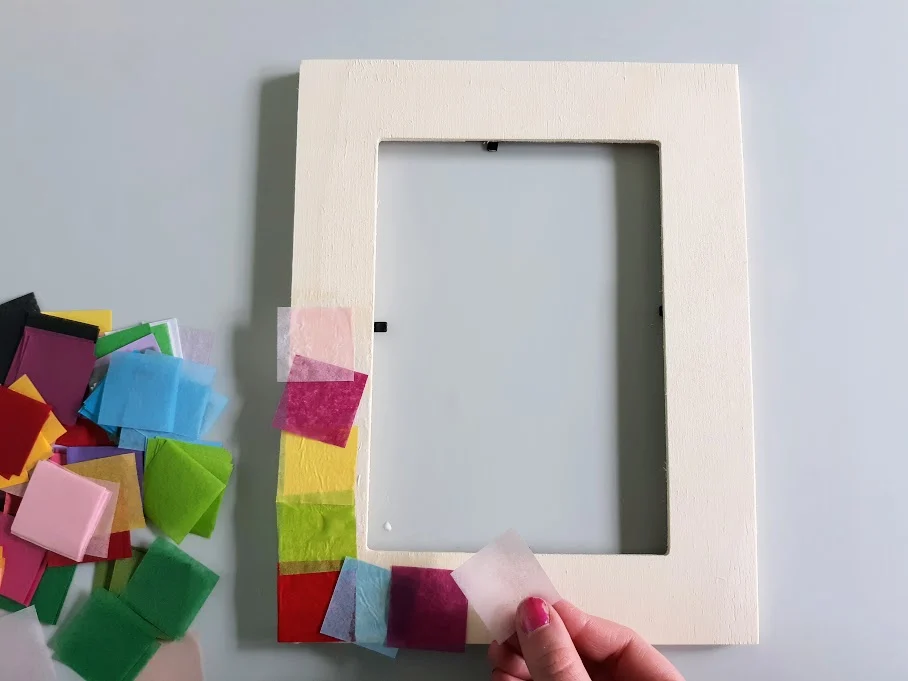
It’s okay if the tissue paper overlaps or goes over the edges. Repeat this process, in small sections, until the whole frame is covered or you have your desired design. Allow time to dry.
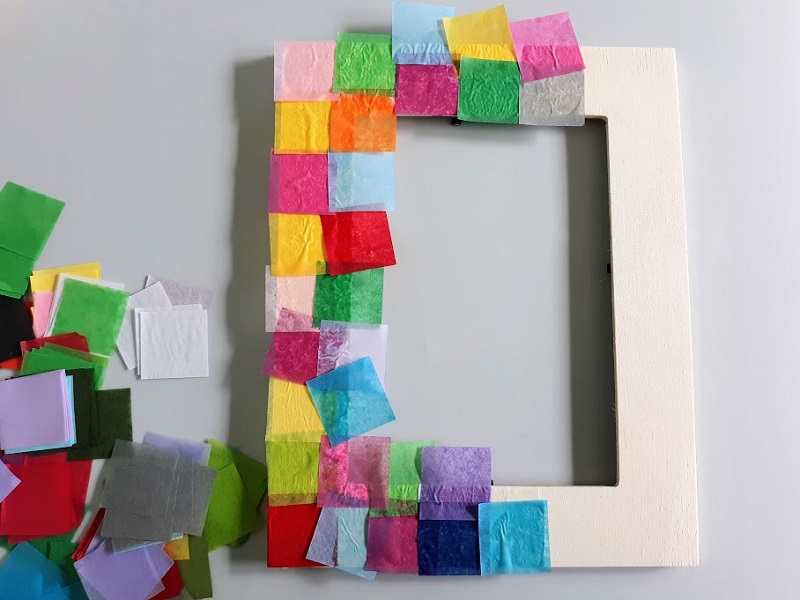
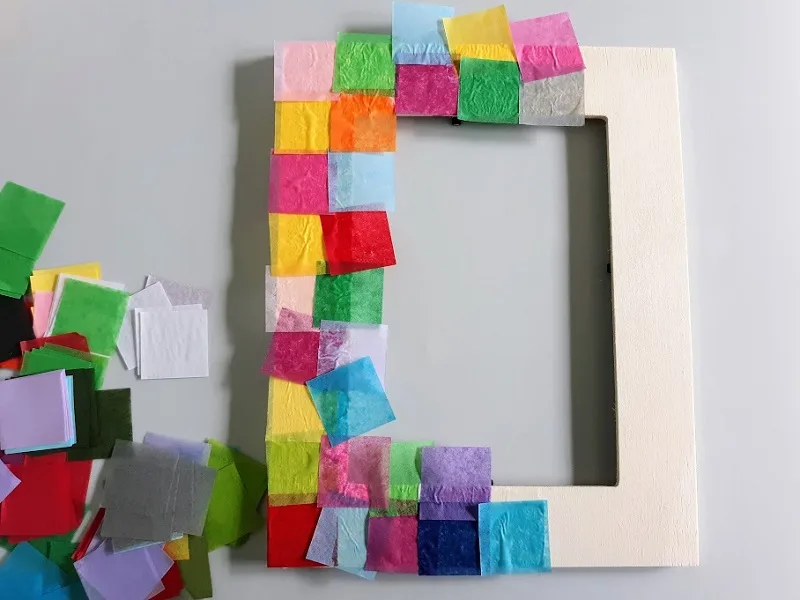
Trim off any large overhanging pieces or fold them around the corners of the frame, using mod podge, to glue them into place.
Apply the final 1-2 coats over the entire frame. Allow time to dry in between each coat.

Set aside to dry completely. Once your frame is dry, add a photo and enjoy!
More Tissue Paper Crafts
Now that you know how fun and easy tissue paper crafts for kids can be, here are a few more projects to try with the kids. The suncatchers are a favorite around here.

Tissue Paper Picture Frame Craft
Use tissue paper and mod podge for this quick and easy picture frame craft for kids. It makes a pretty homemade gift!
Materials
- Tissue Paper
- Mod Podge
- Unfinished Picture Frame for Crafts
Tools
- Paintbrush
- Scissors
Instructions
- Cut tissue paper into small one inch squares or purchase pre-cut ones.
- Remove any glass, plastic or wood pieces from the center of your frame.
- Brush a small amount of mod podge onto the front of the frame.
- Gently lay tissue paper squares down onto the mod podge.
- Repeat this in small sections until the entire frame is covered.
- Set aside to dry completely.
- Trim any excess pieces around the edges.
- Apply the final 1-2 coats over the entire frame to seal it. Allow time to dry in between each coat. Set aside to dry completely before adding a picture.
Notes
Drying time may vary and is in addition to the active time crafting.
A. Hager is a lover of books and all things crafty. She enjoys puzzles, board games and puppy snuggling. She is constantly adapting new recipes so her two children with food allergies are able to experience a variety of delicious and fun foods.
Beth
Tuesday 23rd of April 2024
Love how easy this looks to make with kids of all ages, Darcy!
Darcy Zalewski
Saturday 4th of May 2024
Thanks so much, Beth! I love sharing projects that kids will varying skill level can participate in.