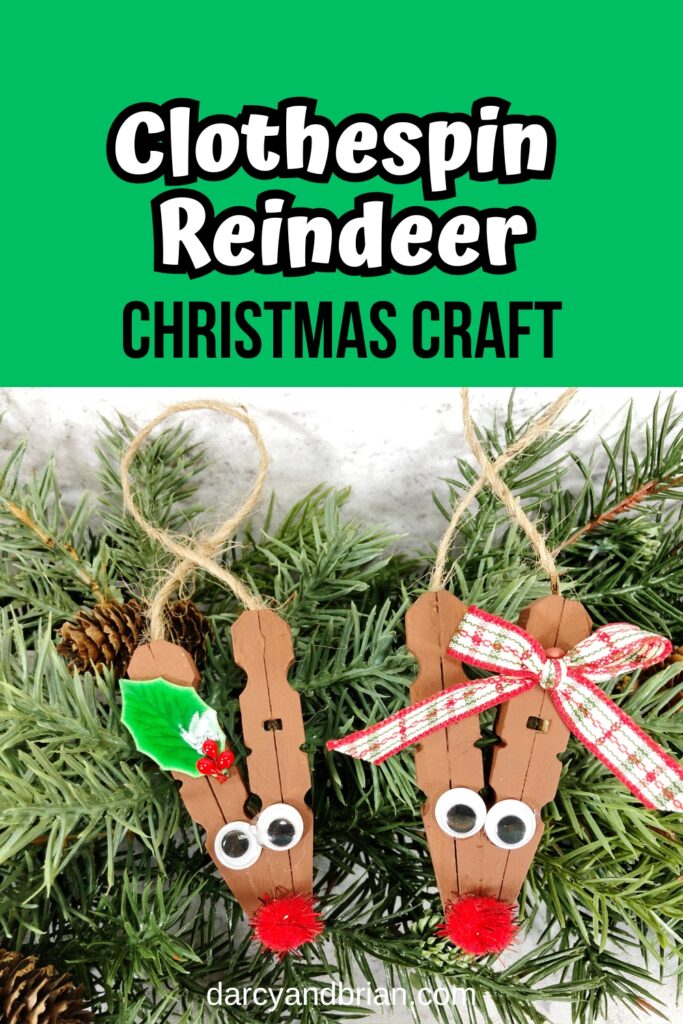
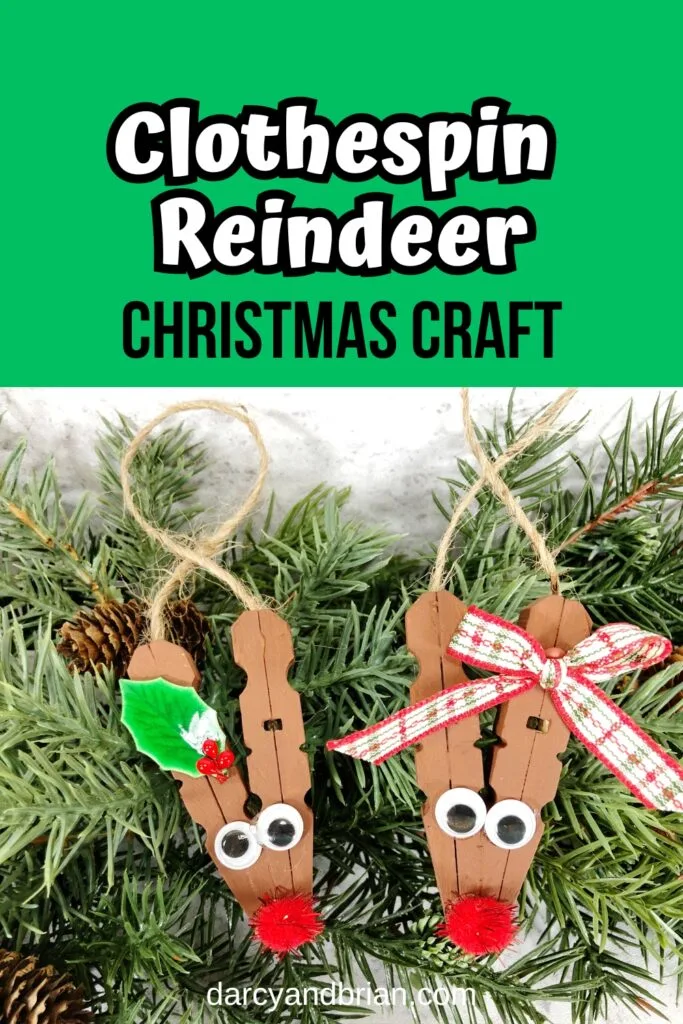
Are you looking for an adorable holiday project? This clothespin reindeer craft is a delightful addition to the many Christmas crafts for kids that can be easily made at home or school.
This charming craft not only helps kids explore their creativity but also adds a homemade touch to festive decor. All you need are a few clothespins, googly eyes, and paint.
It’s a fantastic way to engage kids in the holiday spirit while improving their creativity and fine motor skills. Get ready for a season filled with creativity and heartfelt ornaments!
Holiday crafts are an absolute must-have for homeschooling and classroom lessons! They bring a burst of joy to the learning environment and give children a chance to unleash their creativity. Plus, these crafts make the perfect decorations for the festive season and adorable homemade gifts.
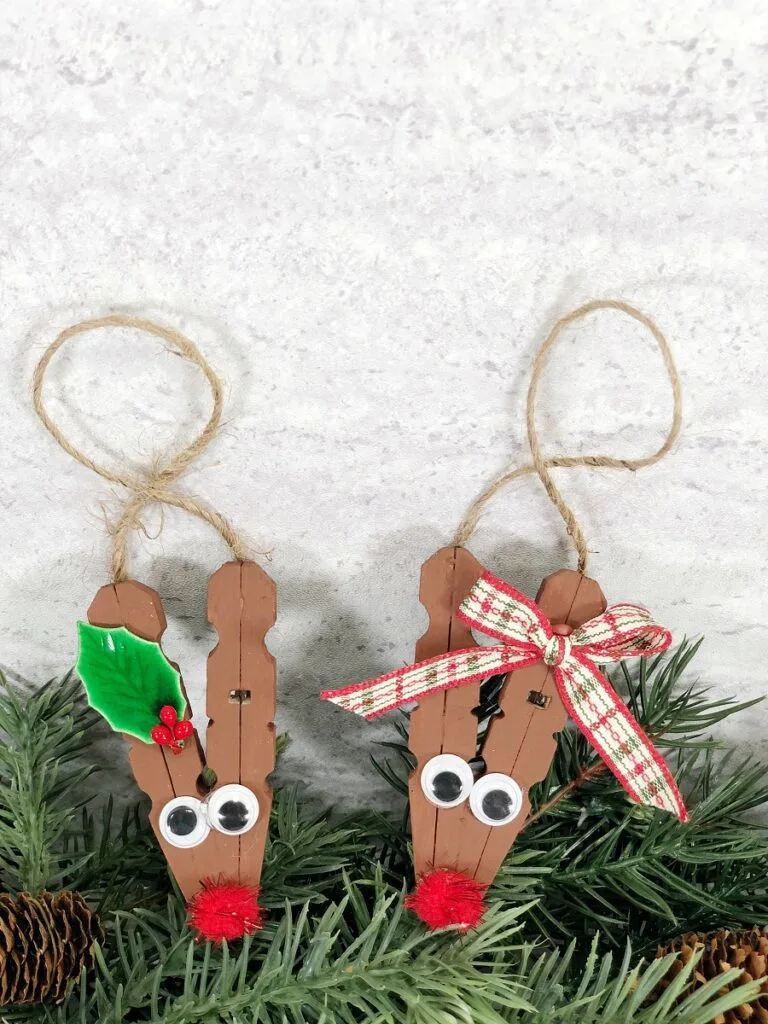
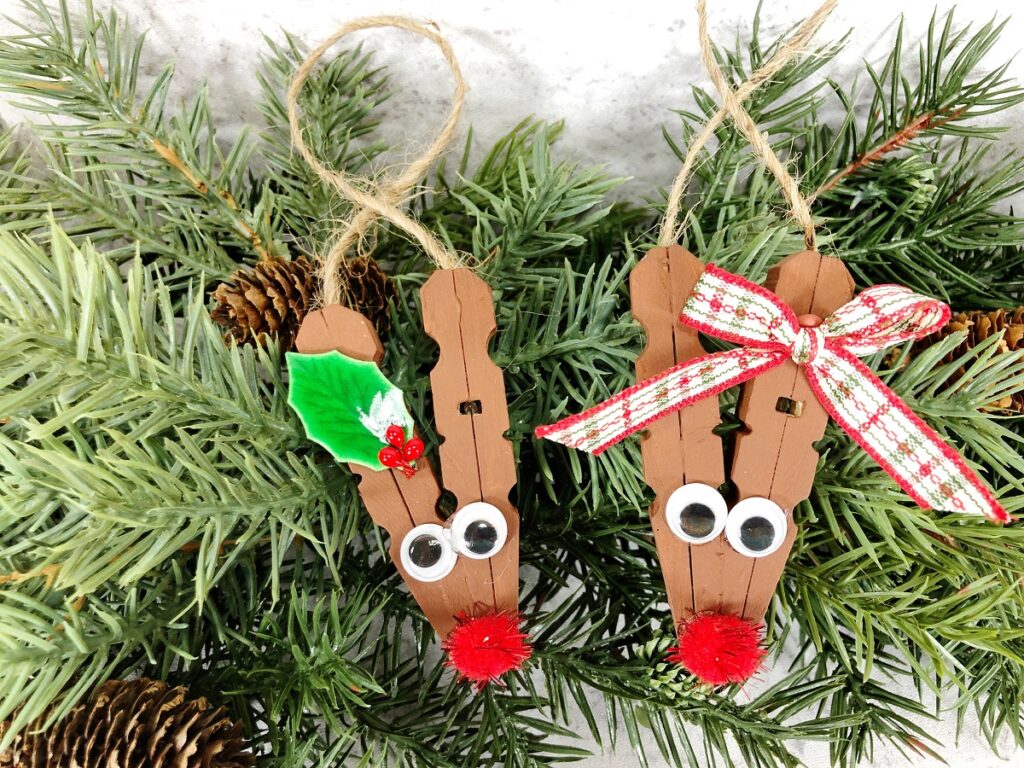
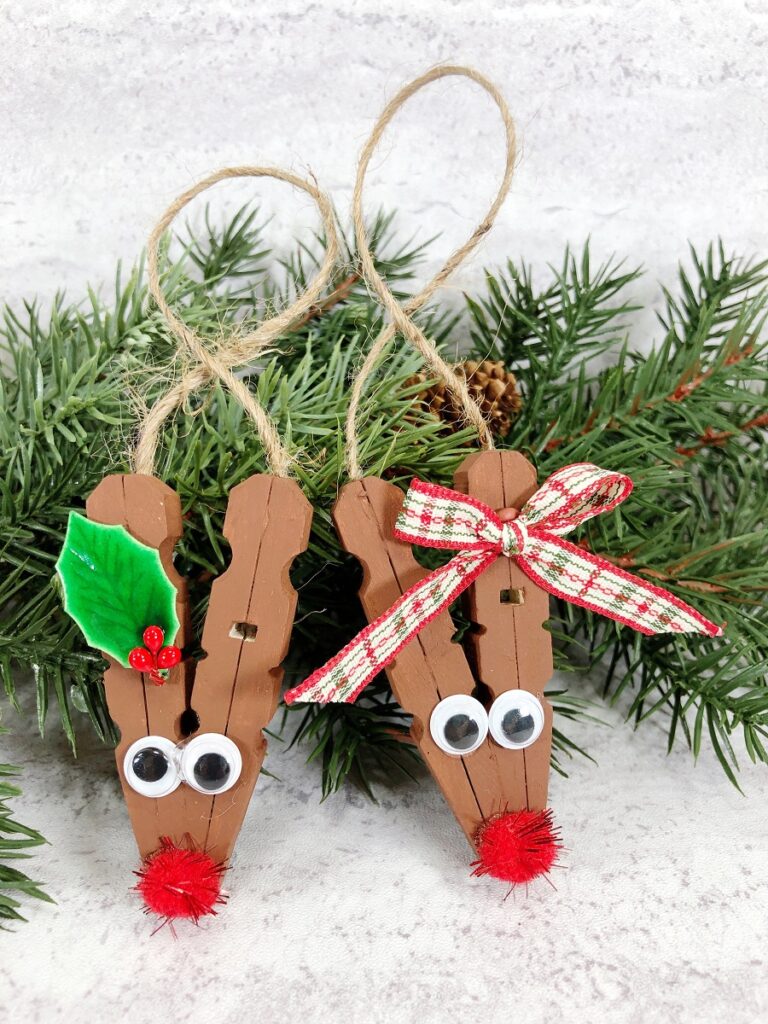
Take our clothespin reindeer, for example. It’s full of charm and warmth, and you can easily hang it on your Christmas tree. Each reindeer is unique, showcasing the child’s creativity and adding a personal touch to your holiday decor.
Are Crafts Educational?
Crafts are truly amazing when it comes to educating kids! They provide an interactive platform for children to explore the world of art and its many facets.
When little ones get their hands on different materials and textures, they learn how these elements work together, boosting their tactile and sensory skills. Plus, creating repeating patterns helps them understand symmetry and geometry better.
And let’s not forget about colors! By experimenting with different hues and combinations, kids discover the beauty of aesthetics and color theories. It’s incredible how crafts can help children express their ideas and turn them into real projects.
Along the way, they also enhance their problem-solving and critical thinking abilities. For example, this flying reindeer stem activity combines crafting with science for a fun project.
So, remember, crafts are not just fun pastimes – they’re educational experiences that bring learning to life!
This post contains affiliate links. As an Amazon Associate and a participant in other affiliate programs, we earn a commission on qualifying purchases.
Creativity for Kids Easy Sparkle Window Art Craft Kit – Christmas and Holiday ActivitiesDIY Christmas Tree Craft KitChristmas Ornament Crafts for KidsChristmas Beaded Ornament Kit


More Reindeer Crafts for Kids
Reindeer crafts for kids are a fantastic way to involve children in the holiday season. These crafts are not only entertaining but also help children learn an array of valuable skills while having fun. The process of creating their very own reindeer fosters creativity and imagination, resulting in unique, homemade decorations.
Reindeer Books for Kids
Reindeer-themed books coupled with our reindeer crafts make for an exciting and educational combo for kids. The act of reading books about reindeer, followed by crafting their own reindeer ornament, enables children to connect their art with their learning in a fun and interactive way.
Here are a few highly-rated reindeer books that we think you will enjoy reading together:
“The Reindeer Wish” by Lori Evert encapsulates a heartwarming tale of friendship and adventure.
“Olive, the Other Reindeer” by Vivian Walsh is a unique twist on the classic Christmas reindeer tale that kids adore.
And let’s not forget “Rudolph the Red-Nosed Reindeer”, a beloved classic that never gets old.
By incorporating these books into your holiday traditions, children can enjoy learning about reindeer in a whole new light, while expressing their creativity through crafting.
The Reindeer Wish (A Wish Book)Olive, the Other Reindeer (Olive, OLIV)Rudolph the Red-Nosed Reindeer (Little Golden Book)The Grumpy Reindeer: A Winter Story About Friendship and Kindness (First Seasonal Stories)Reindeer Food: A Christmas Eve Family TraditionReindeer (A Day in the Life: Polar Animals)


Benefits of Making Clothespin Reindeer
Creating clothespin reindeer provides a wonderful opportunity for children to develop important skills.
It’s an exercise that enhances fine motor abilities, as kids paint and decorate the clothespins with precision. This also aids in developing hand-eye coordination, as they align the brush the clothespins and attach embellishments.
One of the main components of our craft are wooden spring clothespins. These aren’t just a key part of our reindeer’s structure, but also add a little bit of ‘engineering fun’ to our project.
Kids will absolutely love taking these clothespins apart and creatively reassembling them to form the reindeer’s face and majestic antlers.
This task encourages dexterity and problem-solving skills, as kids figure out how to dismantle and reconfigure these everyday objects into a festive craft.
Plus, it’s a great way to show them how a simple, household item can be transformed into something totally magical with just a little bit of imagination!
What Age Can Make This Clothespin Reindeer Craft?
This delightful clothespin reindeer craft is accessible to kids of all ages. Even the youngest of children can contribute meaningfully to the project, finding joy in painting the clothespins and assisting with gluing.
However, do keep in mind that the youngest crafters may require more help and supervision.
As for the older kids, they can work on the task with more independence, managing the assembly and finer details of the reindeer.
If you want an easier project for toddlers and preschoolers, they can cut and paste this simple paper reindeer craft.
Therefore, this project not only caters to different ages and skill levels, but also enables children to work together, fostering cooperation and a sense of shared accomplishment.

Clothespin Reindeer Craft Supplies
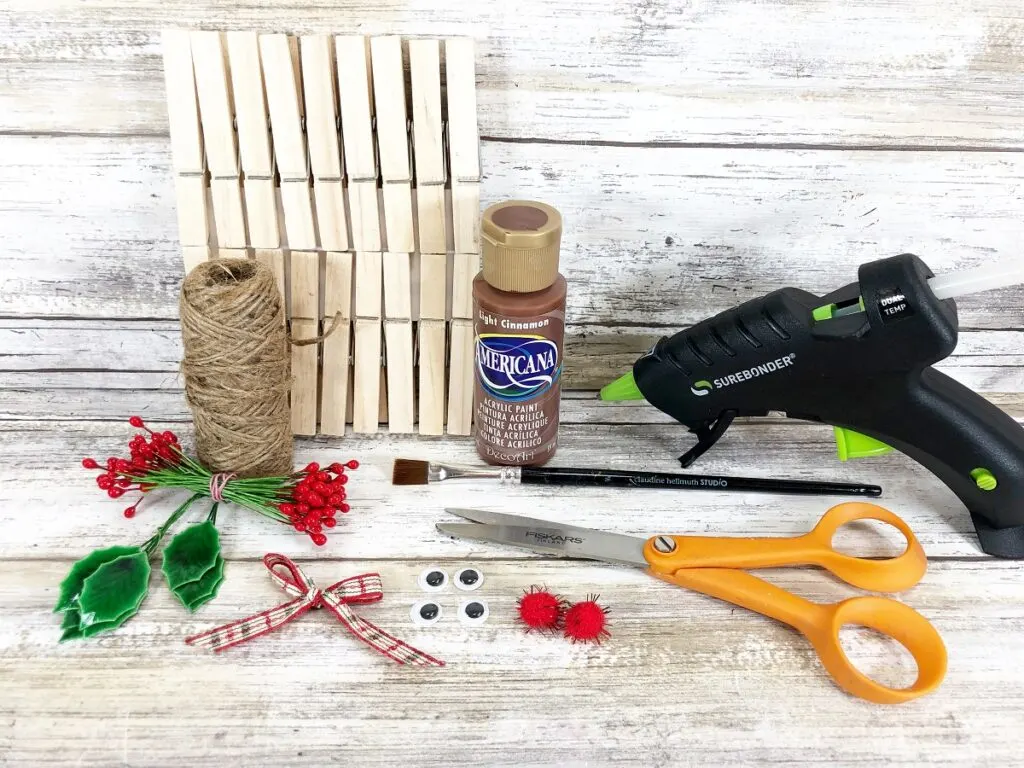
Before we begin our crafty Christmas adventure, let’s gather all the materials we need! You’ll be happy to know that these are easily found at your favorite craft store or even at the Dollar Store. If you’re more of an online shopping enthusiast, Amazon has got you covered as well.
Shop some of my favorite craft supplies on Amazon!
Wooden Clothespins: For this delightful reindeer craft, we’ll need good old-fashioned spring-style wooden clothespins. These simple tools will form the core of our reindeer, creating its face and antlers with a touch of rustic charm.
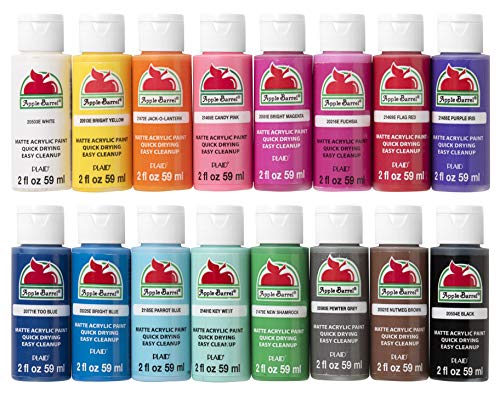
Acrylic Craft Paint: To achieve the desired result, you will require dark brown paint. However, don’t hesitate to explore various color options for the reindeer’s coat.
Googly Eyes: Adding googly eyes to projects like this always gives them an adorable touch.
Mini Pom Poms: We used mini red tinsel pom poms but you can use any red or black pom poms to make Rudolph and all the other reindeer.
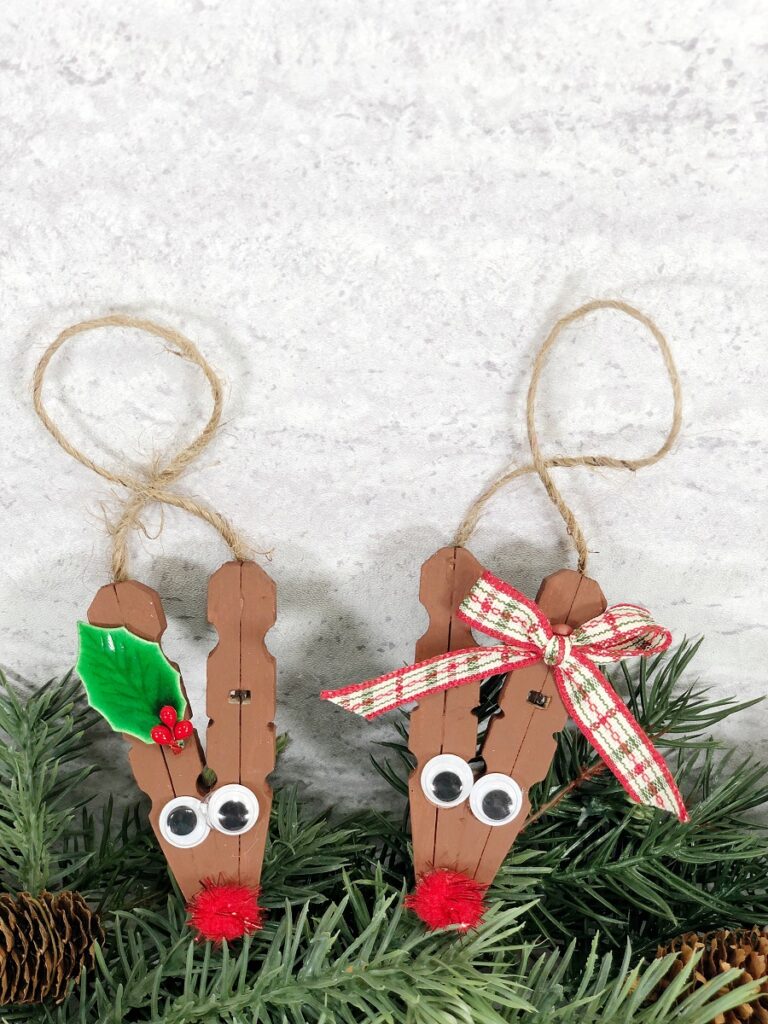
Embellishments: We adorned one reindeer with a bow using a Christmas plaid skinny ribbon and added mini holly leaves and berries to the other. If you can’t find the exact supplies, feel free to get creative with different items.
Natural Jute Twine: To transform these into hanging ornaments, simply attach a loop of twine.
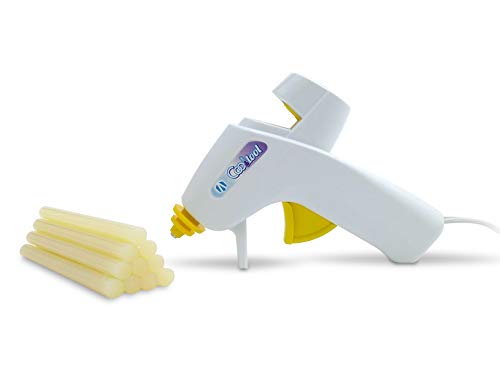
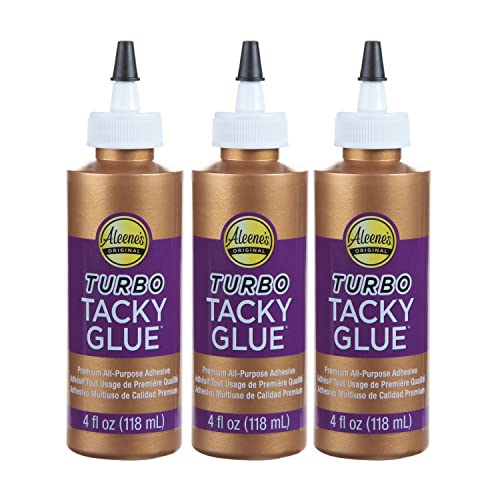
Low Temp Glue Gun or Tacky Craft Glue: We strongly recommend using a glue gun, although tacky craft glue can be used as an alternative. Hot glue dries quickly and generally offers greater durability.
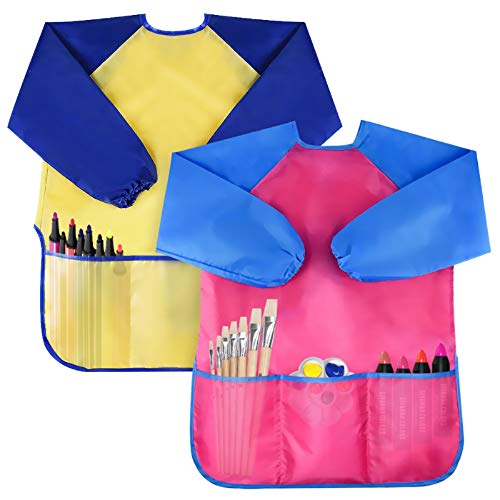
Apple Barrel Acrylic Paint Set, 16 Piece (2-Ounce), Best Colors Count Bassion Pack of 2 Kids Art Smocks, Children Waterproof Artist Painting Aprons Long Sleeve with 3 Pockets for Age 2-6 YearsAdTech Ultra Low-Temp Cool Tool | Mini Hot Glue Gun for Safe Crafting | Children and Kids | Item #05690 , WhiteAleene’s Turbo Tacky Glue, 4 FL OZ – 3 Pack, Multi
Should Kids Use Hot Glue?
The short answer is, it depends. If your children are young or inexperienced with using hot glue guns, then it’s best to supervise them or have an adult handle the gluing process.
Alternatively, you can opt for tacky craft glue which is a safer option for little ones, but will take longer to dry.
However, if your child has previous experience and is responsible enough to use a low temp glue gun, then they can use it with supervision.
We like the low temp glue guns because they do not get as hot to the touch, but they still need to be handled carefully.
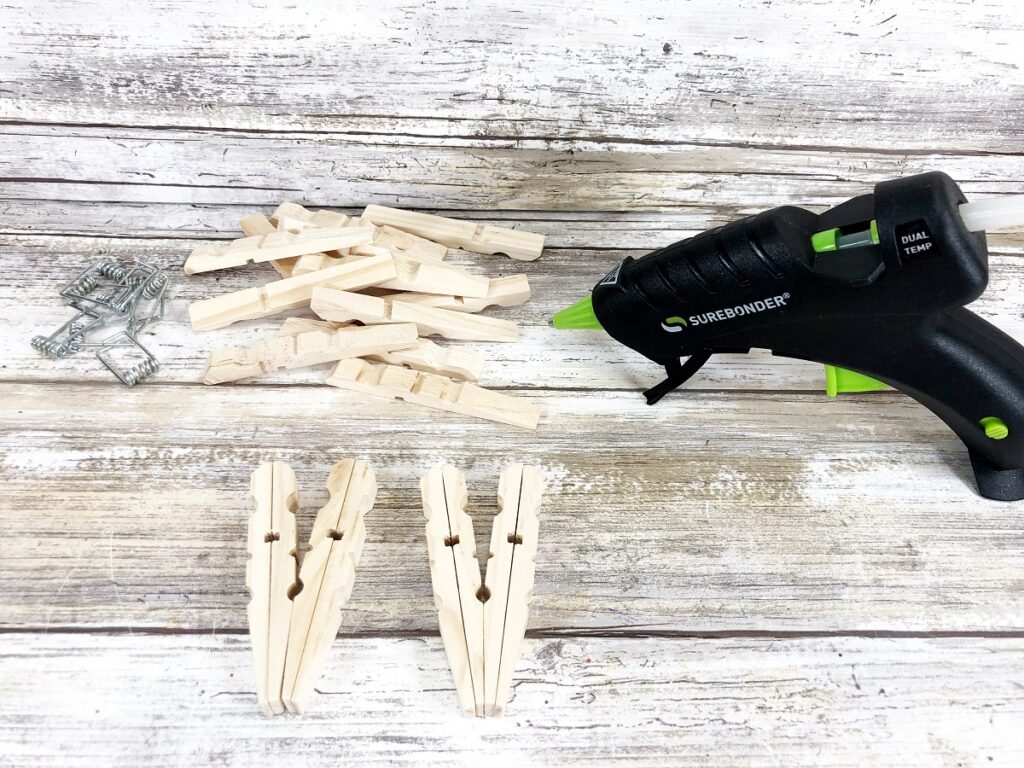
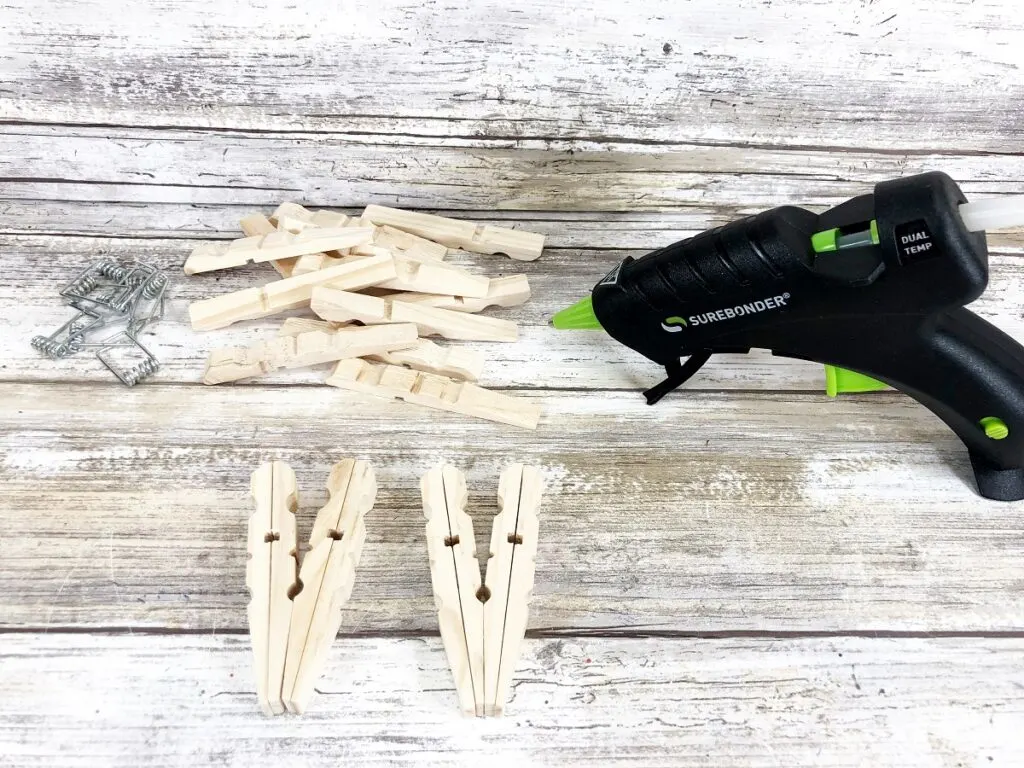
How to Make Clothespin Reindeer
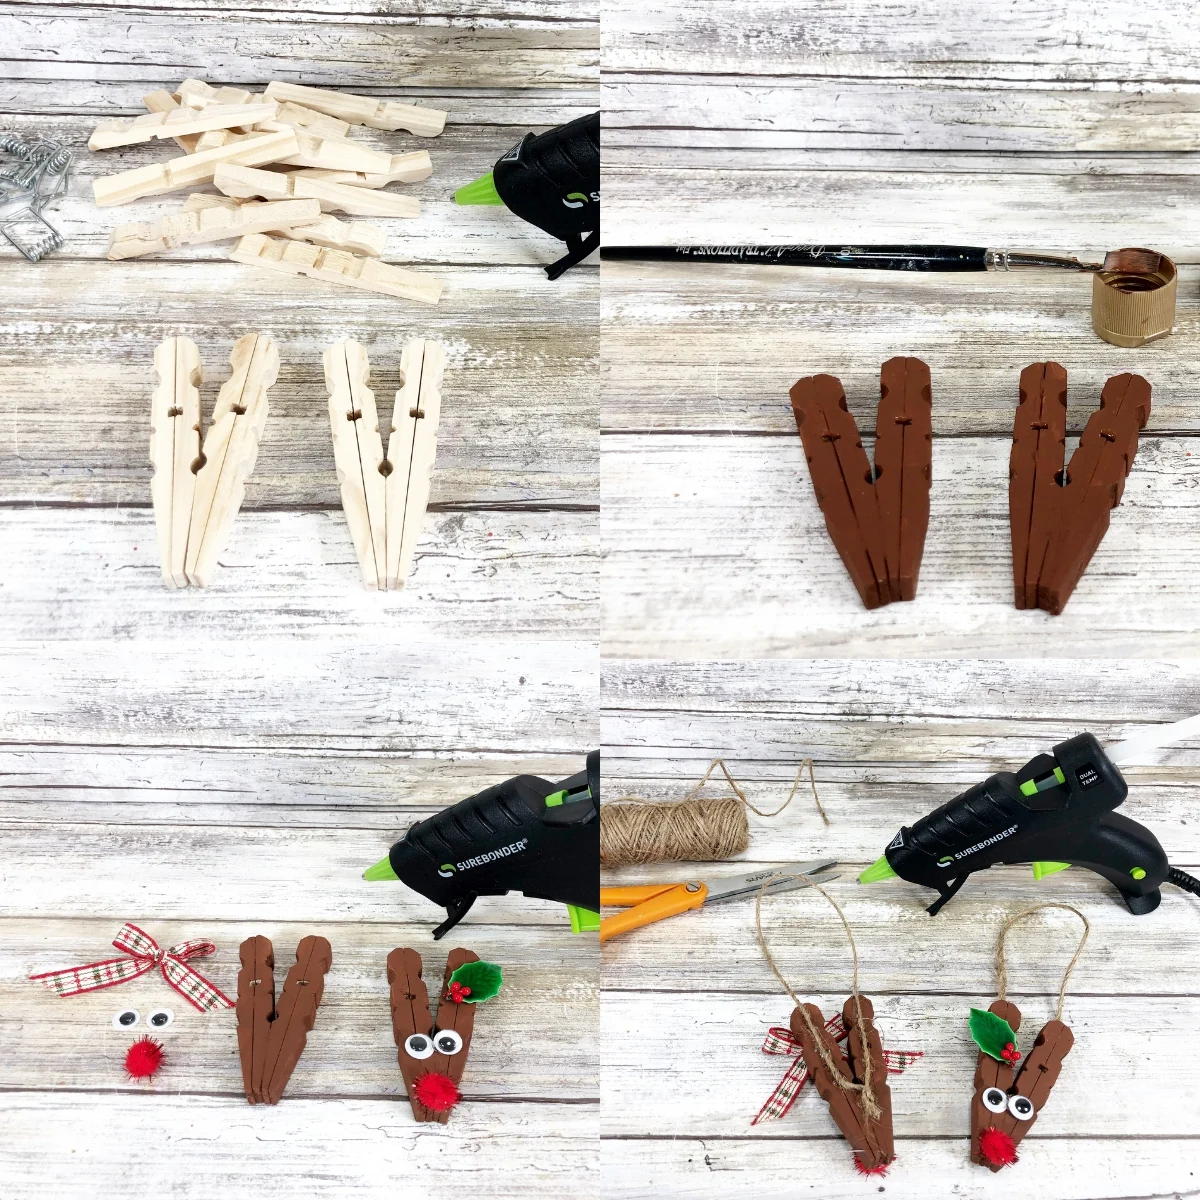
Begin by gathering all your supplies. Start by removing the metal springs from the clothespins. You can do this in advance to save time. It should be relatively easy to separate them.
For each reindeer, you’ll need two complete clothespins. Once you’ve removed the springs, flip the wooden pieces and align the smooth back sides. Glue each pair together.
Next, align the reassembled clothespins to form a V shape, just like in our photos. Attach them together to create the face and antlers of the reindeer.
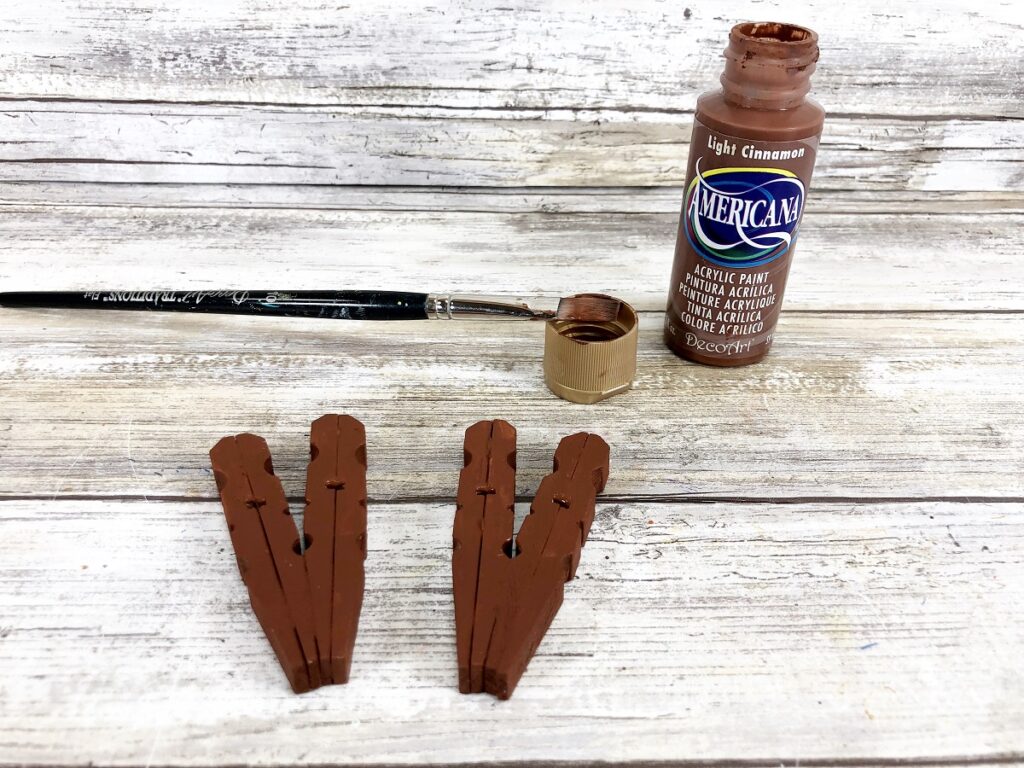

Paint the front and sides of the clothespins with brown paint. Allow the paint to dry, and apply a second coat if necessary.
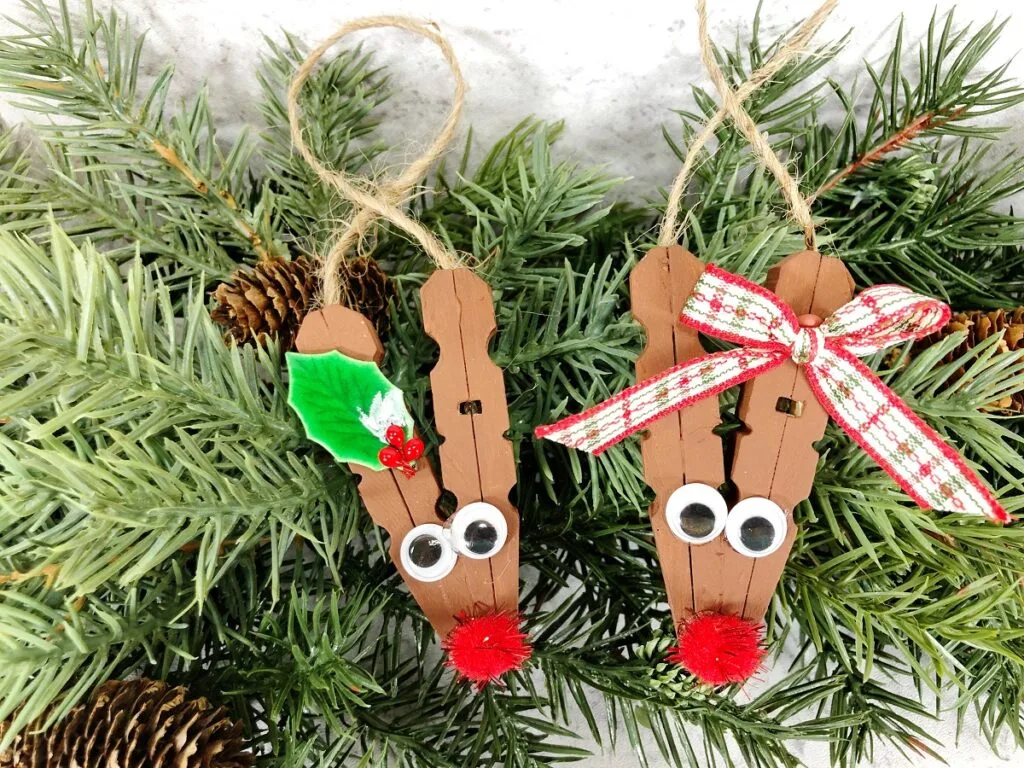
Attach the eyes to the middle of the clothespins, just below the antler’s V shape. Then, glue a pom pom near the bottom of the clothespins to serve as the nose.


To add some extra flair, embellish one antler on each clothespin reindeer with holly or a bow.

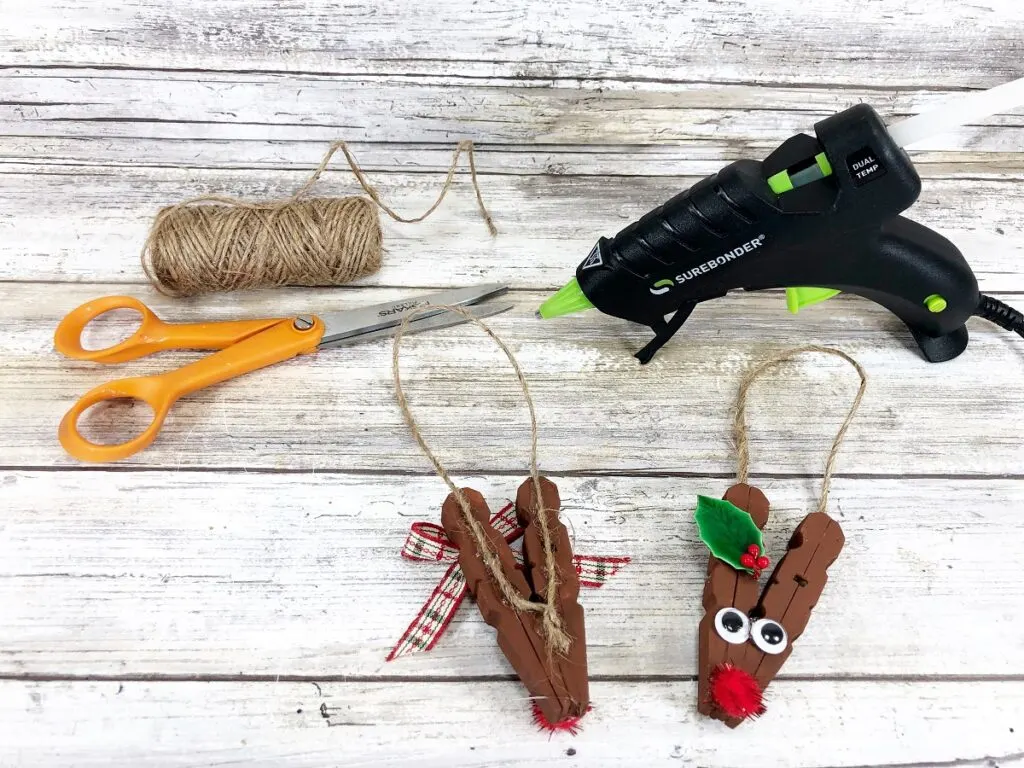
Cut a piece of twine approximately 12 inches long. Create a loop and tie a knot at the end. Glue the twine along the backs of the antlers to transform the reindeer into an ornament. Now it is ready to hang on the Christmas tree!
Fun Christmas Activities for Kids
Christmas is a magical time, filled with festive cheer, twinkling lights, and the exciting anticipation of Santa’s arrival. To help you make the most of this wonderful season, here are some fun-filled Christmas activities for kids.
These can be easily integrated into your holiday-themed unit studies at school or used as boredom busters at home. Plus, they’re a great way to spend quality time together during the holiday break.
Why not add to the festive fun by playing our printable Christmas Pictionary game? It’s a delightful, creative way to get into the holiday spirit and share some laughs, whether during a cozy evening at home or a lively classroom party.
Baking provides plenty of learning opportunities, but take it a step further for science with these gingerbread cookie STEM activities!
Continue the festivities with our printable Christmas scavenger hunt clues! These clues add extra excitement to your holiday celebrations, guiding kids on a fun treasure hunt that will keep them entertained and engaged.
Work on scissors skills with these Santa Beard Cutting Practice printables. Preschool and kindergarten children will have fun giving Santa’s beard a trim while strengthening their fine motor skills.
Make one or several of these Christmas playdough recipes, perfect for fun-filled sensory play. This tactile activity not only sparks creativity but also enhances fine motor skills as kids knead, roll, and shape their own holiday-inspired creations.

More Christmas Crafts for Kids
In addition to the charming clothespin reindeer craft, there are countless other Christmas craft projects that kids will adore. From colorful ornaments to festive cards, the possibilities are limitless during this season.
These delightful projects not only boost creativity but also provide an opportunity for little ones to enjoy the magic of Christmas while developing fine motor skills and learning the joy of handcrafting a gift.
So let your imagination run wild, grab your glitter and glue, and dive into the festive world of Christmas crafts!
- Coffee Filter Wreath Craft
- Angel Handprint Craft
- Pop Up Snowman Christmas Card
- Grinch Heart Christmas Ornament Craft
- Christmas Tree Clay Pot Ornament Craft
Crafting these adorable clothespin reindeer not only sparks creativity in kids, but also strengthens their motor skills – all while having heaps of fun!
Whether as a festive addition to your Christmas tree or as endearing handcrafted gifts for family members, these reindeer ornaments are sure to spread holiday cheer. Embrace the magic of the season with this easy, engaging project, and create heartwarming memories that shine as brightly as the decorations themselves.


Clothespin Reindeer Craft
Make these adorable clothespin reindeer ornaments for a fun Christmas craft for kids!
Materials
- Wooden Spring Clothespins (2 per reindeer)
- Dark Brown Acrylic Craft Paint
- Googly Eyes (2 per reindeer)
- Mini Red Tinsel Pom Poms (2 per reindeer)
- Skinny Ribbon (we used Christmas Plaid)
- Mini Holly Leaves and Berries
- Natural Jute Twine
Tools
- Low Temp Glue Gun or Tacky Craft Glue
- Paintbrush
- Scissors
Instructions
- Start by gathering all of your supplies. Prepare the clothespins by removing the metal springs. You may do this ahead of time. They should be fairly easy to slide apart.
- You will need two full clothespins for each reindeer. After the spring has been removed, flip the wooden pieces around to line up the smooth back sides. Glue each pair together.
- Next, line the pair of reassembled clothespins up to make a V shape like in our photos. Attach them together. This makes the reindeer’s face and antlers.

- Paint the front and sides of the clothespins with brown paint. Allow the paint to dry and apply a second coat if needed.
- Attach the eyes around the middle of the clothespins, just below the “V” of the antlers.
- Then glue a pom pom near the bottom of the clothespins for the nose.
- Add embellishments such as holly or a bow to accent one antler on each clothespin reindeer you make.
- Cut a length of twine about 12 inches. Create a loop and tie a knot at the end. Glue it down along the backs of the antlers to create an ornament.
Recommended Products
As an Amazon Associate and member of other affiliate programs, I earn from qualifying purchases.


Darcy is the founder of “Life With Darcy and Brian,” where she combines her love for education, board games, and crafting to create engaging learning experiences for kids. Her creative projects and writing have been featured in outlets like The Toy Insider, CafeMom, Mom.com, Parents.com, Country Living, and The Pioneer Woman.
Lyndsey
Thursday 30th of November 2023
These are adorable! My kids are going to have a blast making these.
Darcy Zalewski
Friday 1st of December 2023
Thank you, Lyndsey! They are fun reindeer ornaments to make!