

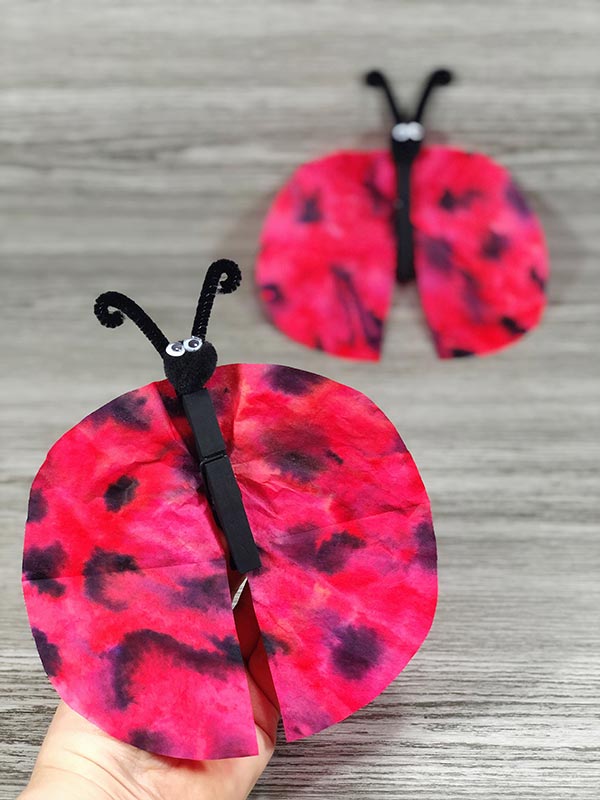
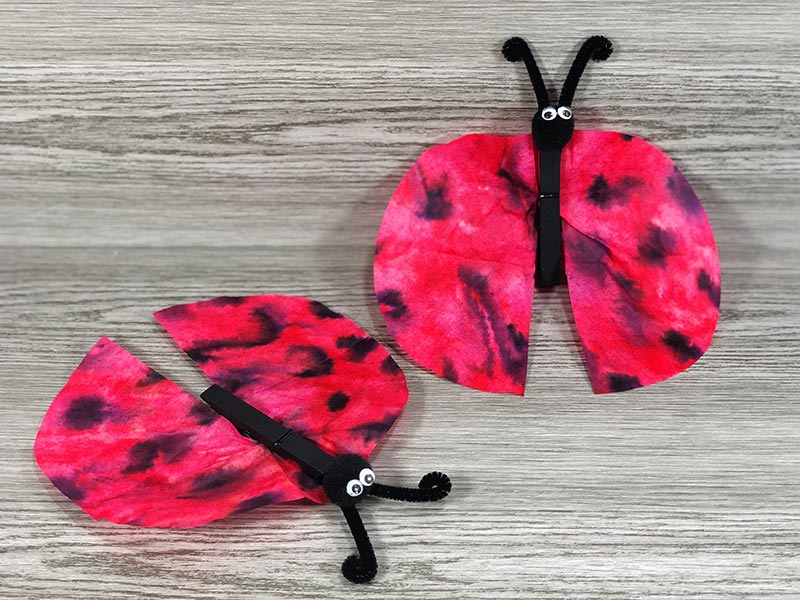
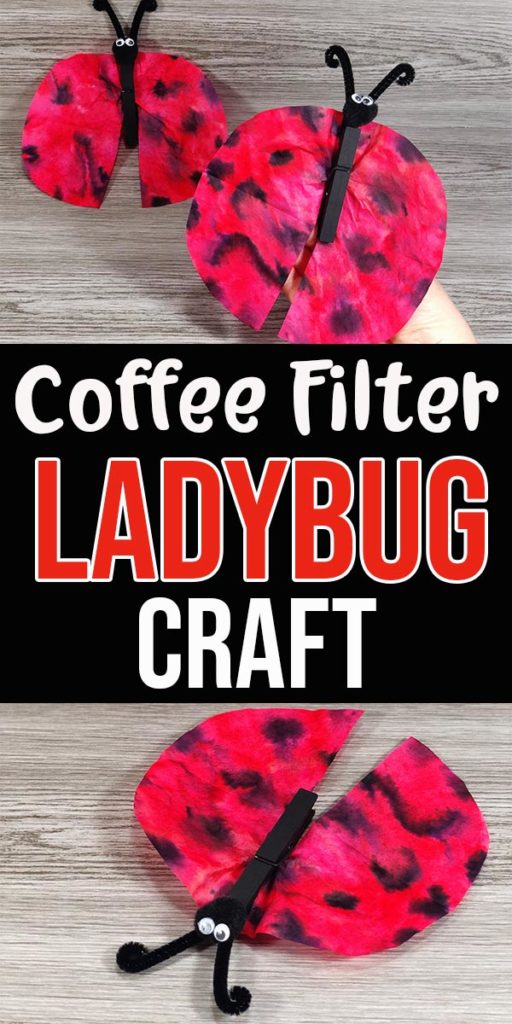
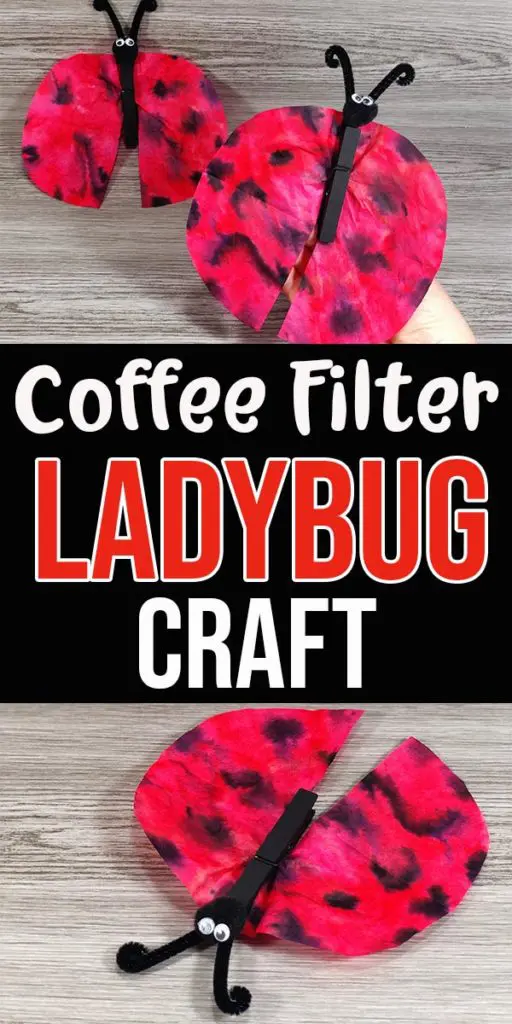
Aren’t these ladybugs cute? This coffee filter ladybug craft is fun and easy to make at home or school. These spring crafts for kids are perfect for preschoolers, kindergartners, and older children. Even adults can enjoy this creative coffee filter and clothespin craft project!
Plus, there are many ways to incorporate this project into a spring or summer unit study, making it a fantastic educational extension activity. In about 30 minutes (plus drying time), you can create a good luck ladybug using coffee filters, wooden clothespins, and markers.

Ladybugs (also known as lady beetles) are magical with their bright color and spots. Kids are enchanted when these little beauties land on them so they can make a wish. Take advantage of this natural wonder and make this artsy activity educational!
Benefits of Making A Ladybug Coffee Filter Craft
Engaging in coffee filter crafts for kids offers numerous developmental benefits while providing an outlet for creativity.
This craft encourages children to explore their artistic skills as they color the red wings and add black spots with markers, fostering an appreciation for the intricate beauty of ladybugs.
The project involves working with various materials, such as coffee filters, wooden clothespins, and googly eyes, which enhances students’ ability to adapt and manipulate different textures and tools.
Tasks such as cutting out wing shapes and curling antennae with scissors help fine-tune their fine motor skills and hand-eye coordination. Additionally, placing tiny googly eyes precisely on the ladybug’s face demands focus and dexterity, further improving their precision.
These creative activities represent the fascinating world of insects and contribute to children’s overall cognitive and motor skill development. This makes the crafting process both entertaining and educational.
This post contains affiliate links. As an Amazon Associate and a participant in other affiliate programs, we earn a commission on qualifying purchases.
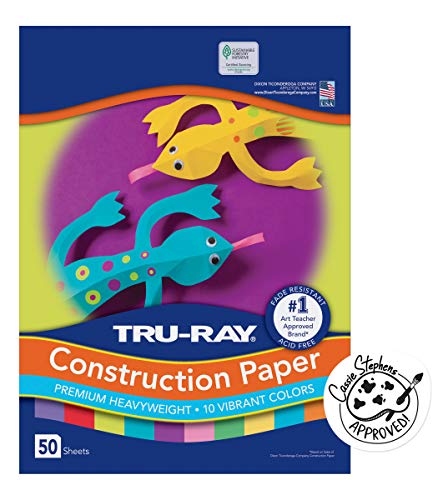
Crayola 588106 Washable Super Tips Markers, Assorted, 20/SetMelitta 600 Coffee Filters, Basket, Pack of 600, 8-12 Cups, WhiteCrayola Ultraclean Broadline Classic Washable Markers (10 Count), (Pack of 2)Mr. Pen- Washable WatercolorsAmazon Basics Basket Coffee Filters for 8-12 Cup Coffee Makers, White, 200 CountTru-Ray Construction Paper, 10 Vibrant Colors, 9


Coffee Filter Bugs
Exploring the world of insects through crafts can be a delightful and non-scary way for children to learn and express their creativity.
Kids can make an array of coffee filter bugs, providing a hands-on approach to understanding the fascinating characteristics of these creatures.
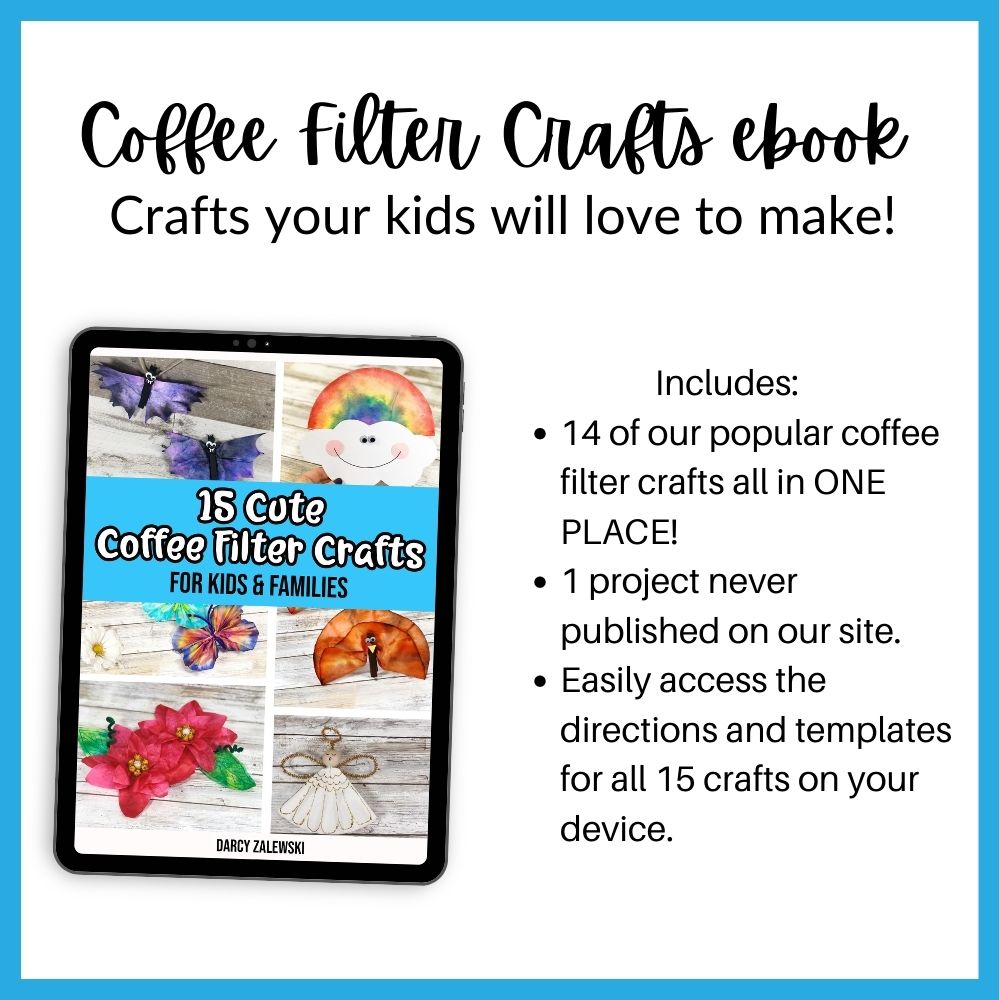
Cute Coffee Filter Crafts eBook
Ladybug Learning Activities
There’s no shortage of ways to enhance this ladybug coffee filter craft to include science and math concepts. They can be part of a larger unit of study on ladybugs, a garden study unit, or any spring-theme lessons.
You can look up exciting ladybug facts, read books, learn about the life cycle, make fun snacks like these ladybug Oreos, and even get a kit to grow ladybugs!
Math Lesson Ideas
You can start with some ladybug math. Kids can count the spots on a drawing or photograph of a ladybug or even their finished craft!
Can they guess how many there are? Then can they count them? What number sentences can they create using the total number of spots?
Let them know that most ladybugs have between two and seven spots. They can make more than one ladybug to work with higher numbers!
You can also use this ladybug printable counting book to reinforce number recognition and counting further.
A fun way to incorporate critical thinking skills with math and science is to ask each child to estimate how many lady beetles they’ve seen. Add them, but first, have them estimate how big the number will be once everyone has shared.
Science Lesson Ideas
Next, you can easily introduce some science. Why are ladybugs red with black spots? Are they camouflaged, or do they stand out? Why?
This is a fun opportunity to discuss other animals that may or may not be camouflaged for a quick extension activity.
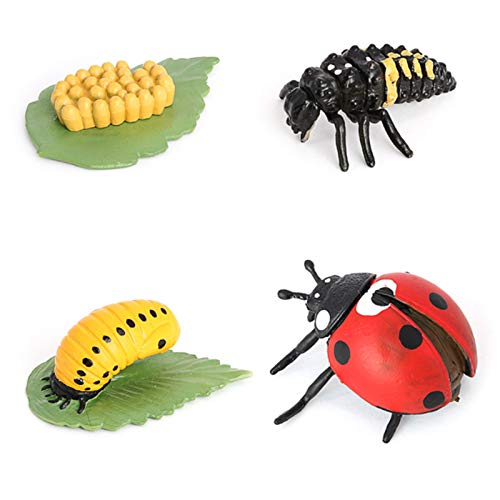
Teach little learners about their life stages using our ladybug life cycle printable activities. Then, have a discussion about it and ask what other animals have that same cycle. (Hint: butterflies).
Next, can they compare and contrast butterflies with ladybeetles? This is an excellent opportunity to incorporate books and then chart answers, with the whole group having the opportunity to contribute.
All this math and science from one simple craft is almost as magical as a ladybug!
Kids’ Books About Ladybugs
Science, math, art, and literature lessons can all come from one art craft! Each of these disciplines contributes to fostering creativity, critical thinking, and problem-solving skills.
By integrating these subjects, we can offer a richer, more engaging learning experience. Here are some of our favorite ladybug books to support their learning, from fascinating facts with beautiful illustrations to entertaining fictional tales.
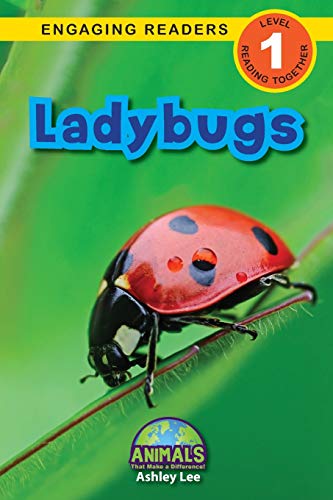
The Grouchy Ladybug Are You A Ladybug? (Avenues) (Backyard Books)It’s a Good Thing There Are Ladybugs (Rookie Read-About Science: It’s a Good Thing…)How Much Does a Ladybug Weigh? (Wild Facts & Amazing Math)Ladybugs: Animals That Make a Difference! (Engaging Readers, Level 1)The Ladybugs’ Adventure: A Read-to-Me Book of Numbers


Coffee Filter Ladybug Craft Supplies
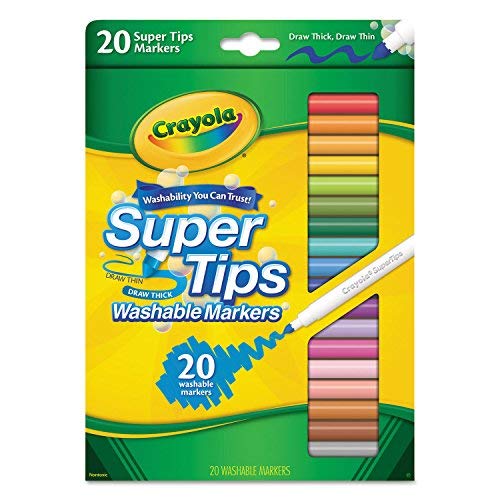
For this project, you’ll need a collection of versatile and easy-to-handle materials. First, you’ll need round white coffee filters and red and black washable markers for the ladybug’s colorful wings.
Wooden spring clothespins and black craft paint are essential for creating the ladybug’s body. To add a touch of character, you’ll need googly eyes to give your ladybug a playful appearance.
Black chenille stems (also known as pipe cleaners) help create precise details such as antennae. Finally, use a black pom pom as the head for added texture and depth.
Make sure to have a craft mat or large gallon zip-top bags on hand to lay the filters on during spritzing and drying, ensuring a mess-free workspace. These materials make the project fun and allow children to experiment with different textures and tools.
I recommend using a low temp glue gun because it dries quicker and makes the craft more durable, especially if you use it for decoration. If you are making these with younger children, you may want to use tacky craft glue (my favorite one) instead, but you will need additional drying time.
Shop some of my favorite craft supplies on Amazon!
How to Make a Coffee Filter Ladybug:
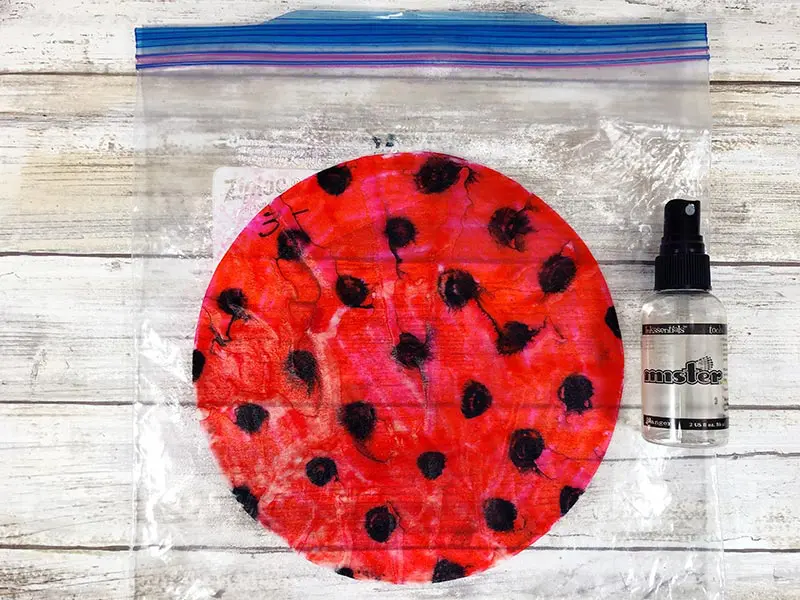
Start by flattening out the coffee filter. Color it with a red washable marker. Draw and color in random dots with a black washable marker.

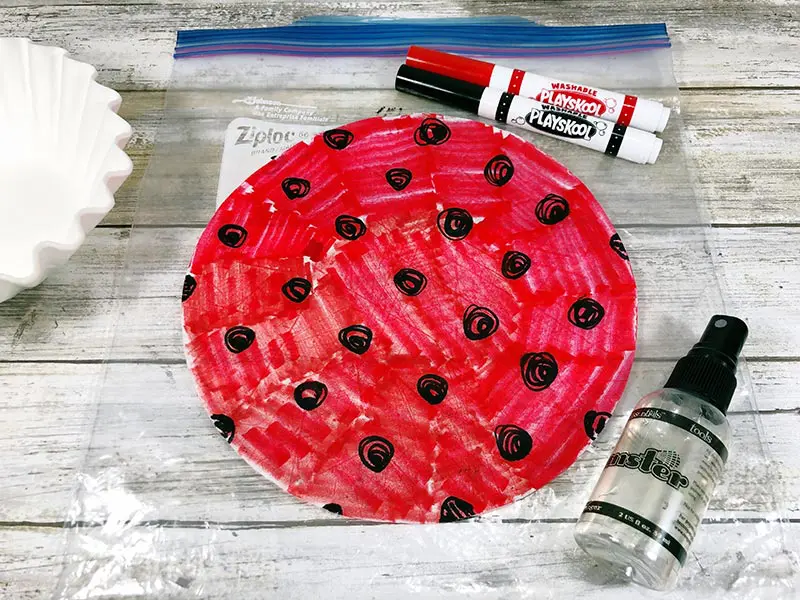
Place your colored coffee filter papers on a cookie sheet or plastic zip top bag and mist with water to watch the magic as the colors spread and blend!
TIP: Wax or freezer paper will work as well in place of a cookie sheet, but place an old towel underneath to protect your work surface.

Set them aside to dry. Depending on the humidity, the filters will take about 1-2 hours to air dry. Some readers have suggested using a hair dryer to speed up drying.
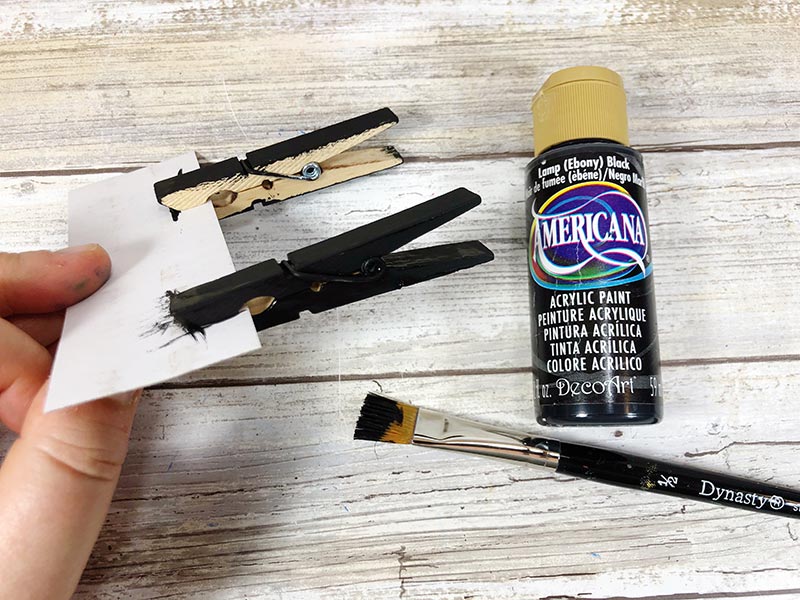
Next, clip the wooden clothespin to a scrap of cardboard. This will make it easier to hold while painting. Paint all surfaces of the clothespin with black craft paint to create the body. Set it aside to dry.

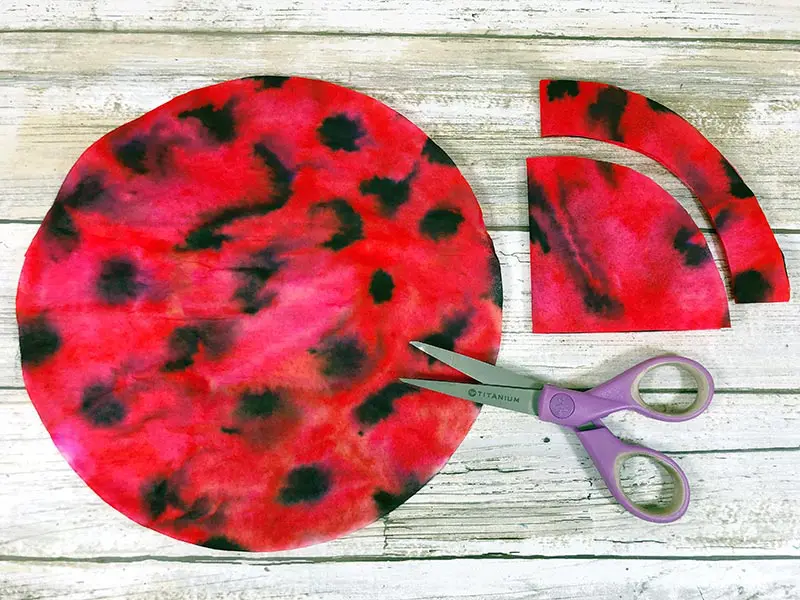
Once dry, fold the coffee filter in half and then in half again. With scissors, trim off a one-inch section around the perimeter of the coffee filter. After trimming, unfold the filter and lay it flat.

Now, cut a black chenille stem in half with scissors. Bend it in the center, then curl both ends to create an antenna. Glue the black chenille stem to the back of the clothespin’s top (where it clips closed).
Glue the pom pom to the front of the top of the clothespin to make the ladybug’s head. Then, glue two googly eyes to the head of the ladybug.

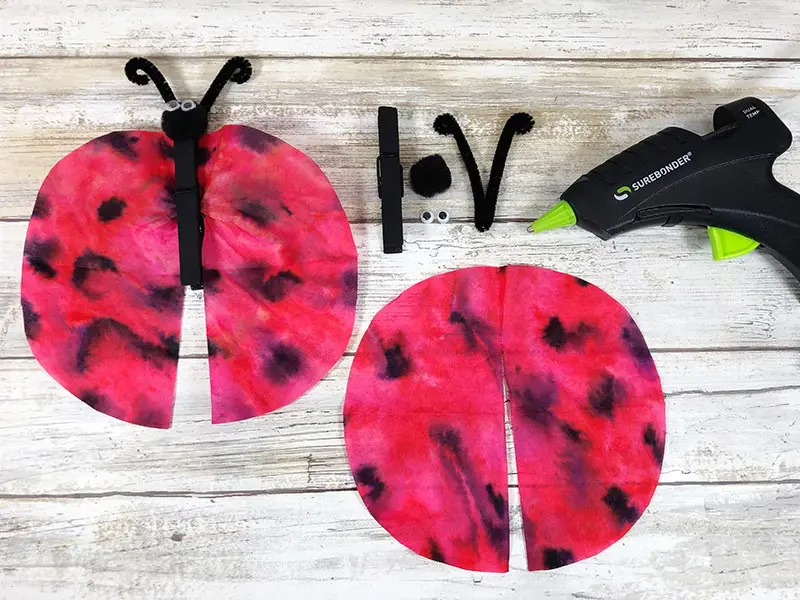
Lastly, cut a slit three-quarters of the way up the center of the coffee filter to create the ladybug’s wings. Clip this part into the clothespin.
When they are completed, hang the ladybugs up, clip them onto a banner, or decorate the top of a gift bag. You could attach a small magnet to the back and stick it on the fridge!
What Age Can Make This Craft?
This project is perfect for preschoolers and beyond; even adults will enjoy creating a set. Younger children can participate by coloring the coffee filter, which forms the ladybug’s wings, and painting the clothespins. They will also delight in misting the coffee filter paper and observing the colors spread and blend.
Older children may be able to complete this ladybug craft independently with adult supervision, while younger ones might require more help with assembly.
What Season Are Ladybugs Most Active?
Ladybeetles, commonly called ladybugs, are most active during the spring and early summer. Then, they look for a warm place to hibernate in the fall. As temperatures rise, these helpful insects emerge, searching for food and mates.
They often grace gardens with their vibrant presence in search of aphids to snack on. Due to their heightened activity during these seasons, ladybugs provide an excellent opportunity for spring lessons and summer crafts for kids.
Incorporating ladybug-themed activities during this period not only aligns with the natural lifecycle of these fascinating creatures but also brings an added element of real-world relevance and engagement to educational projects.
Aurora® Adorable Mini Flopsie™ Ladybug-Ladybird™ Stuffed AnimalCounting Ladybugs – Montessori Wooden Counting ToyFat Brain Toys Ladybug’s Garden Memory GameHape Ladybug Pull Along,Red and BlackLadybug Squishies Sensory Bubble Popper ToysLadybug Growth Cycle, Animal Growth Cycle Biological Model


Fun Ladybug Crafts for Kids
Crafting is a delightful way for children to explore their creativity while learning about these fascinating insects. Here are some additional ladybug crafts for kids of all ages to make.
- Paper Plate Love Bug Craft
- Grouchy Ladybug Craft
- Ladybug Life Cycle Craft
- Cupcake Liner Ladybug Craft
- Paper Plate Ladybug Craft
Crafting a coffee filter ladybug with kids is a fun project that teaches them about nature and creativity. The process is simple, with easy-to-find supplies, making it accessible for children of various ages.
Whether for a classroom activity, a weekend project, or a special gift, these charming ladybugs will surely be a hit. Their creation results in a cute decorative piece and provides a memorable hands-on experience that nurtures artistic skills and an appreciation for the natural world.


Coffee Filter Ladybug
Transform coffee filters and clothespins into a cute ladybug craft for kids! Excellent spring or summer coffee filter craft project.
Materials
- Round White Coffee Filters
- Red and Black Washable Markers
- Wooden Spring Clothespins
- Googly Eyes
- Black Craft Paint
- Black Chenille Stems (aka pipe cleaners)
- Black Pom Poms
Tools
- Low Temp Glue Gun and Glue Sticks (or tacky craft glue)
- Scissors
- Paintbrush
- Scrap of Cardboard
- Water Spray Bottle
- Gallon zip top bags or cookie sheet or wax paper (to lay filters on for drying)
Instructions
- Flatten out the coffee filter.
- Color the entire coffee filter with a red washable marker.
- Draw and color random dots using a black washable marker.
- Place the colored coffee filter on a cookie sheet or inside a plastic zip-top bag.
- Mist the filter with water to allow the colors to spread and blend.
- Set the coffee filter aside to dry. Depending on humidity and the amount of water used, this can take 1-2 hours.
- Clip the wooden clothespin to scrap cardboard for easier handling while painting.
- Paint all surfaces of the clothespin with black craft paint to create the ladybug's body. Set it aside to dry.
- Once dry, fold the coffee filter in half and then in half again.
- Trim off a one-inch section around the perimeter of the folded coffee filter using scissors.
- Unfold the trimmed coffee filter and lay it flat.
- Cut a black chenille stem in half with scissors.
- Bend the chenille stem in the center and curl both ends to create antennae.
- Glue the black chenille stem onto the back of the top part of the clothespin (where it clips closed).
- Glue a pom pom to the front of the top part of the clothespin to form the ladybug's head.
- Glue two googly eyes onto the pom to complete the ladybug's face.
- Cut a slit three-quarters of the way up the center of the coffee filter to form the ladybug's wings.
- Clip the coffee filter wings into the clothespin.
Notes
Drying time may vary.
Recommended Products
As an Amazon Associate and member of other affiliate programs, I earn from qualifying purchases.


Darcy is the founder of “Life With Darcy and Brian,” where she combines her love for education, board games, and crafting to create engaging learning experiences for kids. Her creative projects and writing have been featured in outlets like The Toy Insider, CafeMom, Mom.com, Parents.com, Country Living, and The Pioneer Woman.
Cindy@CountyRoad407
Thursday 30th of May 2024
Thank you for sharing your craft with us on Farmhouse Friday 349 last week. I'm featuring it tomorrow. I remember making butterflies in VBS when I was young so your post brought a big smile to my face. Hope you have a great summer and link up again soon. pinned
Darcy Zalewski
Saturday 1st of June 2024
Thank you so much, Cindy! I love making coffee filter crafts, I think they are so fun and easy!