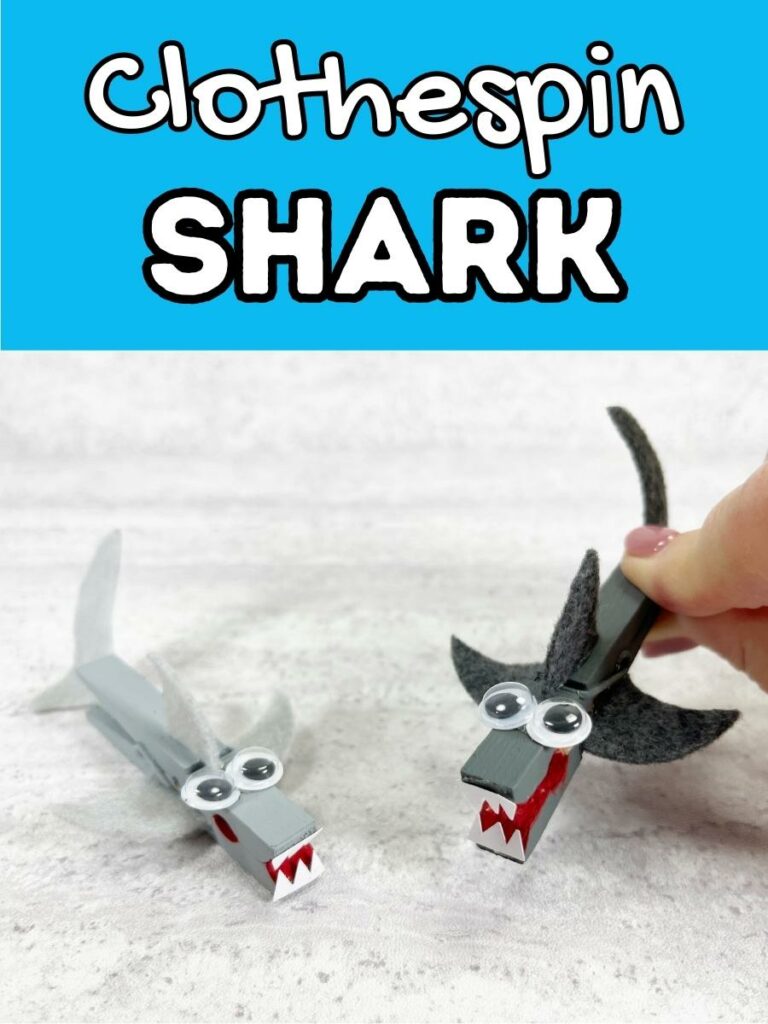
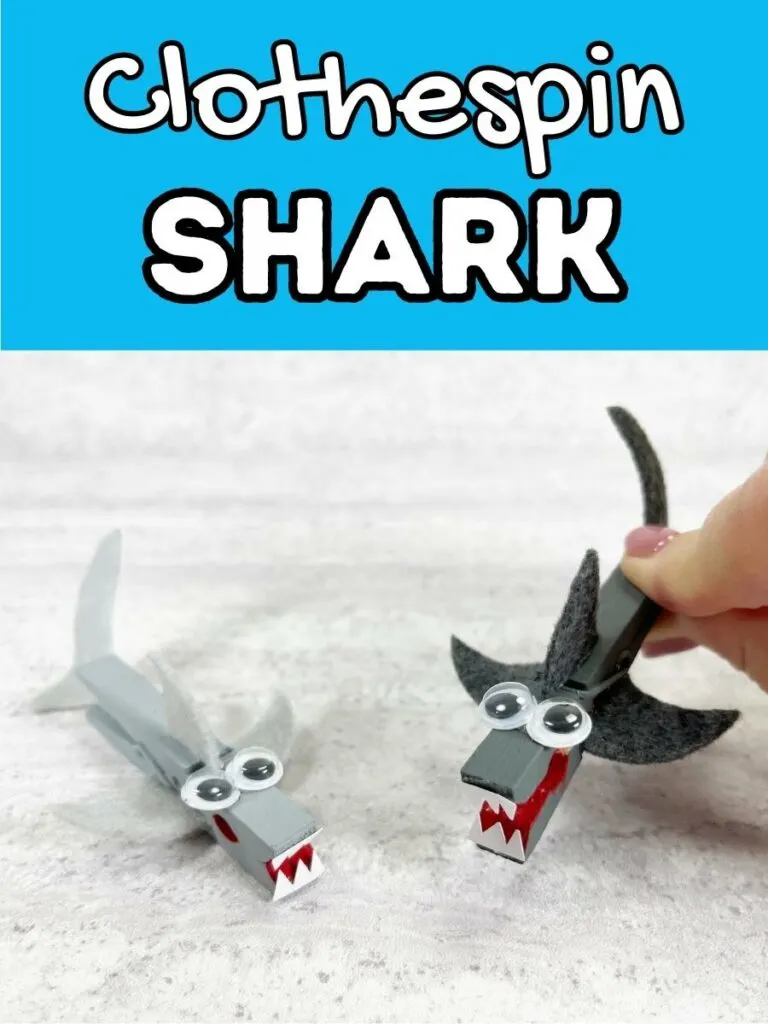
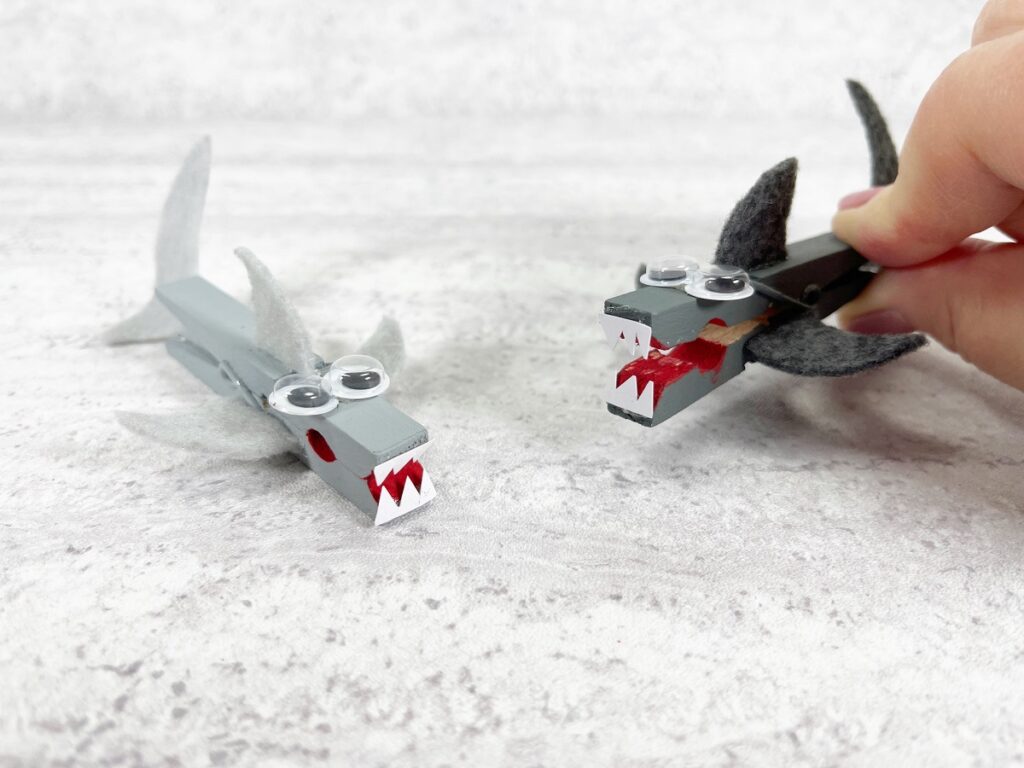
Looking for fun craft ideas for kids to make as they celebrate Shark Week? This shark clothespin craft is the perfect activity to go along with learning about the sharks!
It’s easy enough for preschool children and older to make, plus it uses supplies you already have on hand.
Get ready to create something special by gathering some paint, clothespins, and craft felt. Help them express their love of sharks with this fun DIY project.
So don’t wait any longer – download our free template and get crafting with this fun and easy clothespin shark craft!
The kids will love it and you’ll have a blast watching them create something special. Let the ocean adventures begin! In no time at all you’ll have a colorful colony of friendly shark friends to add some charm to your home.
More Shark Activities for Kids
Sharks may seem intimidating, but these fascinating creatures can be educational, engaging, and downright fun for kids to learn about!
Whether your child is fascinated by the different species of sharks or wants to discover more about the underwater world, there are plenty of shark activities for kids to dive into.
- This Popsicle Stick Shark is absolutely adorable and easy to create.
- Make Shark Fin Jello Cups for a fun themed snack while watching shark videos!
- Learn about the different life stages with our shark life cycle printables.
- Record all the cool facts and information they are learning using our Shark Research Worksheets.

Clothespin Shark Craft Supplies
Here is everything you will need to make your sharks. I’ve included my Amazon affiliate links (we earn a commission at no cost to you) to make it easy to shop for any materials you may need.
- Wooden Clothespins
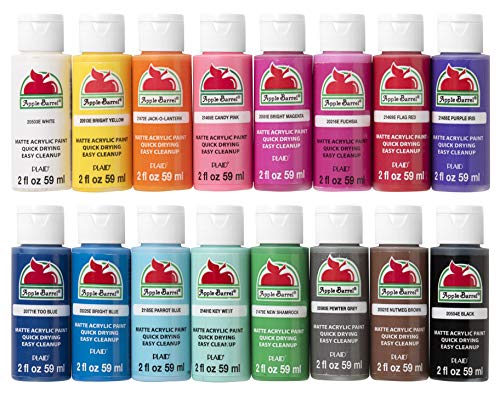
- Acrylic Craft Paints in Red, Light Gray, and Dark Gray
- Light and Dark Gray Craft Felt
- Googly Eyes
- White Cardstock
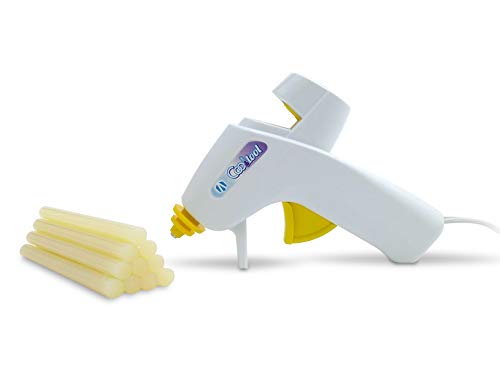
- Low Temp Glue Gun or Tacky Craft Glue
- Marker
- Pencil
- Ruler
- Paintbrush
- Scissors
- Shark Clothespin Craft Template (available at bottom of post)
If you do not have any craft felt, you can use craft foam or colored cardstock instead.
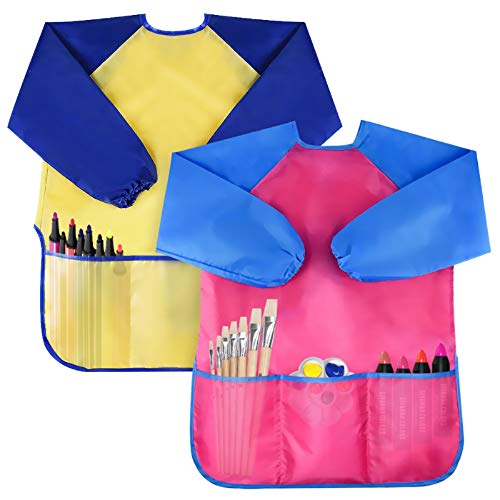
Apple Barrel Acrylic Paint Set, 16 Piece (2-Ounce), Best Colors Count Bassion Pack of 2 Kids Art Smocks, Children Waterproof Artist Painting Aprons Long Sleeve with 3 Pockets for Age 2-6 YearsAdTech Ultra Low-Temp Cool Tool | Mini Hot Glue Gun for Safe Crafting | Children and Kids | Item #05690 , WhiteAleene’s Turbo Tacky Glue, 4 FL OZ – 3 Pack, Multi
How to Make a Shark Clothespin Craft
Start by painting the front and sides of one clothespin with light gray craft paint. Use dark gray paint on another clothespin. Apply another coat of paint if needed before moving on.
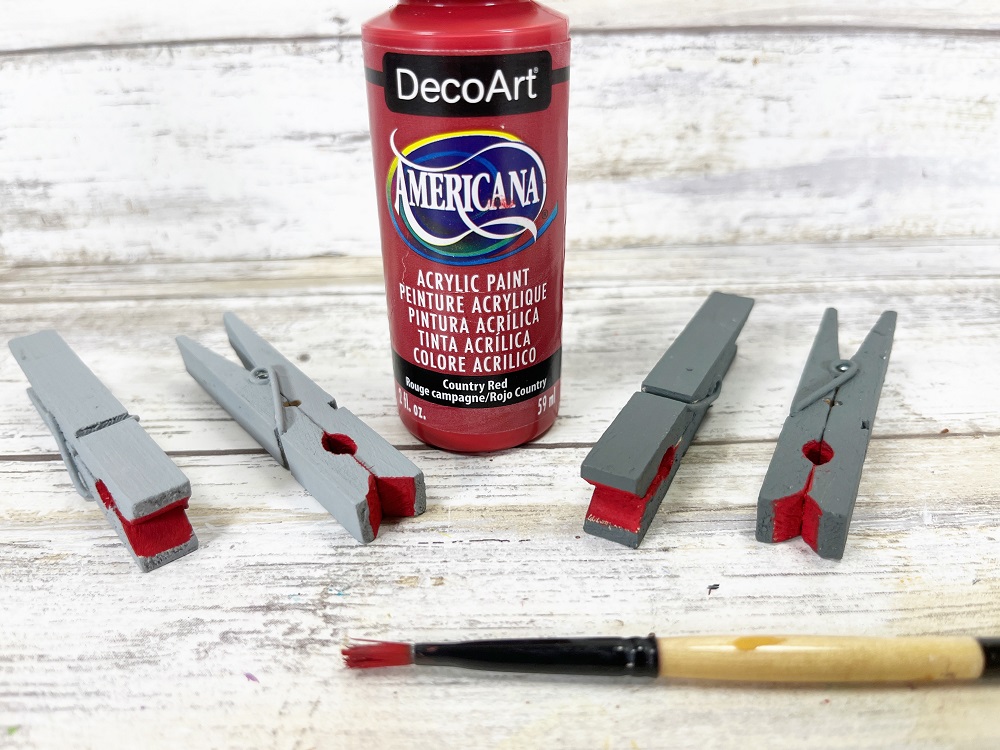

Squeeze the clothespin end to hold it open and paint the inside red. Set aside to dry.
Using a ruler and/or paper cutter, measure and cut a strip of white cardstock paper that is half an inch (½”) wide. Cut the strip into small rectangles.

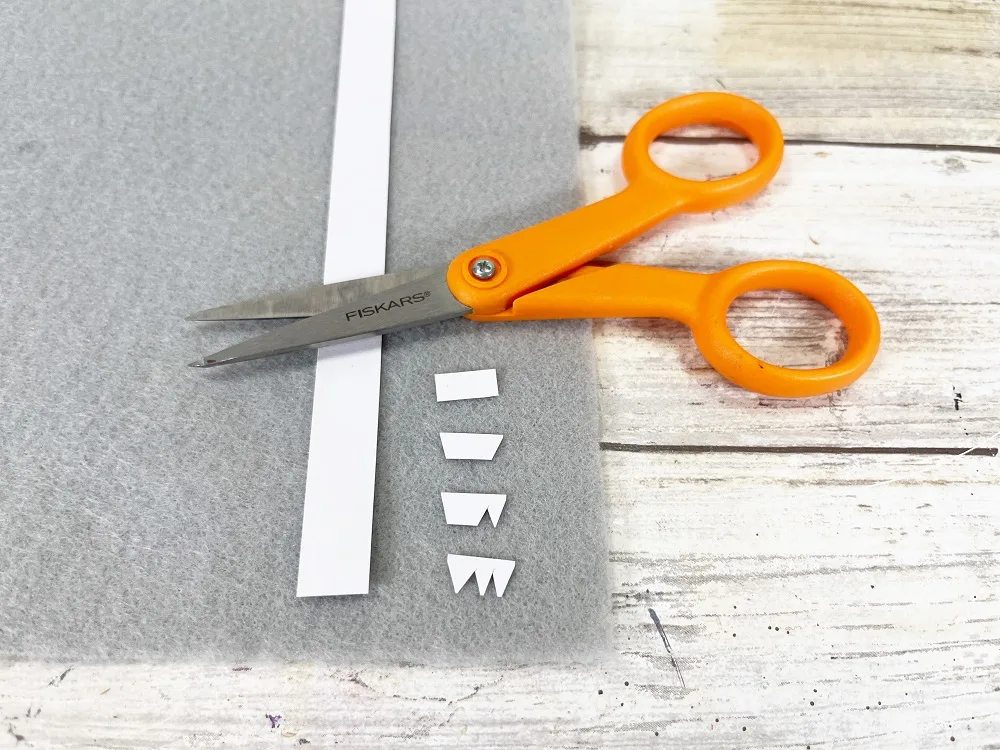
You will need two rectangles per shark. Then cut triangles out from one side of each rectangle to create shark teeth.
Sometimes cutting out such small pieces can be tricky. Detail scissors work well for this, but they are sharp, so I suggest prepping the teeth for young children.

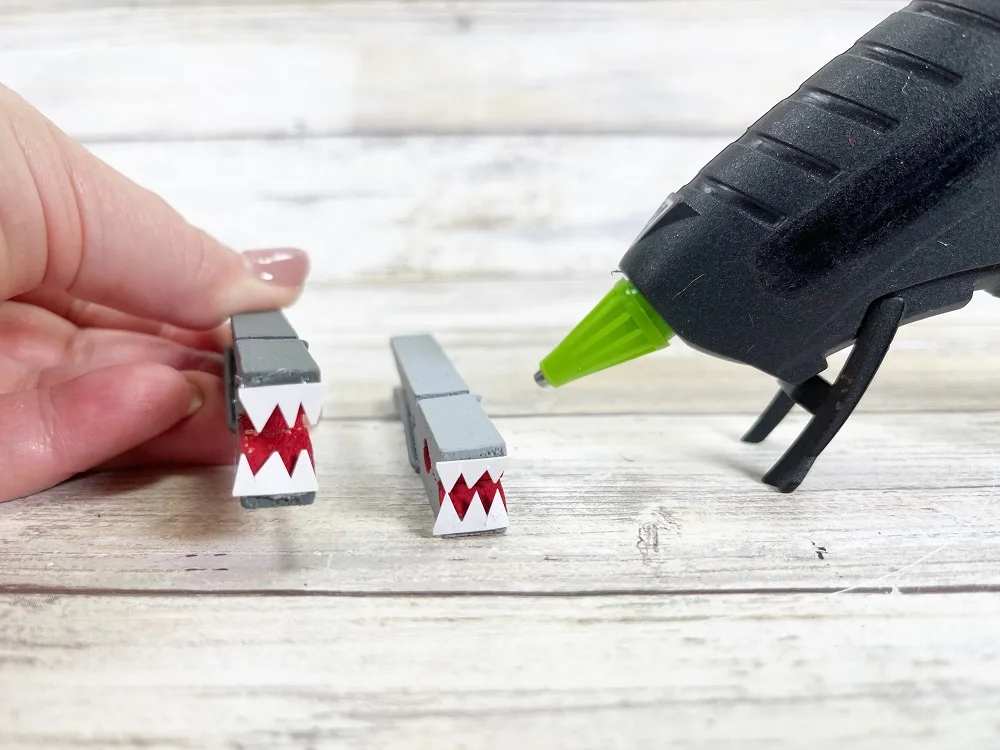
Glue a set of teeth to the front of each clothespin, on the top and bottom of the opening. This way the shark will chomp chomp when you squeeze the clothespin open and close.
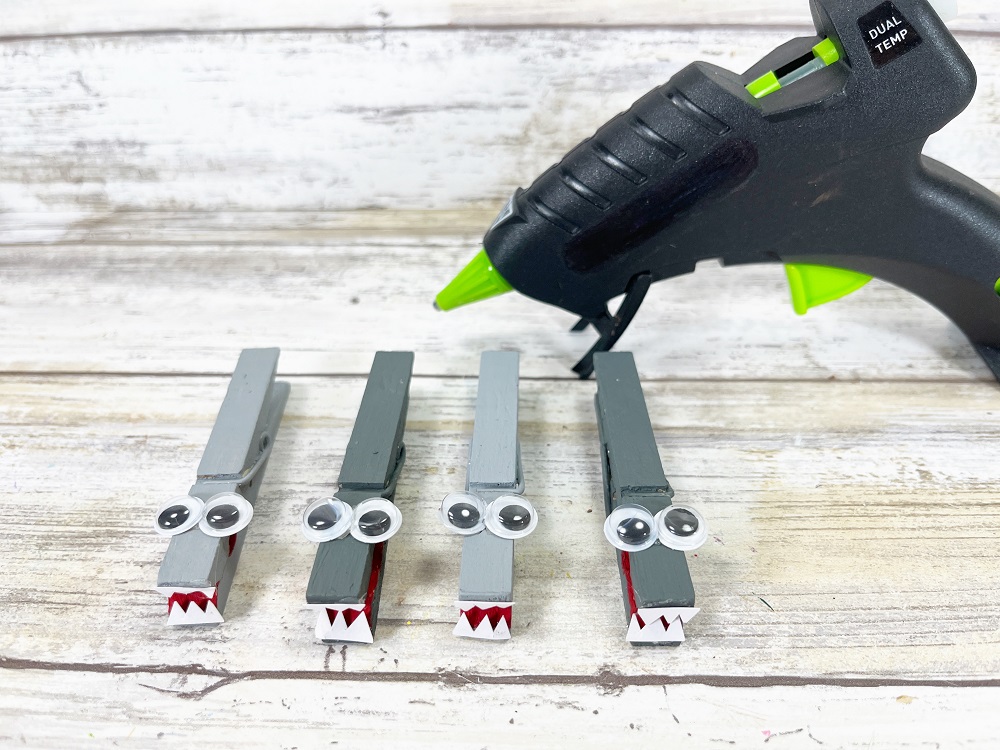

Glue two googly eyes to the top of the clothespin near the spring section.
Print out the shark craft template (or draw freehand) and use a marker to trace the fin and tail patterns on the craft felt.

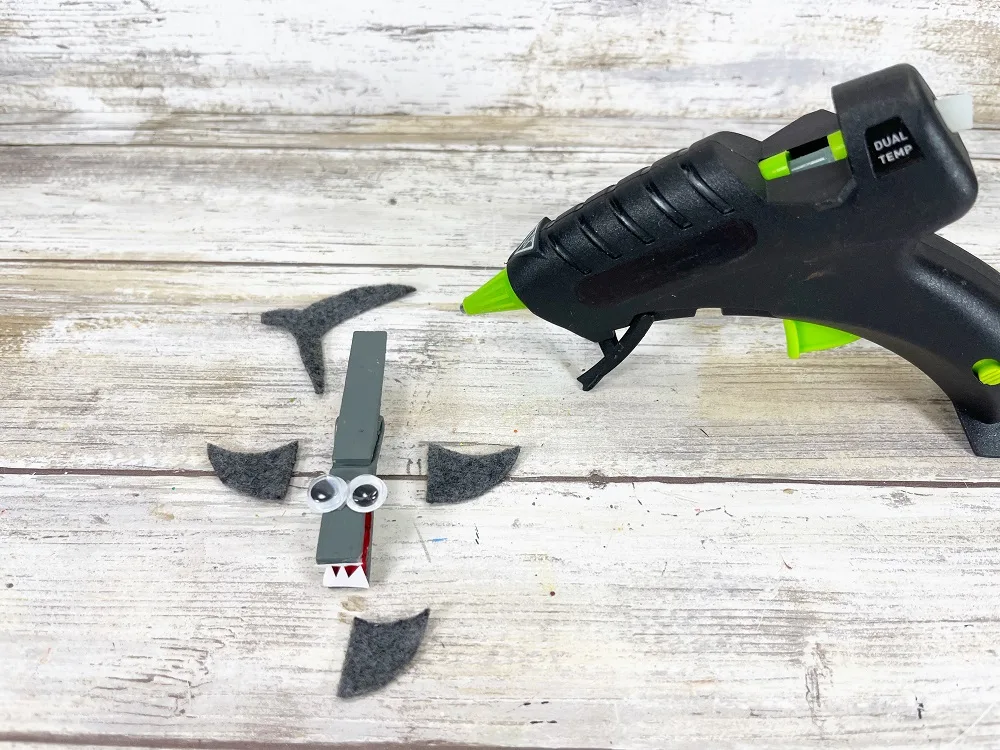
You will need three fins and one tail per shark. Carefully cut everything out.
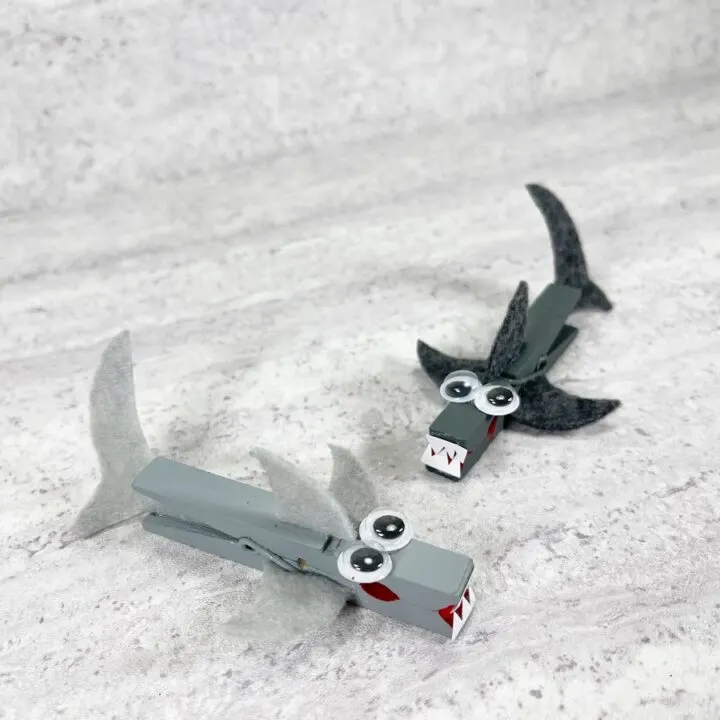
Attach the shark tail with glue to the inside of the clothespin handle. Attach the fins to the top, left, and right sides of the clothespin around the spring area.
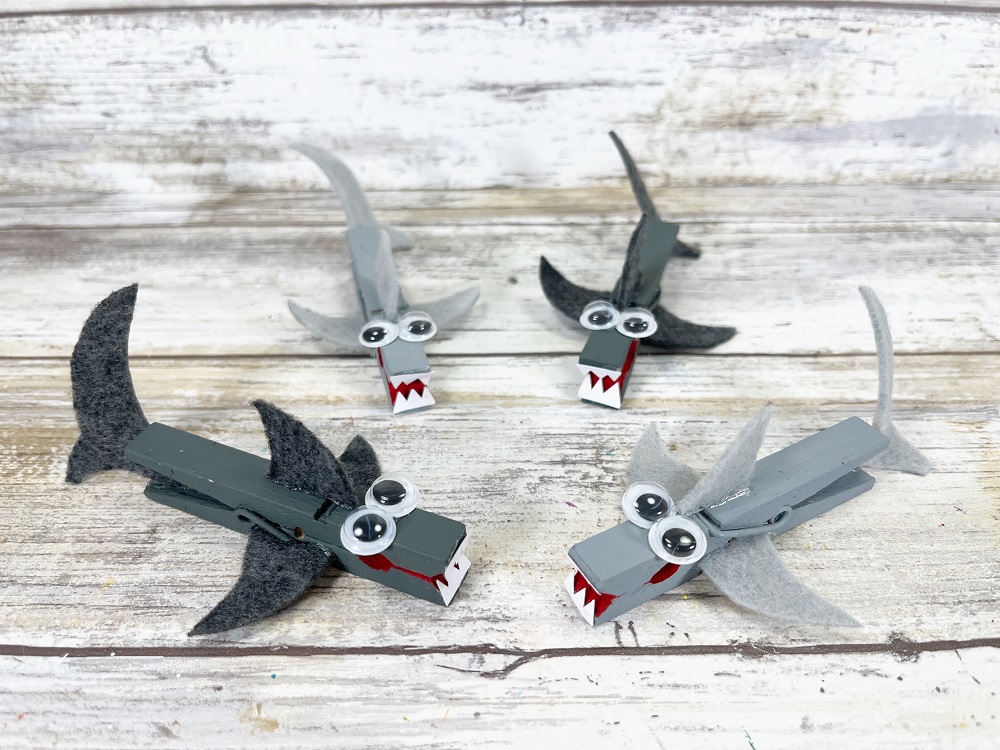
Once your sharks are completely dry, you can turn them into magnets, use them as puppets, or clip them onto a gift or favor bag for a shark themed birthday party.
Additional Ocean Learning Activities
Looking for more ways to teach your kids about the ocean? Luckily, there are plenty of educational and engaging activities that can help them learn about this fascinating habitat while having fun at the same time.
Consider taking them on a virtual tour of the underwater world, letting them watch a documentary on sea creatures, or even organizing a beach cleanup to show them how important it is to keep our oceans clean and healthy.
Enhance your subtraction skills while having fun with our ocean animal color by subtraction worksheets. Choose from a variety of captivating ocean creatures as you practice subtracting numbers up to 30.
Explore the fascinating depths of the ocean and discover the concept of density through our captivating ocean zone density jar. This engaging science activity for children offers a visually stunning representation of the various layers of the ocean.
Consider making a shark sensory bottle! These ocean-themed bottles are a great screen-free activity to keep your preschooler entertained while also providing a fun and interactive sensory experience.
You could also have them read books about marine life. By keeping things interesting and interactive, you can inspire a lifelong love of the ocean and an appreciation for the amazing creatures that call it home.

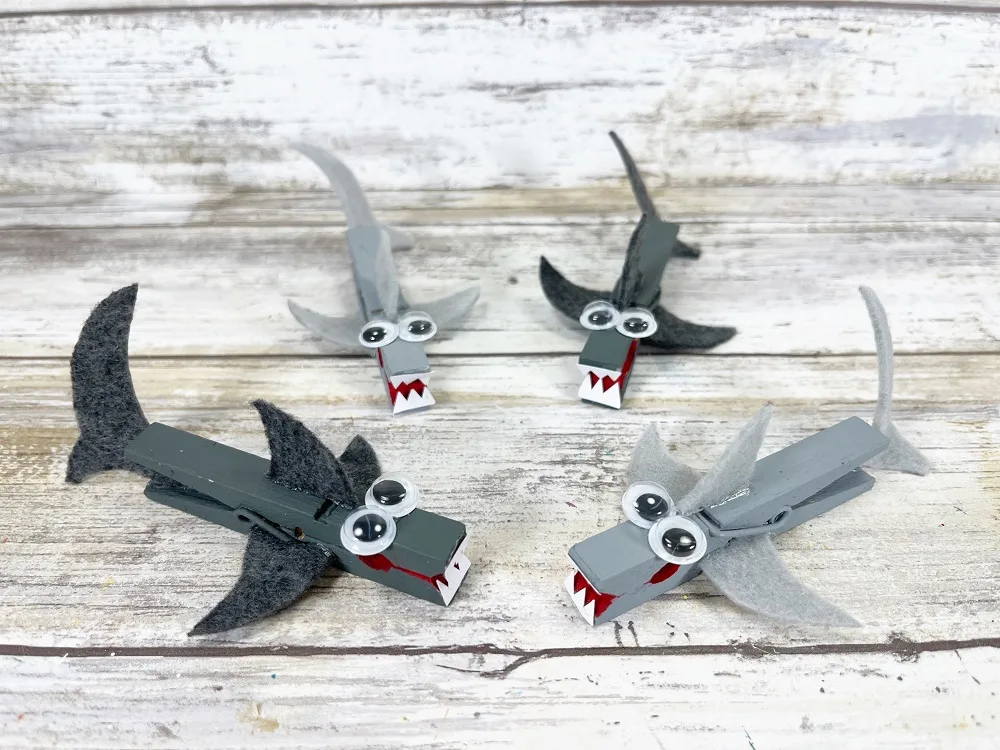
Shark Clothespin Craft
Make this cute shark clothespin craft with your kids for Shark Week!
Materials
- Wooden Clothespins
- Acrylic Craft Paints in Red, Light Gray, and Dark Gray
- Light and Dark Gray Craft Felt
- Googly Eyes
- White Cardstock
Tools
- Low Temp Glue Gun or Tacky Craft Glue
- Marker
- Pencil
- Ruler
- Paintbrush
- Scissors
- Shark Clothespin Craft Template (available at bottom of post)
Instructions
- Paint the front and sides of each clothespin using either shade of gray. Make multiple and paint them different colors.
- Hold the clothespin open and paint the inside area red. Set aside to dry.
- Measure and cut a half an inch (½”) wide strip of white cardstock paper. Cut strip into small rectangles. You will need two rectangles per shark.
- Cut triangles out from one side of each rectangle to create shark teeth.
- Glue a set of teeth to the front of each clothespin, on the top and bottom of the opening.
- Glue two googly eyes to the top of the clothespin.
- Print out the shark craft template (or draw) and trace the fin and tail patterns on the craft felt. You will need three fins and one tail per shark. Carefully cut everything out.
- Attach the tail to the inside of the clothespin handle. Attach the fins to the top, left, and right sides of the clothespin.
Recommended Products
As an Amazon Associate and member of other affiliate programs, I earn from qualifying purchases.


Darcy is the founder of “Life With Darcy and Brian,” where she combines her love for education, board games, and crafting to create engaging learning experiences for kids. Her creative projects and writing have been featured in outlets like The Toy Insider, CafeMom, Mom.com, Parents.com, Country Living, and The Pioneer Woman.