This is a sponsored post written by me on behalf of Plasti Dip for SponsoredTweets. All opinions are 100% mine.
Does your child want to be a warrior or a knight in shining armor?
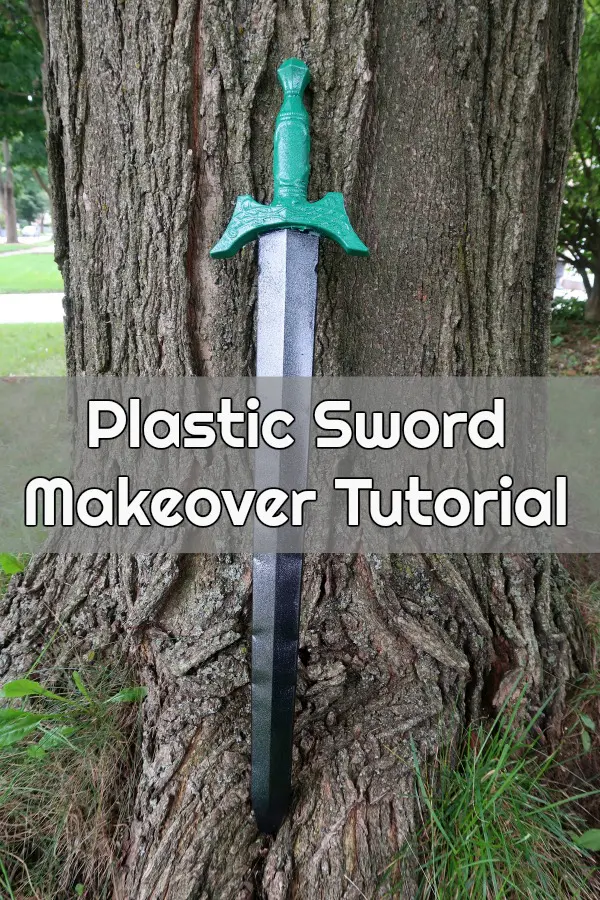
Whether you are looking for homemade costume ideas for Halloween or pretend play, they’ll have fun with this toy sword makeover and matching cardboard shield.

Plastic Sword Makeover and Cardboard Shield Tutorial
My son’s favorite color is green and he loves to use his imagination as he plays outside with his sword.
I wanted to give his plastic sword a new look and make him a matching shield. I decided to use Plasti Dip Craft, which is like spray paint but better.
It is an air-dry specialty rubber coating that can be applied to a variety of surfaces and helps protect against moisture.
Materials:
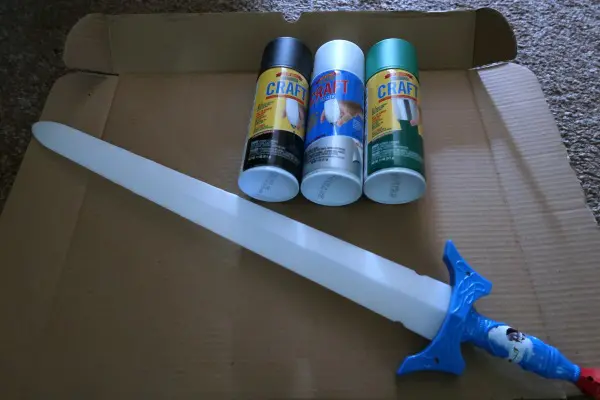
- Toy sword
- Cardboard
- Hot glue gun
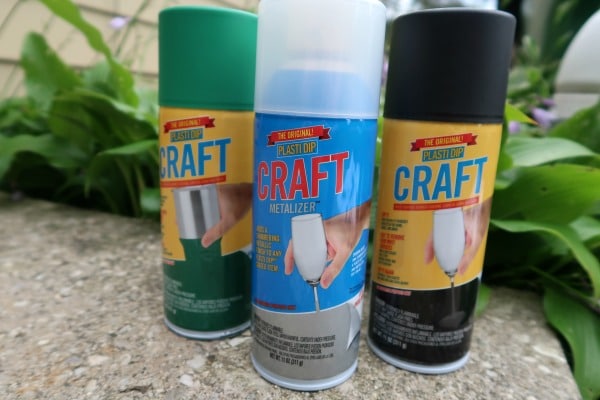
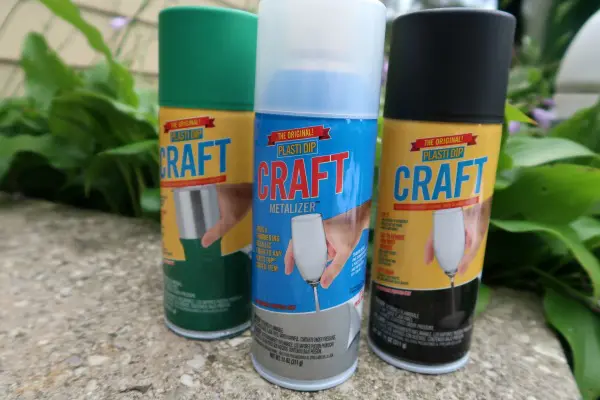
- Plasti Dip (I used Midnight Black, Gator Green, and Silver Metalizer Enhancer)
- Painter’s tape
- Paint

Before you get started on your project, it’s important to keep a few things in mind. Be sure to read the instructions on your Plasti Dip can and work on your project in a well ventilated area.
I chose to prep everything inside the house, then spray and dry outside. I laid an old bed sheet down for any overspray.
When working outside, it is best to keep your project out of direct sunlight. Also, high humidity and breezy conditions can affect how smoothly you apply the spray.
As I worked on my project, I got better at applying Plasti Dip. Initially, I had a few issues with air bubbles and dripping because I was spraying too close. It’s best to take your time and apply multiple light coats.
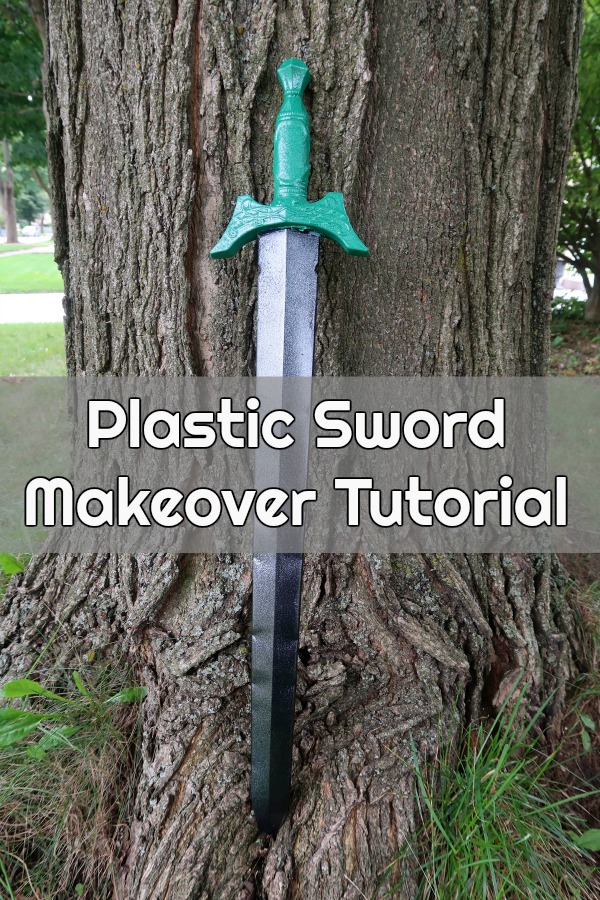
How to give a plastic sword a makeover
Whether the sword is from a thrift store or has been laying around in the dark corners of your child’s room, giving a toy sword a new look is an excellent way to make an old toy seem new again.
Start by ensuring the plastic sword is clean and remove any old stickers. I wrapped the middle of the handle with painters tape to make it appear smoother.

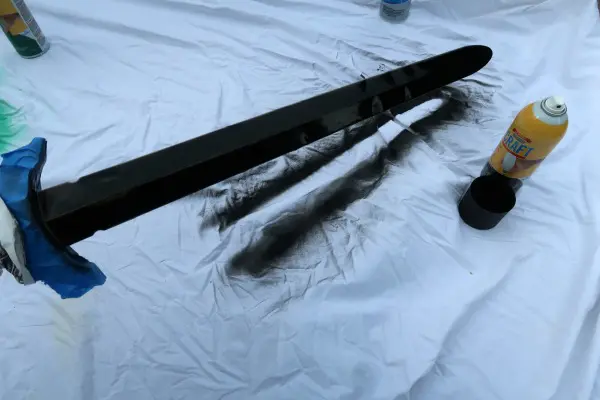
I covered and taped off the hilt and sprayed one side of the sword blade with Midnight Black Plasti Dip Craft.
Always wait at least 30 minutes between coats.
I gave it another coat and waited before flipping it over and doing the other side.
After both sides are done, touch up the edges with a final coat if needed.
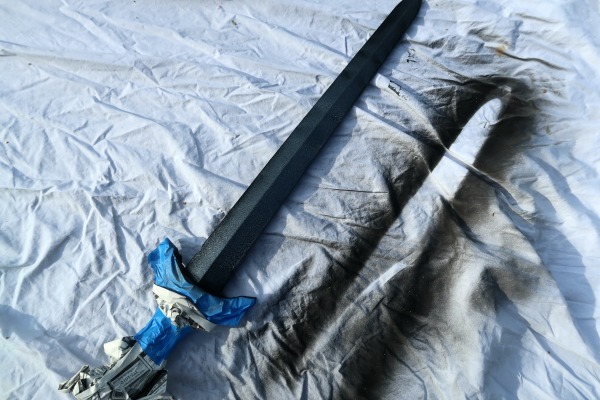

Coat each side 1-2 times with the Silver Metalizer Plasti Dip Craft. It gives it a nice metallic appearance.
Wait at least 4 hours before starting the handle.
Cover and tape off the blade.
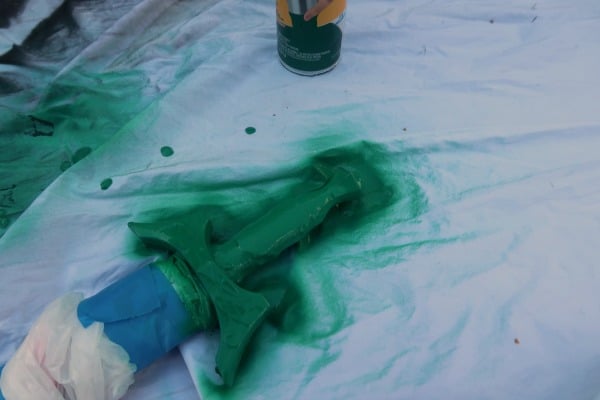

Give the handle several coats in whichever color you decide on. I used Gator Green.
Then after the color is done, give it 1-2 coats of Silver Metalizer Enhancer.
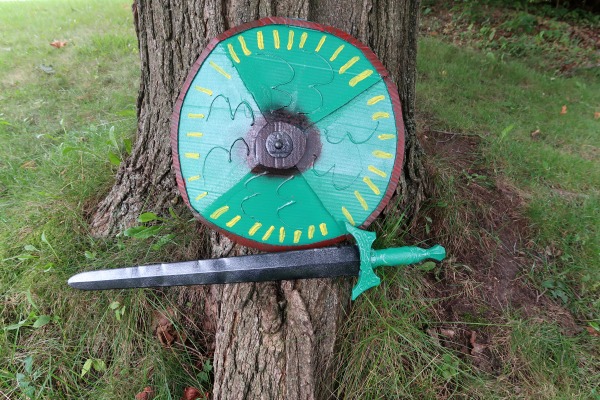
Besides how cool the sword looks, I like the feel of it with Plasti Dip better. The hilt now has a comfortable, rubberized texture.
How to make a cardboard shield
First cut a circle out of a large piece of cardboard.
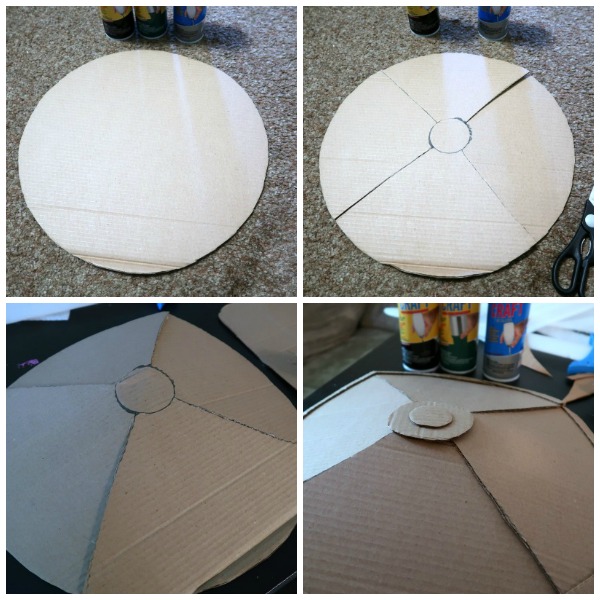
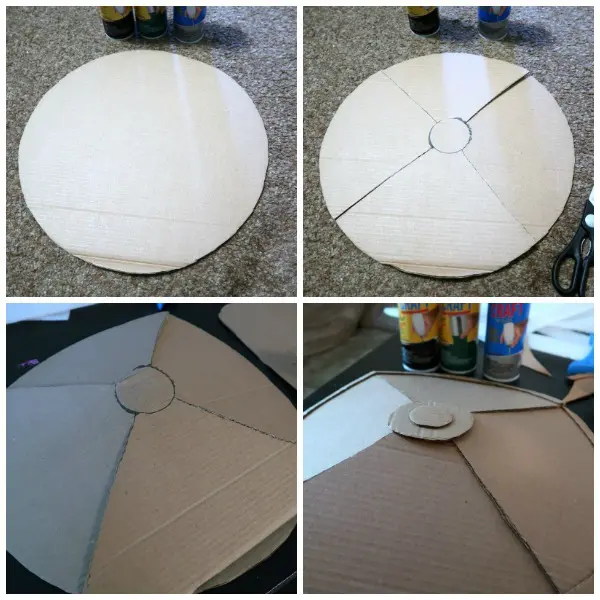
Draw a smaller circle in the center and draw four lines dividing the circle.
Cut along the lines up to the center circle. Do not cut through the center!
Score the center circle and bend the four pieces back a bit. This will give the shield a bit of shape instead of being flat.
Use a hot glue gun to connect the cardboard pieces.
You may then glue on additional layers to add detail and decorations using pieces of cardboard, foam, and hot glue.
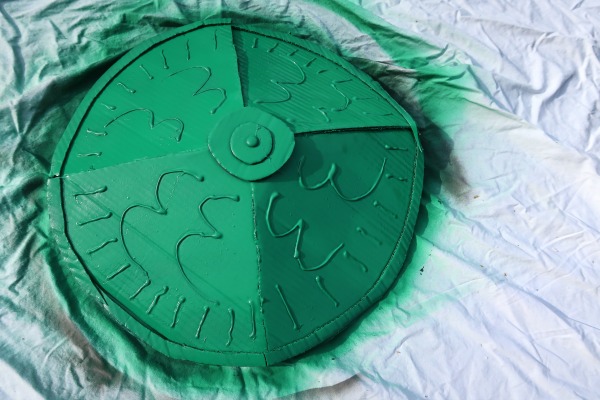
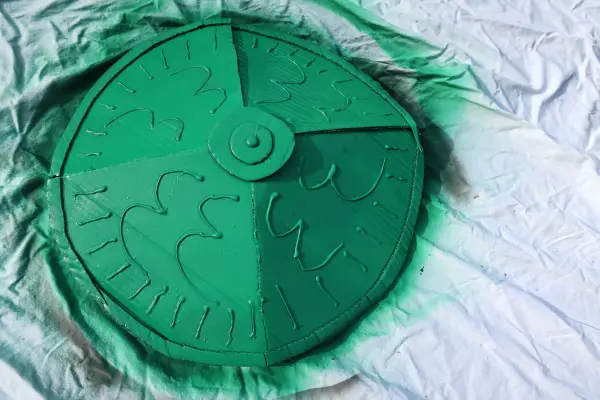
I alternated coats of Midnight Black and Gator Green on the front.
Remember to wait at least 30 minutes between coats. I set a timer to remind me each time.
Once satisfied with the color on the front, I gave it a coat of Silver Metalizer Enhancer and a coat of White Pearlizer Enhancer. It gave it a nice sheen that matched the sword.
After finishing the front, I coated the back of the shield with Midnight Black Plasti Dip.
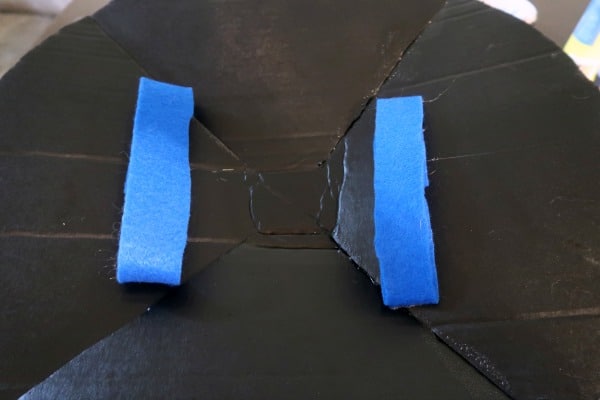

Once the shield dried for at least 4 hours, I used acrylic paint for additional decoration and hot glued felt strips on the back to make straps for my son’s arm to go through.
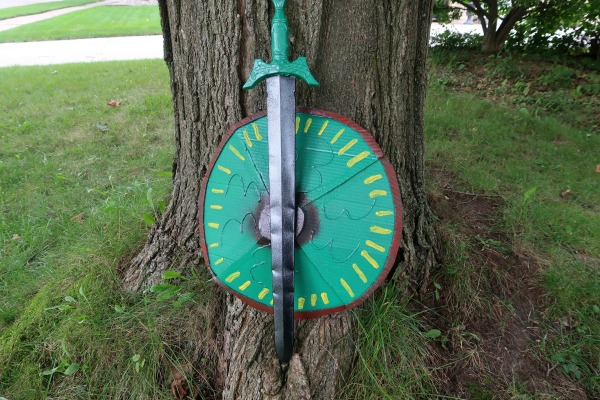

Both of my kids were so excited about the updated sword and the shield that they are asking me to make them more things. It’s been so fun creating with Plasti Dip.
I absolutely love that Plasti Dip is peelable, so I can remove it from the plastic toy sword to fix my mistakes or change colors again.
The new Plasti Dip Craft comes in seven colors and three enhancers:
- Crisp White
- Lemon Yellow
- Tin Roof Red
- Pumpkin Spice
- Midnight Black
- Gulf Coast Blue
- Gator Green
- Glossifier Enhancer
- Silver Metalizer Enhancer
- White Pearlizer Enhancer
Ready for your next project? Get yours at Amazon, shop now at Awarehousefull, or find a retailer near you.
From Halloween costumes to holiday decorations, we are inspired to keep creating with Plasti Dip Craft!


Darcy is the founder of “Life With Darcy and Brian,” where she combines her love for education, board games, and crafting to create engaging learning experiences for kids. Her creative projects and writing have been featured in outlets like The Toy Insider, CafeMom, Mom.com, Parents.com, Country Living, and The Pioneer Woman.