
Stacks of bracelets and chunky bracelets are fun fashion accessories. This is a gorgeous bracelet that looks a lot more difficult than it is – not to mention a lot more expensive. Even if you don’t consider yourself crafty or creative, you can do this!
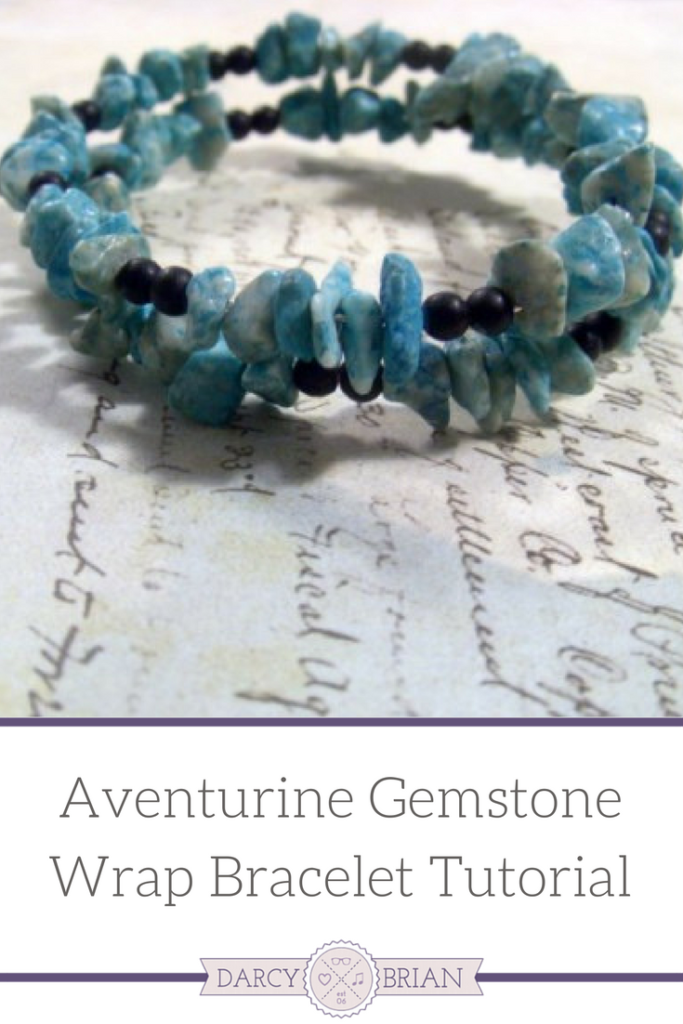
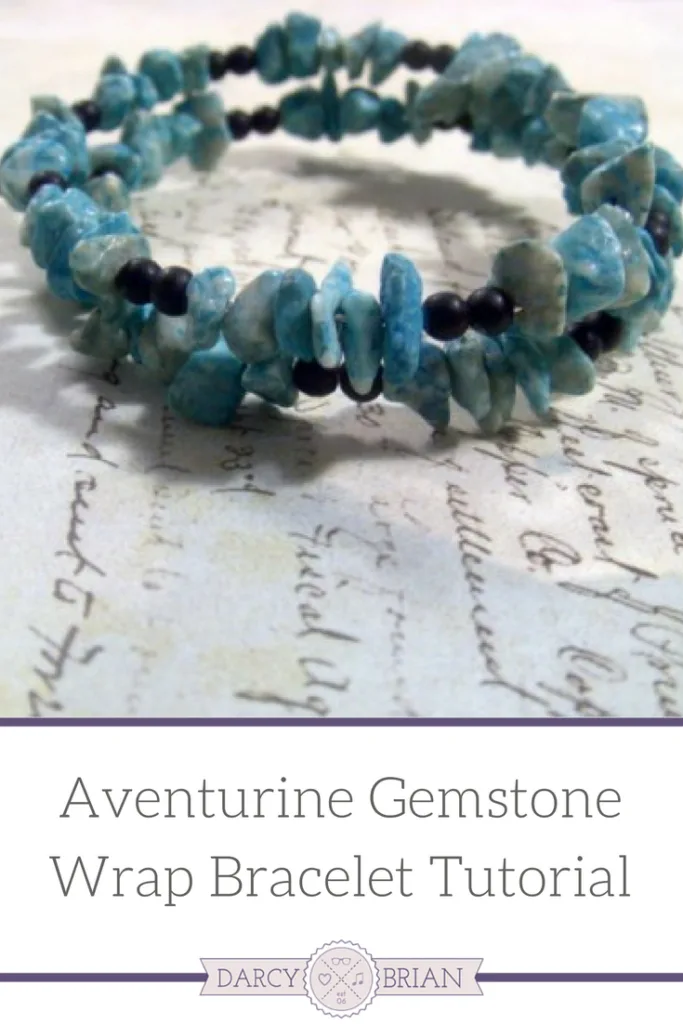
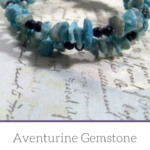
Aventurine Gemstone & Agate Bead Wrap Bracelet Tutorial
This post contains affiliate links.
You will need:
- Bracelet Memory wire. I prefer the oval memory wire to the round, as it fits the wrist better.
- A strand of Aventurine gemstone chips
- Small black beads. I used 3mm matte black agate beads
- Round nose pliers
- Wire cutters

Time: 20-30 minutes
Cost: Costs will vary depending on where you purchase your jewelry supplies, if you already have some materials from another project, and the quantity you purchase. While working on this bracelet tutorial, I spent about $12 on supplies. This came out to a cost of roughly $4 per bracelet. However, I have enough aventurine chips to make another bracelet and enough memory wire to make 6 or more additional bracelets.
Directions:
Put your beads into their own containers. Take your memory wire and find the end. Thread 5 chips on to the wire. You’ll want to make sure that they settle against themselves and there isn’t too much of the wire showing between beads. You may have to take a chip off, rotate, and re-thread it.

Next, thread 2 black beads. Sometimes, the smaller beads will break when you thread them on the wire. Just remove the broken bead and throw it away. Repeat with the 5 chips and 2 black beads until your bracelet is the desired length.
Once there, you’ll need to make a loop in the wire end. Use the round nose pliers for this. I prefer to turn the loop to the outside, so it doesn’t dig into my wrist.

Scoot the beads down to the point where they’re snug against the loop that was just made. Cut the beaded wire from the coil of empty memory wire, leaving about half an inch of empty wire. Make a loop in this end as well. There may be a little bit of space left at the end between the loop and the beads. That’s okay, as your beads will have a bit of room to move.
")
")
Your bracelet is now complete. Recently, I’ve seen very similar bracelets selling for $49 in a catalog.
A few tips:
Memory wire comes in small and large bracelet, choker, and ring sizes, as well as oval bracelet.
Memory wire can be really hard to cut. You may not want to use your good wire cutters on it. The oval memory wire seems to be a lot easier to cut.

I choose to work on the entire coil of memory wire. It allows me to work on the fly and change my mind if need be.
Mary Dailey
Friday 27th of January 2012
Thank you so much! I'm going to try to make one of these. It's so pretty!